Layer 6 is the first true proofreading. In Layer 5, I proofread to make sure the story flowed without interruption from scene to scene. My focus was on making sure the story flowed from scene to scene, without any big unexplained time gaps, or location mistakes, etc.
So in Layer 6, I am now reading the story for context and checking sentence structure. I'm looking for repeated words, verb tenses, anything that pops up when I read through it.
As you will see as we go through the next two layers, I like to break up the proofreading into sections, with a focus on something else each time. Otherwise, looking for sentence structure, verb tense, misspellings, prose style, and punctuation is too much to cover in one read through. So I have a different focus each time I go through it.
TIP ON PROOFREADING TRICKY WORDS:
All authors have a list of tricky words or troublesome words. I have a long list of troublesome words and other foibles. There are words I use too much. I have other ones I spell incorrectly -- no matter how many times I find them misspelled!
When writing in Layer 4, my head is in "presently happening mode". Technically, I write in third person, so the story will need to be written mainly in past tense. This often brings up the issue of needing to use past perfect tense on occasion. Because of this, I find myself using words like began to . . ., started to . . ., etc. These sound right when I'm writing in the moment, but are technically wrong in third person. So in the next layer, I will focus on them and make sure I have all the verb tenses correct.
I'm posting my own list below for beginners. You can start with this and then alter it for your own list.
COMMON WORDS THAT NEW WRITERS USE TOO MUCH:
Be aware that many of these words I check in Layer 7 when I'm in Word. I don't check all of these words in Scrivener. But there is a tip I give in the video below about how to use the Find & Replace feature to capitalize some of these words so you can get a few of them out of the way before you start proofreading in the next layer.
ADD CHAPTERS AND SCENE ENDINGS:
In Layer 6, I also add Chapters and scene endings. As I demonstrate in the video below, I make sure that all of my chapters are in Heading 1s. This way, Word will recognize that setting and they will use a different style for them. This makes them easier to find. When the novel is compiled into Word format, it will put the Chapters in Heading 1. They are much more easily recognizable.
In the video, I also demonstrate how to add scene endings so that you won't lose them when you compile the novel into Word.
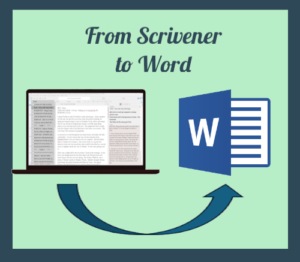
HOW TO COMPILE THE NOVEL FROM SCRIVENER TO WORD:
Once you are finished with Layer 6, Click on File => Compile
I use the settings for default and to compile into a Microsoft docx file. I leave all the other default settings alone.
Check to make sure all chapters you want to compile are checked in the box on the right hand side and all documents you don't want to compile -- like research, etc. -- are unchecked.
Then click on compile. It takes only a minute or so to finish.
Word will pop up and want you to name it and choose a folder. I always name mine BOOKNAME-ManuscriptFromScrivener so that I know this is the first word document that came directly from Scrivener.
GOING INTO LEVEL 7:
Next I'll be moving into Word and doing another layer of proofreading. I'll report back when I'm done and explain all that goes on in Layer 7. I'll post the video below.

 Layer 6 is the first true proofreading. In Layer 5, I proofread to make sure the story flowed without interruption from scene to scene. My focus was on making sure the story flowed from scene to scene, without any big unexplained time gaps, or location mistakes, etc.
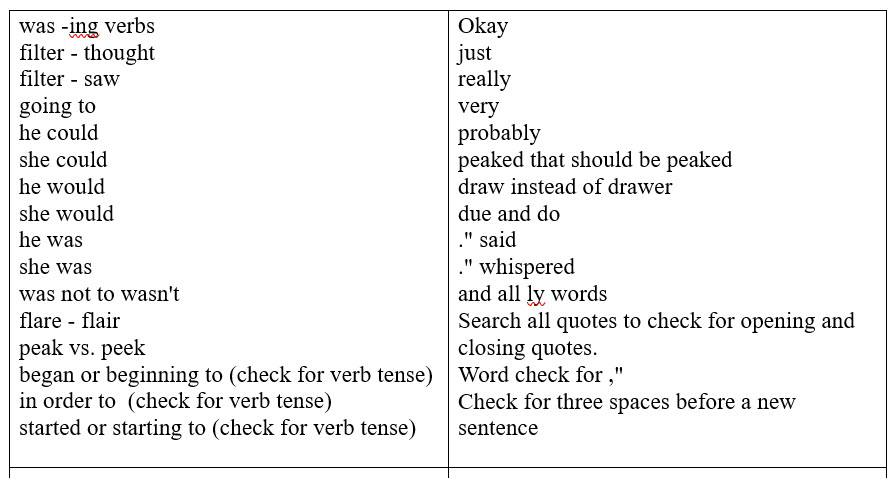
 Once you are finished with Layer 6, Click on File => Compile


