BLOG – Read First Chapter.com

BLOG

Inflation Busting #2 – The Sell-to-Buy Strategy

Inflation Busting #2: Master the Art of "Sell to Buy"

Welcome back to Part 2 of our Inflation Busting series!  In our last post, we kicked off our journey by looking at quick ways to stretch your dollar and stop inflation from eating away at your hard-earned cash.  Today, we’re shifting gears from just cutting costs to actively bringing money back into your household budget.

The concept is simple but powerful: "Sell to Buy."

Instead of opening your wallet or reaching for a credit card when you or your family need something new, turn around and see what you already have—or what you can acquire for free—to cover the cost.  This is a great technique for not only finding money at home, but it can be a solution to the accumulation trap.  (Those of you who have had to deal with an elderly relative's home after they died will know what I mean!)

1. Local Flipping: Nextdoor.com & Facebook Marketplace

When you need something new, commit to making your budget net-zero.

  • Need new clothes?  List a bundle of outgrown or unworn clothes online.  See my shopping tip below to create more 'clothing bundles' that can attract more customers!

  • Need a new dining room table?  Sell your current set first to fund the swap.

Watch for Freebies

One of the easiest ways to build your buying fund without spending a dime upfront is leveraging the "For Sale & Free" tab on Nextdoor.com.  People frequently post perfectly good furniture, home decor, toys, and household items just to clear out space quickly.  Pick up a solid free item locally, clean it up, take a few great pictures, and re-list it on Facebook Marketplace.

Those $20 and $30 wins add up fast into a serious fund for your own household purchases!

And if you search 'free' on Marketplace, you can find giveaway furniture, clothing and bric-a-brac.

2. Expanding to eBay & Etsy (With a Smart Shipping Routine)

If you have smaller items, collectibles, vintage goods, or unique crafts, widening your reach to platforms like eBay and Etsy opens you up to millions of buyers nationwide.

To keep this from taking over your schedule, streamline your listing and shipping routine.  I did this for years while working a full-time legal assistant job!  Check out the strategy below:

  • The 5-Day Monday Strategy: List your items on Monday using a 5-day auction or sale window.  This creates urgency for buyers and aligns all your closing times for the end of the week.

  • Batch Your Shipping:  Don't waste time and gas making daily runs to the post office.  Create a free account at USPS.com to weigh, pay for, and print your postage labels directly from home.  Pack up your orders as they close and make just one single drop-off trip on Saturday morning.

3. Become a Big Box Clearance Hunter

Want another simple way to keep your resale inventory stocked? Make it a habit to check the hidden corners of your local big box stores.

Every major retailer has specific shelves or clearance endcaps tucked away in the back corners of the store. Next time you're swinging in to grab groceries or everyday essentials, take two minutes to check those racks.  If you're a first-timer, you may need to hunt to find these little hiding places, but it's worth the effort.

Big box stores will practically give away perfectly good, brand-new merchandise to clear shelf space for upcoming holidays—whether it's clearing inventory for Halloween, Christmas, or Mother’s Day—or just making room for current bestsellers.  Grabbing an item marked down to next to nothing and putting it up on Marketplace or eBay is an effortless way to keep your resale profits rolling in.

PRO TIP:  Once you find a nice item, take advantage of the store lighting and the item being on an eye-level shelf to take your pictures even before you put it into your trunk!

Get the Whole Family Involved!

Resale hunting doesn't have to be a solo chore. Get the kids involved in the treasure hunt!  Turn weekend trips to garage sales, BOGO sales, Nextdoor freebies, and neighborhood Junk Days into a game.  Teaching them how to spot value, bargain, and sell is a fantastic hands-on lesson in practical finance that pays off for the whole family.

Stay tuned for Inflation Busting #3, where we'll dive into another practical strategy to keep your hard-earned money right where it belongs: in your pocket!

writing-in-layers-short-list

Have a peek behind a real novel.

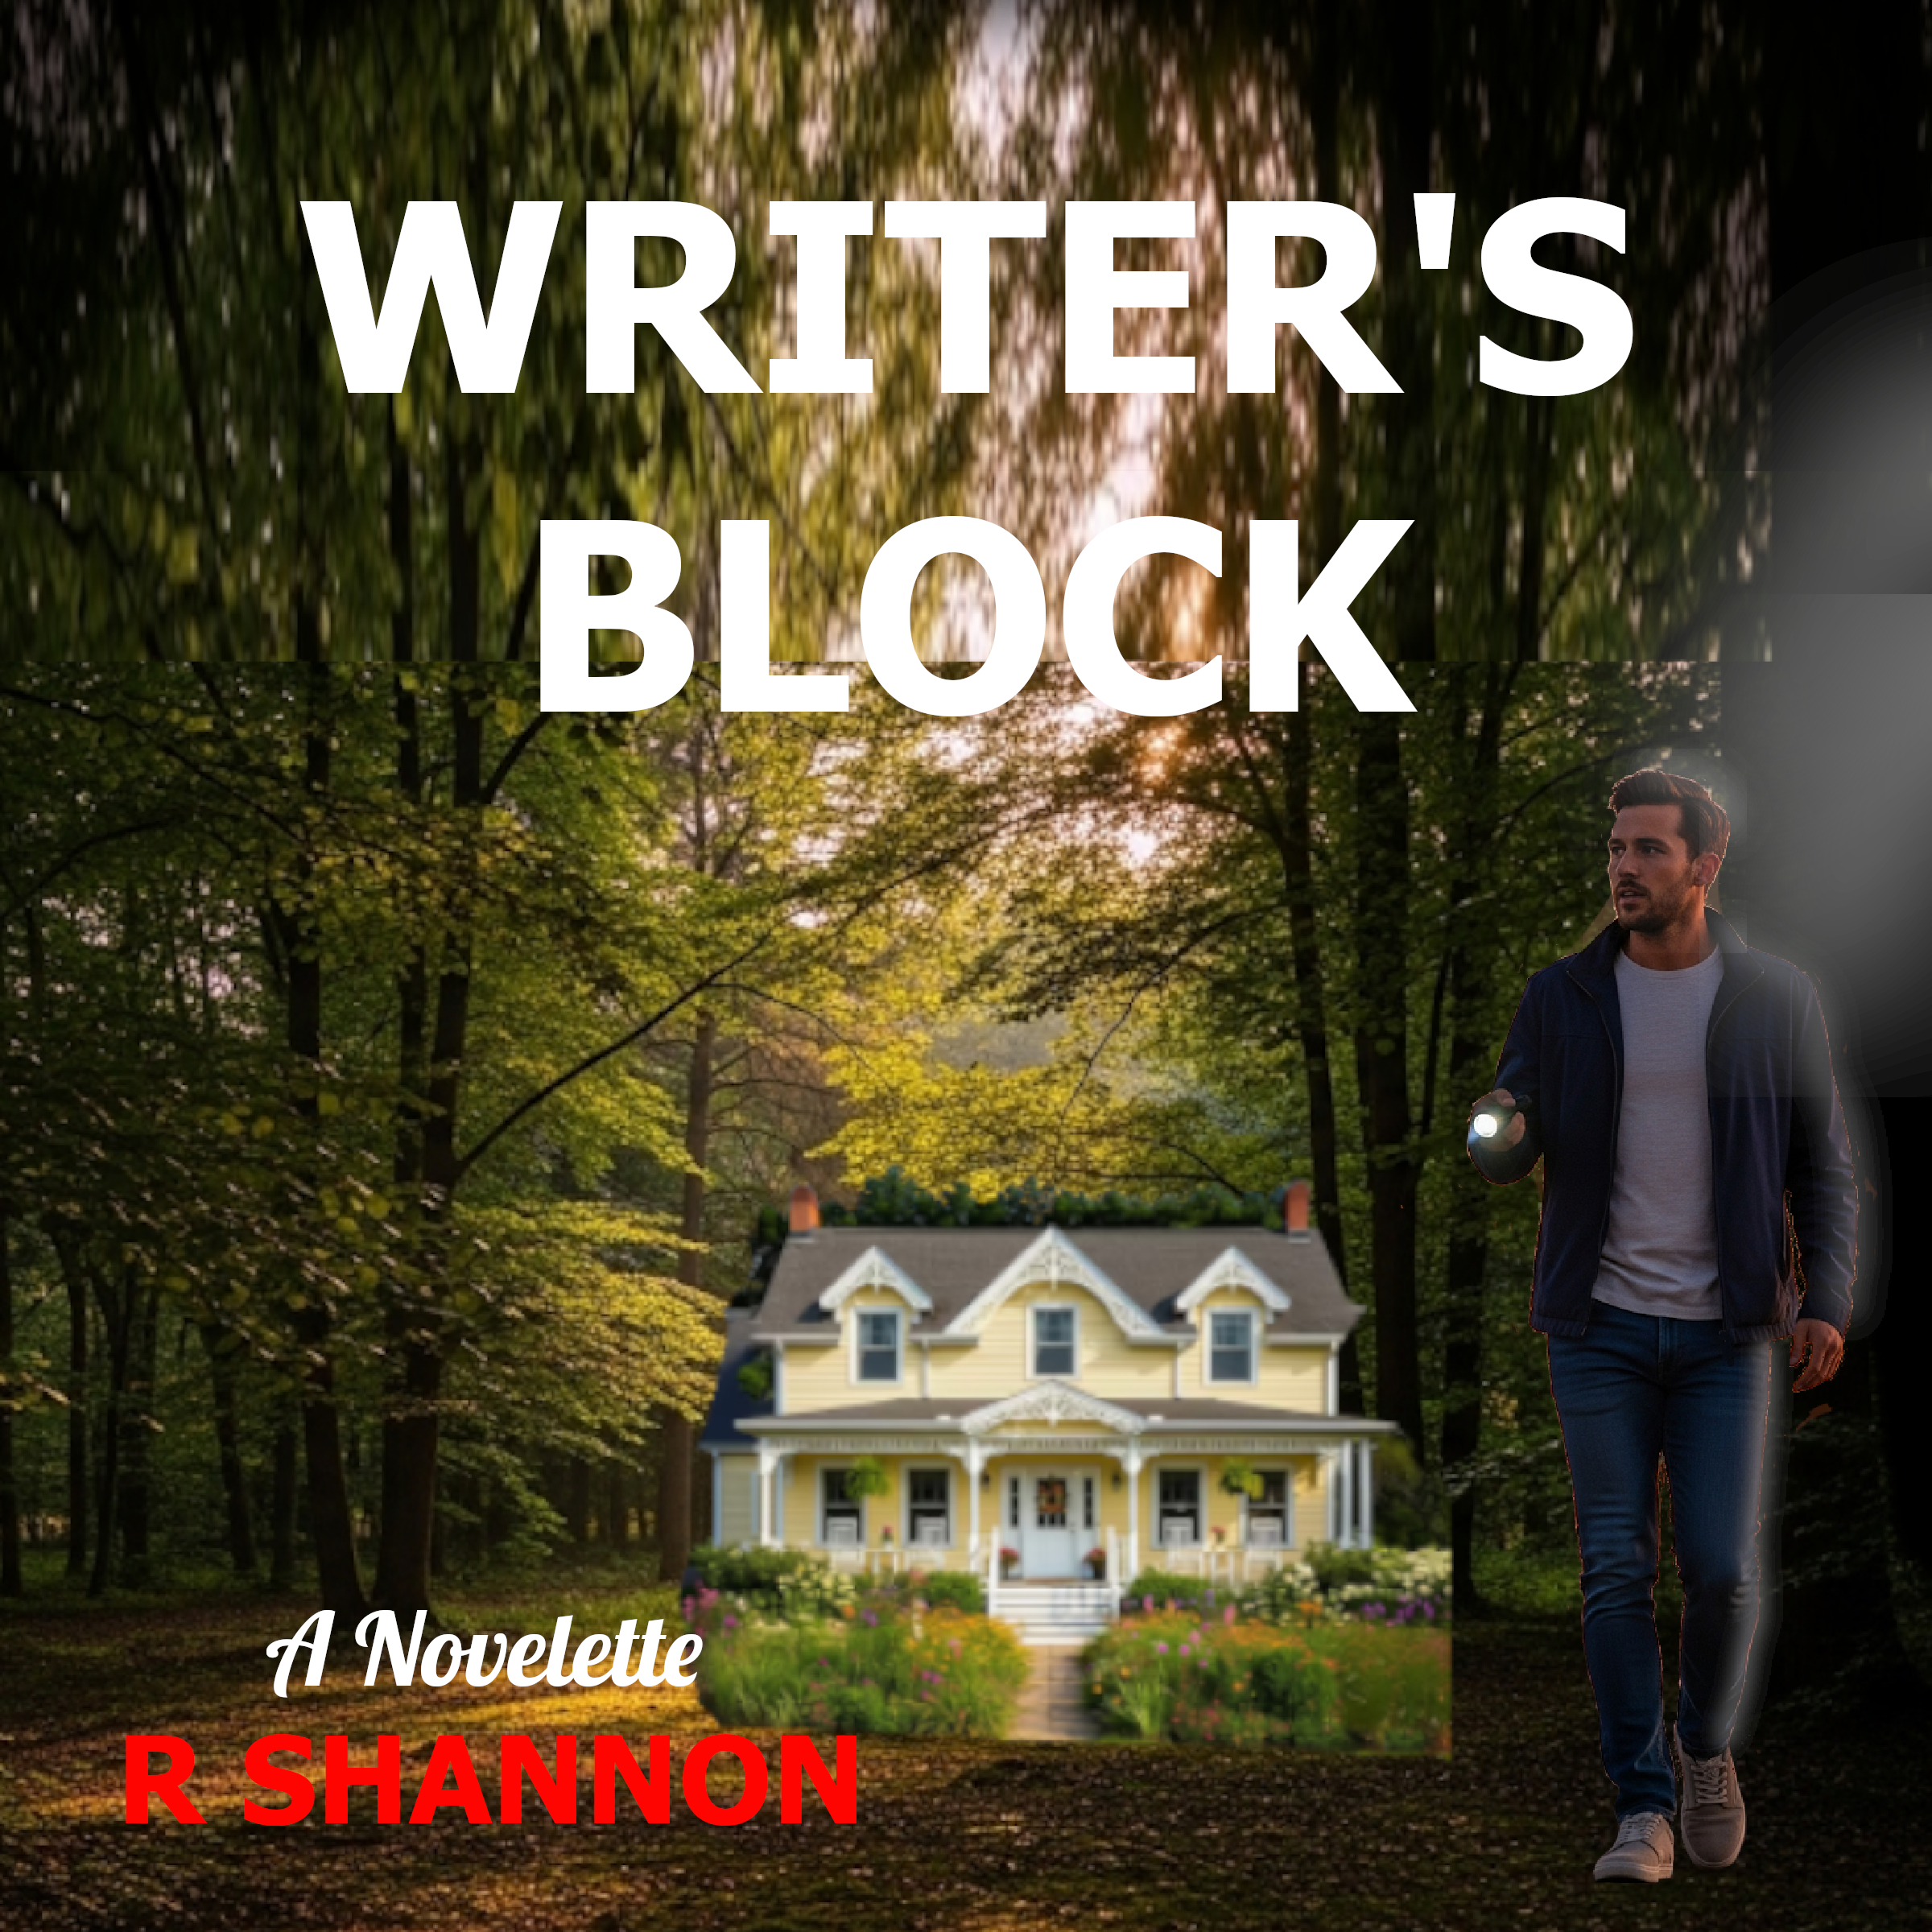
Check out my novelette Writer's Block that I wrote and narrated!  It's available on Audible but if you want to download for free, click below to get professional audiobook delivery from Bookfunnel

I wrote and narrated it.  It's my first attempt at narration!

Inflation Busting #1 – Bulk Buying & Cooking

Beat Inflation at the Dinner Table: Buying & Cooking in Bulk.

Whether you live alone and only cook occasionally for one, or you have a tribe of kids, this method of watching the sales, buying in bulk, cooking in bulk, and storing in individual meals works for anyone or everyone.

In retirement, this method helps me cooks once a month!  I'm not kidding.  Plus, it's ALWAYS worth my while to go where the sales are.  I don't get a sale on one chicken dinner -- it winds up being a sale on all of my chicken dinners!

I'm going to talk specifically about cooking chicken below, but this can be done with pork, sausage, beef, fish, pizzas, and more.   All the strategies are contained in this one graphic -- that I included in my newsletter.

SEVERAL STRATEGIES IN ONE:

I've compiled several strategies that I call Inflation Busting that have to do with saving money, saving shopping time, saving cooking time, and all the thinking and worrying that goes along with it.

Starting in 2025 and continuing into 2026, I believe everyone is looking for ways to stretch their budget right now. With grocery prices soaring, it can feel like your favorite family meals are becoming a luxury. But with a bit of planning and a few clever techniques, you can enjoy delicious, healthy, and satisfying dinners every night for a fraction of the cost.

My first "Inflation Buster" strategy is incredibly effective, but I want to dive deeper and share the simple, step-by-step process I use to consistently provide my family with amazing meals for well under $5 per serving.

How to Beat Inflation: Step-by-Step

This approach is all about strategic buying and bulk preparation, creating a "convenience store in your freezer." Here’s exactly how to make it work for you:

  1. The Strategic Buy: The entire process begins at the grocery store. This method leverages economies of scale.

    • Buy in Bulk: Head to your local club stores like Sams Club or Costco, or watch the weekly circulars for Walmart, Aldi, and other grocers. A huge, multi-pound package of chicken breasts will always cost significantly less per pound than the smaller, pre-trayed options.

  2. The Master Prep: This is the magic step that sets you up for weeks of success. Dedicate an afternoon (maybe a Saturday or late in the day on Sunday) to get your protein ready.

    • Slice and Pound: Take your massive chicken haul and portion it. Slice thick breasts horizontally and pound them with a mallet into uniform 4oz to 6oz pieces. This has two key benefits: it ensures fast, even cooking and creates perfectly sized individual servings.

    • The Big Marinate: The secret to restaurant-quality flavor is simple: time. Overnight. Prepare a huge batch of your family’s favorite marinade (Italian, teriyaki, BBQ, garlic-herb, etc.). Divide your pounded chicken pieces into a few gallon-sized zip lock bags.  Pour a different marinade sauce over each group.  Massage the sauce easily by massaging the chicken inside the bag and let it marinate overnight.

  3. The Efficient Cook: This step was and is the game-changer for batch cooking.

    • Invest in a Large Electric Grill:  Forget juggling multiple small pans on your stovetop. A large, inexpensive electric griddle can cook 10–12 chicken breasts at once!  This method is faster, ensures consistent temperature, and results in gorgeous char marks and juicy flavor. Cook all of your marinated chicken in one big, satisfying batch.

  4. The Freezer-for-Convenience Pack:  This is where you create true "fast food" at home.

    • Double-Wrapped for Freshness: After your cooked chicken has cooled, individually wrap each breast in a smaller sandwich bag. This prevents the pieces from sticking together. Then, cluster 4–6 individually wrapped breasts into a large gallon-sized freezer bag for an extra layer of protection against freezer burn. This is crucial for maintaining flavor and texture for weeks.

  5. The Effortless Dinner: The strategy is complete, and now you reap the daily rewards.

    • Pull-and-Go: In the morning, simply take an individual chicken breast from your freezer-store and let it thaw in the refrigerator. At dinnertime, your protein is already cooked, flavored, and thawed.  

    • This even works if you forget to take the meat out in the morning.  One or two chicken breasts can be laid in warm water and thaw at light speed.

    • 3-Minute Prep: Pop your pre-cooked chicken breast in the microwave for 90–120 seconds to heat. In the same time it takes to heat the chicken, whip up a simple side dish: some microwave rice, a quick pasta, or a fresh side salad. Your entire dinner is ready to serve in less than 5 minutes!

    • And I'll be talking soon about bulk buying and cooking side dishes, so the entire meal takes less than 5 minutes to prepare and with little effort, it has high-end taste.

The Bonus Benefits Beyond Your Wallet

This system is about more than just a low price tag. Here is why you will fall in love with it:

  • Saving Time and Effort Every Day: The most incredible benefit is that you have eliminated the question, "What’s for dinner?" Your primary protein is ready. Your "cooking" time is reduced from an hour to 5 minutes. No more scrambling to prep dinner on a tired weeknight.

  • Maximum Freshness and Less Waste: Pounding the chicken ensures it cooks perfectly and evenly, preventing it from drying out. More importantly, this entire process locks in freshness. When you pull a chicken breast months later, it will taste as flavorful and juicy as the day you cooked it. You’ll never again throw away a spoiled piece of chicken that you forgot about in the fridge.

  • A "Fresh-Not-Frozen" Experience: Because you handle the entire cooking and flavoring process, your "convenience food" is made from high-quality, whole ingredients. You know exactly what is in your marinade, avoiding the hidden sodium and preservatives found in pre-cooked, store-bought freezer meals.

This "Inflation Buster" is a true life-hack that puts money back in your pocket and gives you back your valuable time. Give it a try, and let me know how much you save!

writing-in-layers-short-list

Have a peek behind a real novel.

Check out my novelette Writer's Block that I wrote and narrated!  It's available on Audible but if you want to download for free, click below to get professional audiobook delivery from Bookfunnel

I wrote and narrated it.  It's my first attempt at narration!

Inflation Busting #6 – Use the Flipp App to Plot Your Route

Level Up Your Meal Planning Game with the Best Local Deals

Hey everyone! You know how much I love finding the best deals, especially on books. But my passion for savings doesn't stop there. Lately, I've been refining my meal planning process, and I've found a way to significantly cut my grocery bill.

I used to start by deciding what I wanted to eat for the week and then I'd build my shopping list around those ingredients. That approach works, but I always felt like I was spending more than I needed to.

Then, I tried reversing the process, and everything changed!

The Game-Changer: The "Flyer-First" Method

Here’s how it works in my household:

  1. Start with the Deals: Before I even think about recipes, I take a few minutes to look at the store flyers and digital circulars for the grocery stores nearby. You can always find the biggest and best sales, often on the very front page!

  2. Plan Around the Sales: This is the fun part! I let the deals dictate the menu.

    • If a great cut of pork is on sale, looks like we are having a succulent pork tenderloin for our Sunday dinner.

    • Find a great deal on shrimp? That's a perfect excuse for a delicious and healthy weeknight stir-fry.

    • When I spot a favorite snack or a non-perishable on deep discount, I stock up!

  3. Create Your List: With my main meals and some great deals mapped out, I fill in the gaps with other needed items and create my final shopping list.

For many of us who considered ourselves too busy to bother with sales and coupons, the extreme rise in prices of groceries and everything else is challenging every budget.  Even people with money are experiencing sticker shock.  For me, it's more about the principle of the matter.  I can afford the high prices, thank the Lord -- at least at this writing -- but I think of younger women with teenages who eat like machines!  How can they manage?  Being retired, I've decided to use some of my time to explore what some solutions can be!

By letting the local deals inspire my weekly menu, I’m able to create exciting, varied, and, most importantly, cost-effective meals. The best part is that I don't feel like I'm sacrificing quality for savings; I'm just being more strategic.

I hope this helps inspire you to try a slightly different approach to your meal planning. Happy cooking and happy saving!

writing-in-layers-short-list

Have a peek behind a real novel.

Check out my novelette Writer's Block that I wrote and narrated!  It's available on Audible but if you want to download for free, click below to get professional audiobook delivery from Bookfunnel

I wrote and narrated it.  It's my first attempt at narration!

Rules for Publishing an Audiobook on ACX

The audiobook industry is experiencing unprecedented, exponential growth. Millions of readers are shifting from physical pages and e-readers to listening on the go—whether during daily commutes, workouts, or quiet evenings at home. For indie authors and publishers, this shift presents a massive opportunity to reach brand-new audiences and open a steady stream of passive royalties.

However, entering the world of audiobooks requires clearing one major hurdle: meeting strict industry distribution standards. Audible, Amazon, and iTunes distribute their audiobooks through ACX (Audiobook Creation Exchange), and ACX maintains rigorous technical and structural requirements. If an audio file misses a target by even a fraction of a decibel, the automated QA system will reject the upload.

To ensure your audiobook glides through the approval process on your first attempt, here are the essential rules you need to follow.

Below I have listed all of the various rules that must be followed to get a quick and easy pass from ACX.  I did my first audiobook of a short story entitled "Writer's Block" and it got an immediate pass and was accepted in less than a week.  So it may seem like a lot of rules, but learning how to do each one of them will save you a lot of time and disappointment.

1. MP3 Format Required

All final audio files submitted to ACX must be encoded in MP3 format. While WAV or FLAC files are preferred for master studio recordings, ACX requires MP3s for consumer distribution.

2. Mandatory Chapter & Section Separation

Audacity is the free program that I used to record the audiobooks

Audiobooks cannot be uploaded as one giant audio file. You must upload your manuscript broken down into individual files for each chapter, plus separate dedicated files for your Opening Credits and Closing Credits.

3. Handling Unchaptered Manuscripts

If your book does not have formal chapters (e.g., non-fiction titles, essays, or long-form prose), decide on a logical structure ahead of time. Break the audio into roughly equal parts, sections, or numbered segments before you begin recording so your file uploads match your navigation structure.

4. File Size & Length Limits

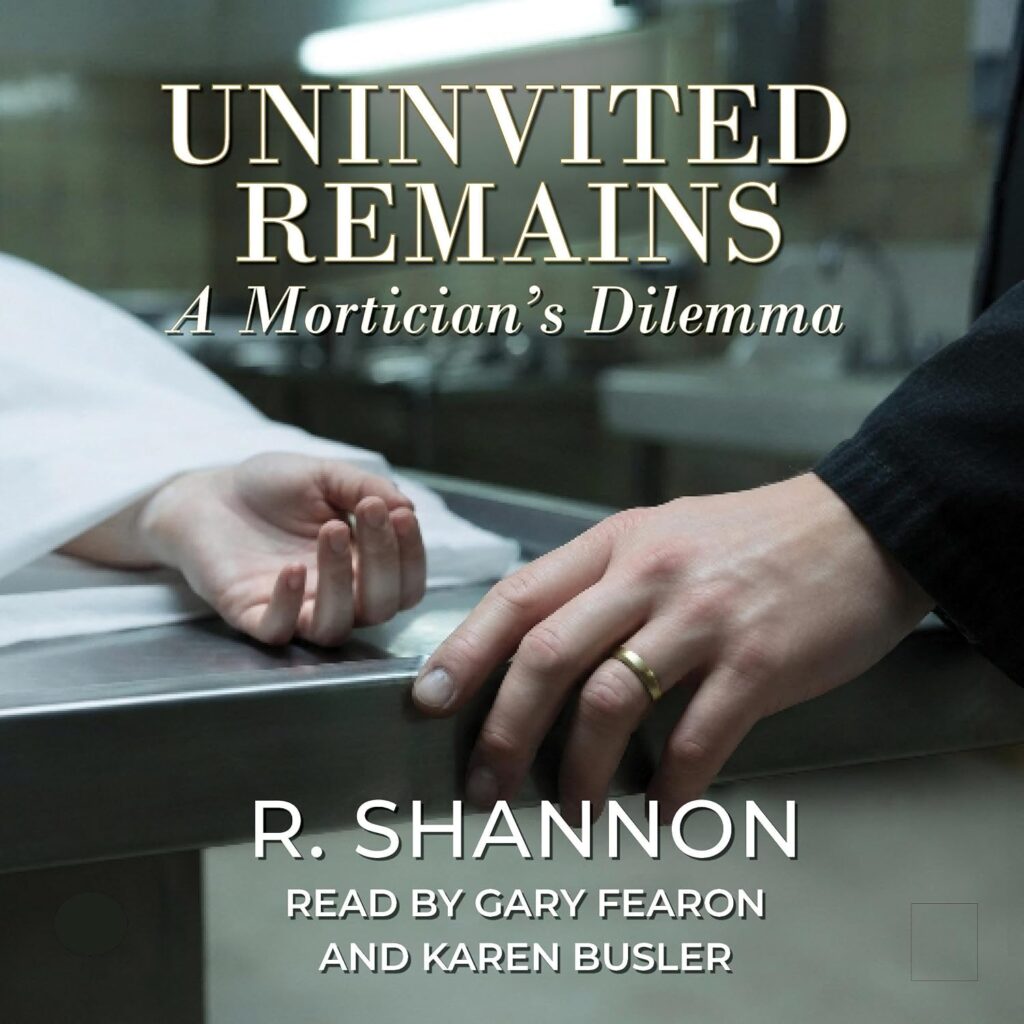
This is my first audiobook of a short story. Check it out!

Each individual audio file must be no longer than 120 minutes in running time and must be under 170MB in total file size. If a chapter runs longer than two hours, you must split it into "Part 1" and "Part 2" files.

This will probably not come into play at all if you are recording a series of chapters.  If, however, you are recording a short story or novella, you will need to break the story into sections.  You can call them Part 1, Part 2, etc., instead of chapters.

5. Bit Rate: Constant 192 kbps or Higher

I learned most of what I came to know from Mike Teaches Audacity. Click to see his YouTube Channel

Your MP3 files must have a bit rate of 192 kbps or higher, rendered with a Constant Bit Rate (CBR)—variable bit rates (VBR) will be automatically flagged and rejected.

  • Audacity Workflow: When exporting your project (File > Export > Export as MP3), set Bit Rate Mode to "Constant". In the quality drop-down menu, choose 192 kbps (or 256/320 kbps). Ensure your sample rate is set to 44.1 kHz.

6. Peak Level: -3 dB Maximum

No part of your audio signal can exceed -3.0 dB (or -3.08 dB). Keeping a peak cap prevents digital clipping and distortion on mobile devices and headphones.

  • Audacity Tip: You can use the Limiter effect or Normalize tool set to -3.0 dB to pull down transient loud spikes without altering the rest of your vocal dynamics.

7. RMS Level: Average Loudness Standard (-23 dB to -18 dB)

ACX requires an RMS (Root Mean Square) average loudness between -23 dB and -18 dB. Aiming around -19 dB to -20 dB RMS guarantees that listeners won't have to constantly adjust their volume between quiet and loud passages.

8. Noise Floor: -60 dB or Lower

If you have a small closet, you have a sound studio.

The "noise floor" measures the background noise (room tone, computer fans, electrical hums) present when you aren't speaking. ACX strictly mandates a maximum noise floor of -60 dB.

  • Note: A lower negative number means a quieter room (e.g., -83.84 dB is virtually dead silent and will pass with flying colors, whereas -55 dB will trigger a rejection).

  • If you have a small closet, you have a sound studio.  I started in my closet, but now I just record anywhere in my home because I live alone in a very quiet neighborhood, under a canopy of trees.  Having a proper studio turned out to be much 'easier' than I originally thought!

9. Distinct Structural File Structure

To confirm your upload order, ACX requires every section uploaded as an isolated file:

  • Opening Credits (1 file)

  • Individual Chapters / Sections (1 file per chapter)

  • Closing Credits (1 file)

10. Audiobook Cover Art Specifications

Audiobook artwork differs from standard eBook or print covers:

  • Dimensions: Must be a perfect 1:1 square ratio.

  • Resolution: Minimum size of 2400 x 2400 pixels (maximum 3000 x 3000 pixels).

  • Format: JPEG or TIFF images only, formatted in RGB color space.

11. Exact Audio-to-Text Title Matching

ACX QA engineers enforce a strict exact match rule between your spoken audio titles and your manuscript titles.

  • If your spoken Opening Credits say "Part One", your onscreen text chapter heading cannot say "Part 1". Keep the naming convention uniform across your script, file titles, and spoken narration.

12. Encoding Summary Checklist

Double-check your master export settings before uploading:

  • Format: MP3

  • Bit Rate: Constant (CBR) at 192 kbps or higher

  • Sample Rate: 44.1 kHz

  • Channel Mode: Mono or Stereo (Mono is recommended for standard single-narrator books).

13. Proper Spacing and Room Tone

Every audio file must include brief "breathing room" of natural background noise (room tone):

  • Beginning: 0.5 to 1 second of room tone before the first word.

  • End: 1 to 5 seconds of room tone at the end of each file.

  • Caution: Do not insert digital "dead silence" (flat line); ACX looks for clean, recorded room tone.

14. Final Checklist Reminder: Bookend Credits

Never merge your credits into Chapter 1 or the final chapter. The Opening Credits ("This is [Title], written by [Author], narrated by [Narrator]") and Closing Credits ("This has been [Title]...") must always exist as independent, standalone MP3 files.

Elevate Your Book Marketing: Professional Banners & Trailers by Stephanie Danielle

As an author, I tend to default to the DIY route for almost everything—from formatting to tracking down my design elements.  But recently, a talented digital designer named Stephanie Danielle reached out to me on social media, and I immediately thought of newbie authors who needed a little help right after launching their books.

To show me what she could do, she put together this stunning 3D promotional banner for my book, Forewarned But Unheeded:

She put this together with just looking at the book cover and a description.  She added the 75th birthday elements, and a few other things that I think are details that I don't see too often in book marketing graphics.

The attention to detail, the cinematic lighting, and the way it brings the mystery of the story to life is absolutely incredible. After chatting with her, I suggested she package her skills into official service tiers so other authors could easily level up their marketing.

If you are looking to give your book launch or promotional push a highly professional edge without breaking the bank, I highly recommend checking out her brand-new packages below!

Stephanie's Basic Marketing Packages:

Package Tiers Package Details & Features
Basic Banner Package

Price: $50

• 1 Premium 3D Book Promotional Banner
• High-resolution image (1080 × 1080)
• Commercial use
• 2 Revisions
• Delivery within 24 hours
Standard Banner Package

Price: $100

• 2 Premium 3D Book Promotional Banners
• Social media optimized
• High-resolution files
• Unlimited Revisions
• Delivery within 24–48 hours
Premium Banner Package

Price: $150

• 4 Premium 3D Promotional Banners
• Amazon & Social Media Ready
• Multiple design concepts
• High-resolution files
• Unlimited Revisions
• Priority Delivery


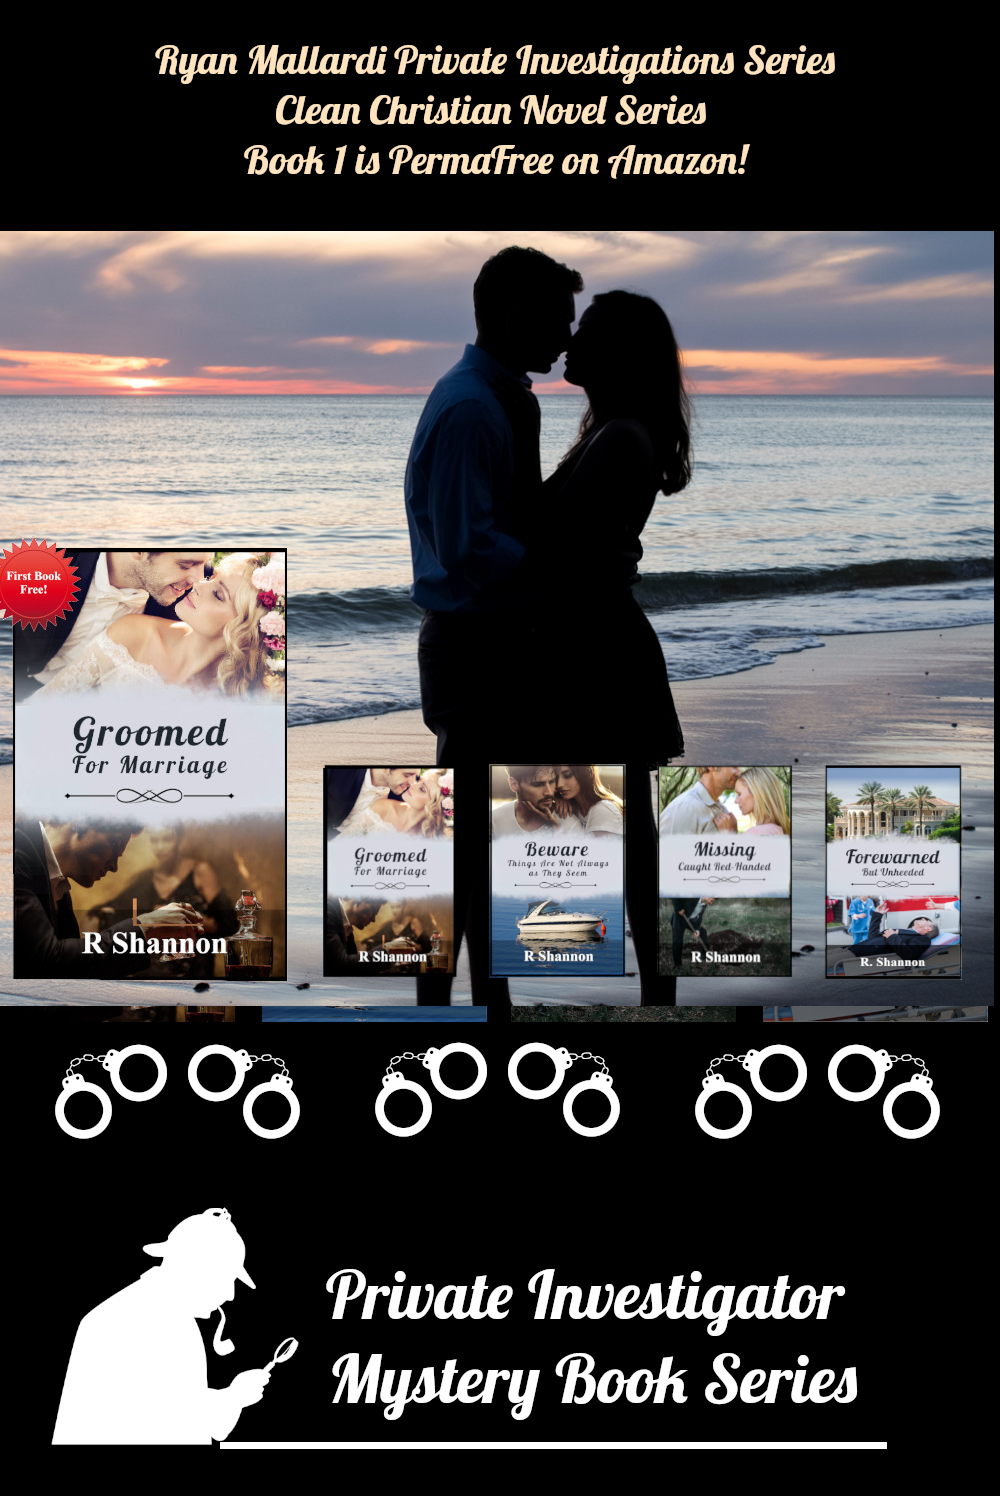
PI Ryan Mallardi is crazy about the beautiful and statuesque Angelica.  Colleen Kessler is married for nine months but something doesn't feel right.

Will PI Mallardi find out what is really going on in her life?  Will this truth
change Colleen's life or both of their lives?   Some journeys are painful but well worth the effort.

Download a free copy today

How to Write a First Draft of a Novel Without Losting the Magic

Writing a Suspense or Mystery Novel? How to Organize Your First Draft Without Losing the Magic

When I first started writing, I used to sit down at the keyboard and try to fix every single grammar mistake, spelling error, and clunky sentence structure as I went.  Big mistake!  Gigantic mistake!

I learned the long and hard way that first drafts are their own animal.  A first draft isn't about being perfect; it’s about getting the story down on paper.  You are "blurting out the story" in broad strokes, and you can always massage the plot or deepen the characters on your second go-round.

But if you are writing a mystery novel—or any fiction with a strong thread of suspense running through it—"just blurting it out" can sometimes lead to a tangled mess of forgotten clues and broken timelines.

To keep from getting discouraged, you need a different kind of freedom. You don't need a polished manuscript right away, but you do need to get organized and I'm sharing my Eight Layer approach to novel writing that helped me remove all the stress, confusion, and restarts from the process.

Start with the Bare Bones

The secret to drafting suspense without losing your mind is to write out the bare bones of the crime or suspenseful event first. Don't worry about anything else yet. Forget the deep backstory, the descriptive settings, or the witty dialogue. Focus purely on the mystery or crime itself, and build a strict chronology of how the clues or revelations are dropped.

Think of it as building a Story Skeleton. When you strip away the extra noise, every great mystery or suspense thread needs these core anchor points:

  • The Story Hook: The moment you capture the reader's attention and curiosity right out of the gate.

  • The Inciting Incident: This is where the mystery officially begins (a body is found, the first mysterious clue arrives, etc.).

  • First Clues: The immediate evidence left behind at the scene of the crime.

  • The Suspects: Who they are, and exactly who fingers them.

  • Motives & Gains: What drives each suspect, and what they stand to gain from the mystery.

  • The Last Clue: The ultimate piece of evidence or realization that points directly to the real culprit.

  • The Climax: How the mystery ends—whether it's an ironclad clue, a dramatic confession, or catching them red-handed in the act.

  • The Resolution: How the main story wraps up and how your subplots finally end.

Once you have this skeleton locked in place, you can let your creativity flow during the daily writing sessions without the fear of hitting a structural dead end.

Get organized before you type page one! Grab my free tip sheet to help you map out your book layer by layer so you can write a stronger first draft with absolute confidence.

Tips to Keep You Moving Forward

Even with a strong mystery skeleton, writing that first draft requires the right mindset. Here are a few timeless rules to keep you on track while you flesh out those bones:

  • Don't stop to edit or revise. It is a complete waste of time to polish a scene that might get tossed later. You can fix the draft after you know the whole story fits together.

  • Leave notes to yourself. When you finish a writing session, make a quick note of where your mind is at and what needs to happen next. It makes finding your place the next day so much easier.

  • Take breaks and have fun. Don't sit and stare at the screen for hours. Get up every 20–30 minutes, stretch, and clear your head. Writing should be enjoyable, and if you're relaxed, your creativity will flow naturally.

If you want a deeper look at the general habits that will save your sanity during this phase, check out my older post, 10 Best Tips on Writing a Good First Draft, for more advice on setting up your writing space and pushing past the urge to edit too early.

Peek Behind the Novel – Writing in Layers – Initial Steps

WHY OUTLINING SAVES YOU FROM THE REWRITE PILE

When you sit down to outline your story before you write a single scene, something shifts. You stop thinking like a writer and start thinking like a builder. That's the whole point.

Most new writers want to jump straight into scenes and dialogue. They've got a great opening line in their head, and they just want to get on with it. But here's the problem: when you write first and figure out the story second, you end up rewriting. A lot. You'll discover halfway through chapter five that your killer couldn't have been at the scene, or that your protagonist's motivation doesn't hold up, and now you're tearing apart pages you already fell in love with.

Outlining lets you put on a few different hats before you ever put on your writer hat. Each one has a job to do, and if you do those jobs first, the writer hat gets to show up later and just write — no backtracking, no throwing chapters in the trash.

Here are the professional hats you'll need to wear:

The Brainstorming Hat — This is the first hat, and it's the loose one. You wear it when you're sketching out a few possible storylines, just to see which one has legs. This is quick work — short, messy ideas, not finished plots. The goal isn't to pick "the" story yet. The goal is to make sure whatever story you commit to actually has enough potential for twists, turns, and a full novel's worth of trouble. Don't skip this hat. Committing too early is how writers end up 40,000 words into a story that runs out of gas.


The Story Engineer Hat — Once you've picked your storyline, this hat goes on. This is where you lay out the bones of the story — what happens, in what order, and why. You can do this with short paragraphs, a bulleted list, index cards, whatever gets the structure out of your head and onto something you can look at. It won't be pretty. It's not supposed to be. This is the layer where you make sure the story actually holds together before you build anything on top of it.


The Location Scout Hat — This one comes after your story has taken shape in the engineering stage. Now you go looking for the places where all of this is going to happen. Where does the crime scene sit? What's down the street? What does the neighborhood look like? Putting in a little effort here pays off twice — it makes your story feel grounded and real, and if you've ever thought about your book being adapted for film or streaming, having real, scoutable locations gives you a head start.

Wear these three hats well, and by the time you put on the Writer hat, the heavy lifting is already done.  We'll talk about the other hats you wear before the Author's Hat in our next article.

Below is a video I made for YouTube explaining the initial stages and layers of writing.   I go over some of these points but others tips and tricks as well.  For your convenience, I have time stamps below in case you want to just jump to the section you want to look at:

01:27 - Open Scrivener and open one document
01:45 - Other suspects, their motivation, red herring, etc.
02:15 - How it will End section
03:20 - Determining the framework of the script which will prevent writing for the trash can.
05:30 - Review of the layer elements
05:43 - Sneak peek into the next videos

Writing a Novel in Layers:

First - A Little About the Chronology of a Crime

Writing a Novel - Layer 1
Writing a Novel - Layer 2
Writing a Novel - Layer 3
Writing a Novel - Layer 4
Writing a Novel - Layer 5
Writing a Novel - Layer 6
Writing a Novel - Layer 7
Writing a Novel - Layer 8

Writing a Novel in Layers

writing-in-layers-short-list

Have a peek behind a real novel.

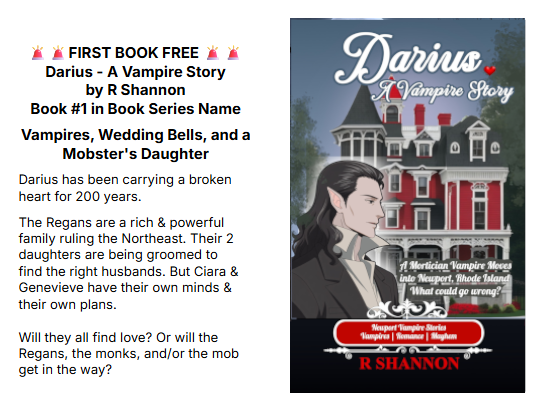
John Walsh is a successful funeral director with a loving family but he has a weakness for other women. The modern world thinks cheating is a victimless crime, but is it?

Click here to download a free copy for a limited time.

Movie Reviews


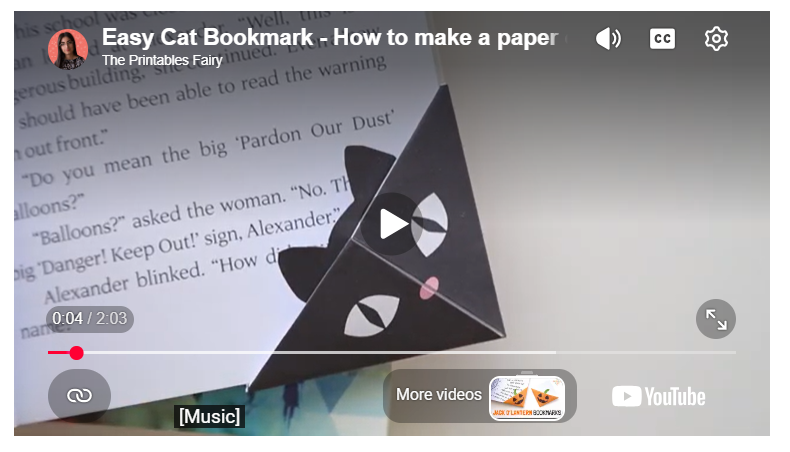
Downloadable Bookmarks – Inspirational Bird and Cat Bookmarks

bookmarks-bluebirds-and-cats

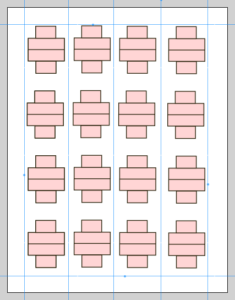
Click above on the bookmarks graphic and download safely from Google Drive. Simply print out the bookmarks on 8"x11" cardstock, and cut apart on the trim lines. Easy Peasy!

PI Ryan Mallardi is crazy about the beautiful and statuesque Angelica.  Colleen Kessler is married for nine months but something doesn't feel right.

Will PI Mallardi find out what is really going on in her life?  Will this truth
change Colleen's life or both of their lives?   Some journeys are painful but well worth the effort.

Download a free copy today

John Walsh is a successful funeral director with a loving family but he has a weakness for other women. The modern world thinks cheating is a victimless crime, but is it?

Click here to download a free copy for a limited time.

Coloring Page – Father’s Day Gorillas

Click above to download a hi-resolution 8" x 11" inch coloring page to celebrate Father's Day.

Check out my new Brainstorming Workbook!

New Release - Free Download

John Walsh is a successful funeral director with a loving family but he has a weakness for other women. The modern world thinks cheating is a victimless crime, but is it?

Click here to download a free copy for a limited time.

Read Book Samples

Click on the graphic of my books and you will be brought to a page on my website where you can read a sample of my books in your browser.  It's much easier than downloading samples from Amazon.

Check back often as I give away books all the time.

Iron-On Design – Memorial Day – Remember the Fallen

Click above to download a high-resolution file
that can be scaled to fit any project.
The artwork is reversed for easy iron-on transfer paper.


There is a high resolution design that is backwards and ready to be ironed on right away.  Click here to download safely from Google Drive.


I found this video on YouTube that is short and explains how to use iron-on transfers and also tips on getting the best results!


Are you ready for a fun, humorous, police procedural?

<pstyle="text-align: center;">Christian/Catholic Friendly Private Investigations Series

A Vampire Saga with Mayhem & Satire


Ready to Learn How to Write Your Own Mystery Novels?