Open Page
Tracking the Threads: Why Your Mystery Draft Needs Three Timelines
 Writing a mystery is like building a clock. While the reader only sees the hands moving steadily forward, the internal gears—the secrets, the motives, and the hidden history—must mesh perfectly for the story to "tell time" accurately.
When you are in the thick of a first draft, it is easy to get lost in the prose. However, the secret to a bulletproof mystery isn't just a clever detective; it’s a rigorous organization of time. To keep your manuscript from collapsing under the weight of its own secrets, you need to manage three distinct timelines.
1. The Crime Timeline (The Hidden Reality)
 This is the "Backstory" or "True History" of the event. It begins long before the first chapter and usually ends the moment the detective arrives on the scene.
-
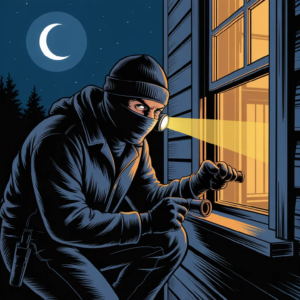
What it tracks: Every move the killer made before, during, and immediately after the crime.
-
Why it matters: If the killer was at the hardware store buying rope at 4:00 PM, they cannot have been seen at the gala at 4:15 PM across town.
-
The Draft Benefit: By mapping this out, you ensure that the "truth" remains fixed. Even if your detective is confused, you never are. This prevents the dreaded "plot hole" where a culprit’s alibi is physically impossible.
2. The Novel Timeline (The Reader’s Journey)
This is the linear progression of the book, starting from page one. It follows your protagonist as they navigate the investigation.
-
What it tracks: When clues are discovered, when witnesses are interviewed, and the passage of days or hours within the narrative.
-
Why it matters: Mystery readers are notoriously observant. If your protagonist spends three days investigating but it’s still Monday in Chapter 10, the immersion breaks.
-
The Draft Benefit: Keeping a log of the Novel Timeline helps you control the pacing. If you notice five chapters have passed in a single afternoon, you might need to pick up the tempo or introduce a "timer" (like a ticking clock element) to raise the stakes.
3. The Subplot Timeline (The Human Element)
 A mystery novel isn't just a logic puzzle; it’s a story about people. This timeline tracks everything that isn’t the murder—romance, personal growth, professional conflict, or side-mysteries.
-
What it tracks: The evolution of relationships and personal stakes.
-
Why it matters: Subplots provide the emotional "breather" between intense interrogation scenes. However, they can’t just vanish. If a detective has a blow-up fight with their partner in Chapter 4, they shouldn't be acting perfectly happy in Chapter 5 without a resolution.
-
The Draft Benefit: Tracking subplots ensures they are woven into the main mystery rather than feeling like "filler." It helps you time the emotional beats so they hit right when the main plot needs a shift in energy.
Pro-Tips for Managing the Chaos
The "X-Ray" Spreadsheet: Many authors use a simple table or spreadsheet. Column A is the Date/Time, Column B is the "Crime Fact," Column C is the "Novel Action," and Column D is the "Subplot Status."
-
Color Code Your Notes: Use red for the crime, blue for the investigation, and green for subplots.
-
Sync the Weather: It sounds small, but if it's raining in your crime timeline, it must be raining (or the ground must be wet) when your detective arrives in the novel timeline.
-
The Reveal Check: Use your timelines to see exactly when the reader "knows" something versus when the detective knows it.
Final Thoughts
 Writing the first draft is about getting the story down and not much else. So this timeline tracking doesn't start until you have finished the first draft. The first draft is merely blurting out the story. You don't even have your writer's hat on yet. You are only the story engineer and location scout at this point.
But once the story now exists, it's time to begin to track the three significant timelines!
Happy sleuthing!


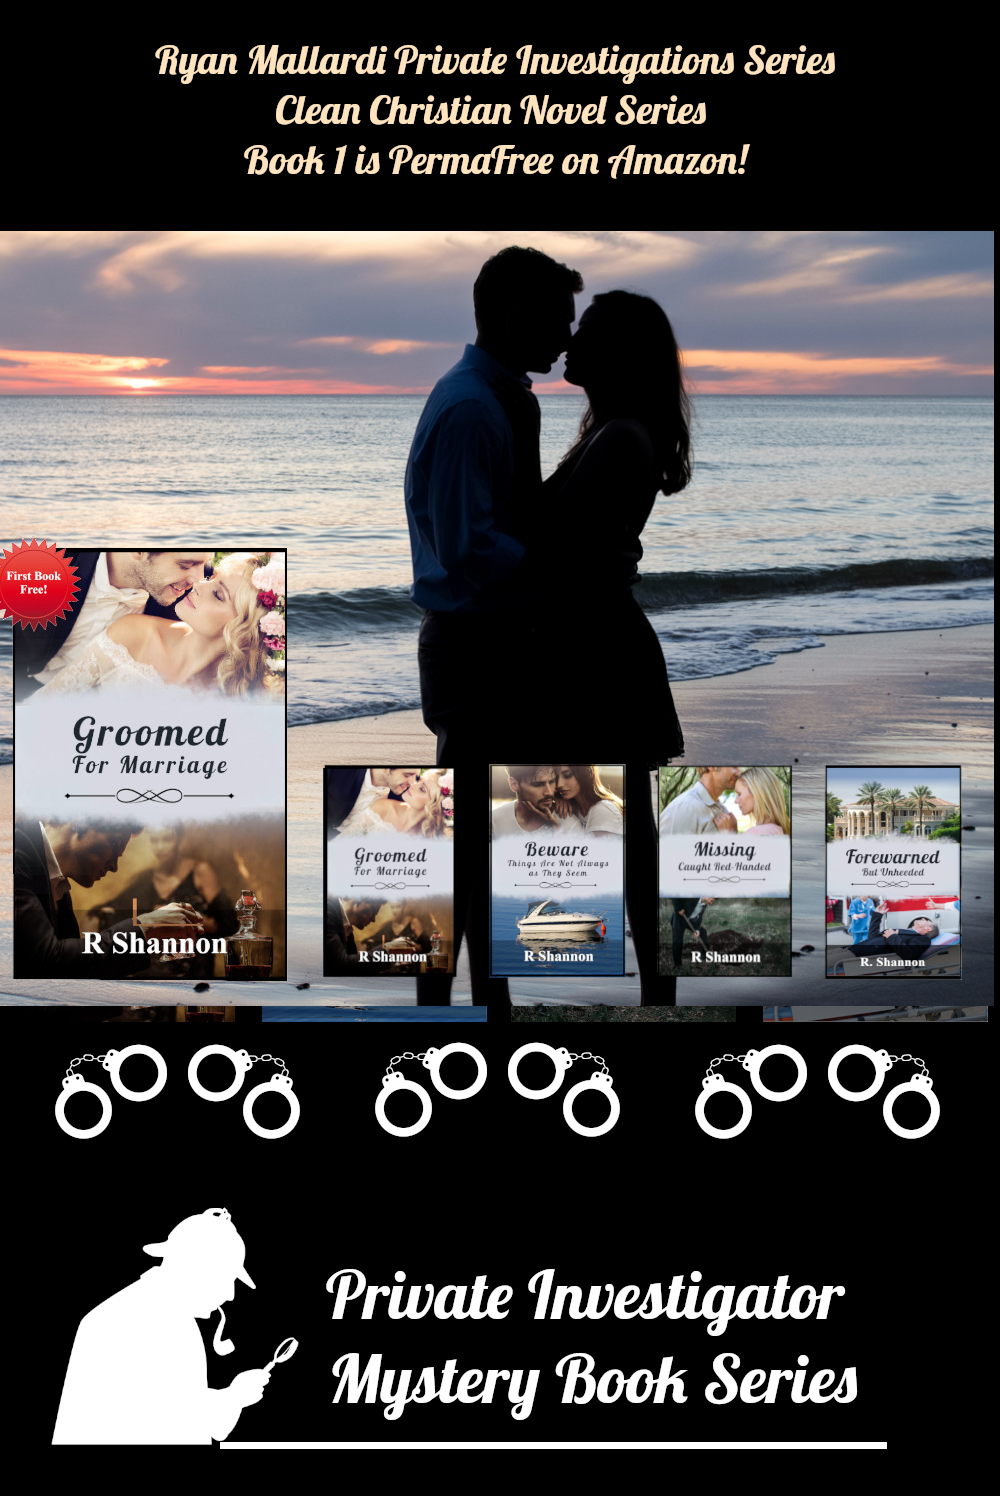
 This blog post will be a peek behind the author workflow in Layer 5 of my Novel Writing in Layers Series. I am writing Book 6, Majestic Landings, in my police procedural series, Jack Nolan Detective Series.
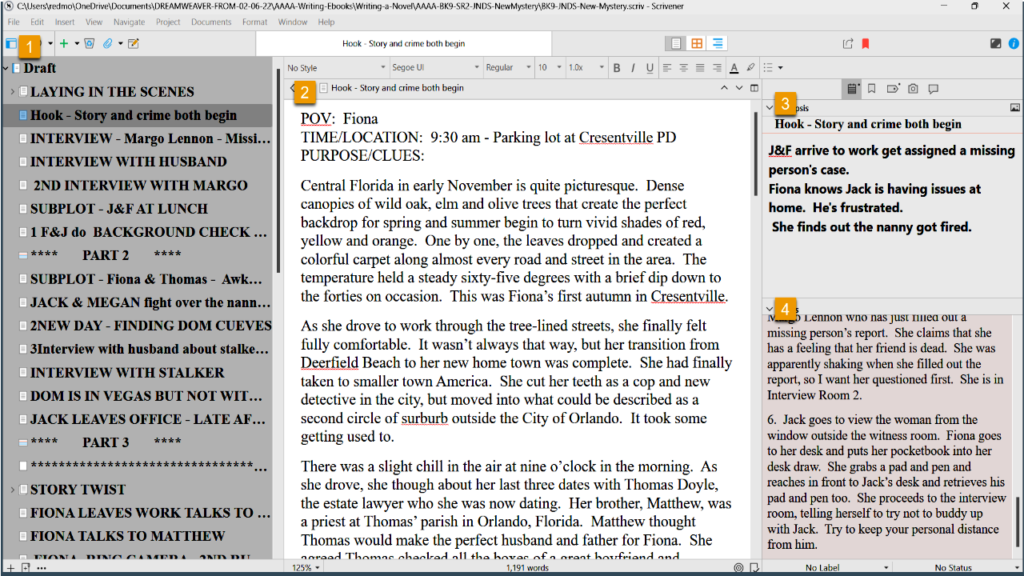
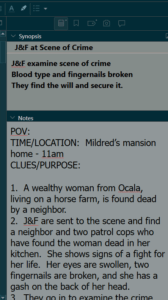 1. Making sure the scenes line up and flow smoothing and fill in the Synopsis box if I forgot to do it in Layer 4. I have a snapshot of the Synopsis box to the right or below. This allows me to look at my work in the Outline Mode where I can see the novel from a bird's eye view.


 Every writer has strengths and weaknesses. At some point, it's important for each writer to recognize what their particular weaknesses are.
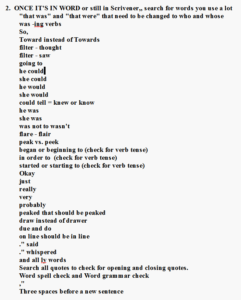
 Once I'm done with that list, I search through the document using the Control F (Find feature) to check that all of my quotes have an open quotation mark and a close quotation mark. It takes a little time to do this, but I feel much more secure when I check them. I ALWAYS find an extra one or a couple of missing quotation marks.
 Now, some of you may say, why bother if you're just going to hand over the manuscript to an editor?
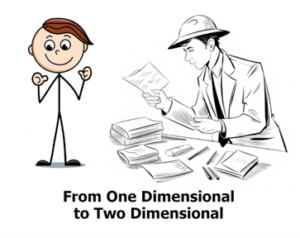 Once you have all of these story parts connected, this is the easiest time to take the characters from stick figures into two-dimensional characters. The characters will be transformed into their final three-dimensional states during the actual book-writing process, so the goal in this brainstorming process is to sculpt two-dimensional characters.
 So the next set of questions is designed to take your story idea from this crime/mystery spine to a second dimensional level. This is the point where you can add realistic character traits and motivations that will fit inside the plotline. I assure you, there won't be any more trying to fit a fully-fleshed out round character into a square plotline. This process will avoid that.
 Unless you are writing in a series where the main character is already fully developed, it's best to wait until after choosing the antagonist, suspects, and motivations for each of them to infuse the main protagonist with human traits. Why? Because the protagonist will need to have a character arc and this will need to be developed over the action of the story and in relation to all of the different suspects.
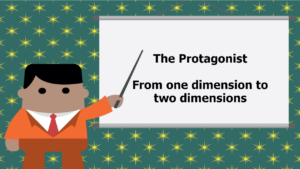
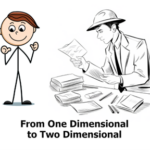 Once you know who, what, when, where and how the story will proceed, now you can choose the type of protagonist needed to solve the mysteries. Now it is time to sketch in more character traits and details. This process will take your stick figure and raise it to a level of a two-dimensional character.
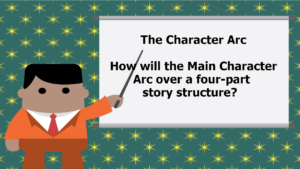 What fears or human frailty will the sleuth need to overcome in solving the crime? This is what drives a character arc. What will the main character ultimately learn? Does he have a fear of heights? Is she normally timid and now has to be courageous? What inner fears will be challenged when going about solving the crime and/or mystery?
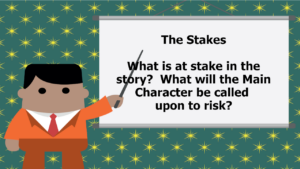
 Again, it's easier to create a character after you already know what he/she will be required to do physically, what skills they will need, and what human flaw can make this challenging. It's easier than forming a main character that you like and then trying to fit him or her into a storyline that already has a life of its own.
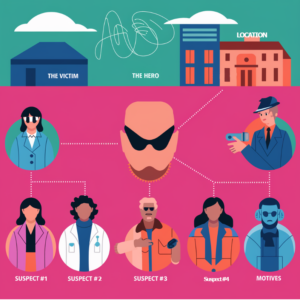 Is there a moral dimension to the conflict that raise the stakes? Does the protagonist's decision have far-reaching ethical implications? Is he/she fighting for justice, truth, or a greater good? Moral dilemmas add weight and complexity to the stakes.
 Is there a ticking clock in your storyline? Is there a deadline to solve the crime? Is there a rapidly-approaching event that can significantly heighten the stakes? The faster the clock ticks, the more intense the pressure, the higher the stakes. This added time pressure can turn a mystery into a thriller.
 When Brainstorming a Novel Storyline, what questions do you need to ask and answer? After having written 14 novels, I believe this technique that I'm about to tell you about will help anyone brainstorm a working plotline.
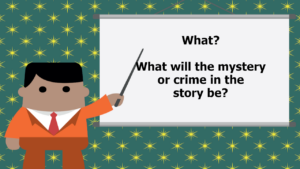 What will the mystery or crime in the novel be? Will it be a psychological thriller and mind control is the crime? Will it be a murder mystery? If so, what is the cause of death? If it's a science fiction plotline, what mystery will hook the reader and thread through the entire story only to be revealed at the end?
 The type of crime or mystery will dictate the investigation methods and details. It will also dictate what clues will be needed in order to slowly reveal the mystery throughout the four-part plot structure.
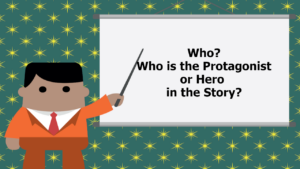 Is he/she a private detective, an amateur sleuth, a police officer, or maybe just a weekend visitor who is inadvertently led into solving a mystery?
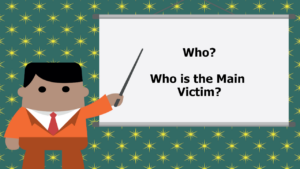 Determine the identity, background, and significance of the victim. This decision can affect the motive, the suspects, and the overall narrative story arc. The victim's characteristics can also influence how the crime impacts other characters or the community at large. Before figuring out who the suspects are, you need to know who the victim is and why they were murdered or wronged in some way. If it's not a crime story but just a mystery or thriller, you will still need a victim. They may not die in the story, but there will be at least an injustice done to them. What is that injustice and who is the victim of it?
 The victim's background, their relationships, and their secrets are all vital. Were they likeable? Did they have known enemies? A compelling victim, even if flawed, gives the reader someone to care about and root for. Even if the victim hasn't been killed or murdered, who is being bullied or targeted as the victim and why?
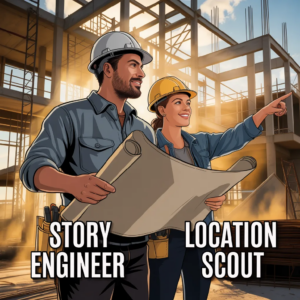
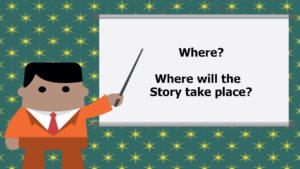 Where will the story play out? Most stories will have multiple stages, but where will most of the action take place? Will it be a haunted estate house? A corrupt business office? Will it be on the streets in a cityscape? How does the setting influence the mood and the unfolding of the mystery? For example: If it's a gothic novel, you will want a large estate house or a monastery, a place that has secret rooms, tunnels, or has a long history with lots of secrets. If it's a urban thriller, you will need several stages in a city scape. If it's a psychological thriller, it may need at least a mental institution. Think of yourself as a location scout for a movie: What interesting places can most of the drama take place?
 Choose a location that not only serves as a backdrop or a stage for the events to take place but which can become its own character. What secrets does the location harbor? Who lived in the historic mansion in another era? Will you need a remote island somewhere to have a closed-door mystery? In a city scape, the backdrop may be about about the certain era, or just a gritty story, or a surreal story. In a mystery drama, what happened in the main family that started all the secrecy? What sin has been passed down through the generations? What corporate setting do you need to show back-door deals or money laundering? What setting can you choose that will enhance the story?
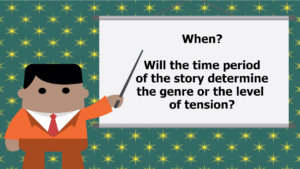 Will the story be set in a specific time period? Will it be a general contemporary book that won't reference any specific time period at all? Or will it be specifically cast in an era or time period that will require research?
 There are many blog posts and videos on the internet about how to write a novel. Much of the advice is general in nature and only broad-stroke tips. This video seeks to go one step further and open my last book, which is still being proofread in Layer 8, and show a work-flow demonstration.
 I am in the process of finishing my 14th novel. I started out like many of you as a self-taught author who took in unorganized, uncurricularized information and had to make sense of it all. I devised this 8 Layer system to try to write a novel as efficiently as was possible. I offer it to you for whatever weight you wish to give it.
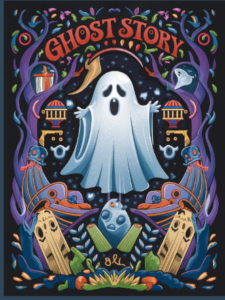 1. Who is the Ghost? Why has the Ghost arisen? Why is the Person not Resting in Peace? What is the Ghost's purpose for appearing? This is the backstory that will be dropped like breadcrumbs throughout the storyline. (Ghost-Story.png)
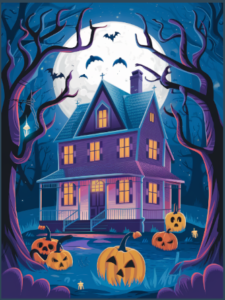 1. What is it about the house that's creepy?
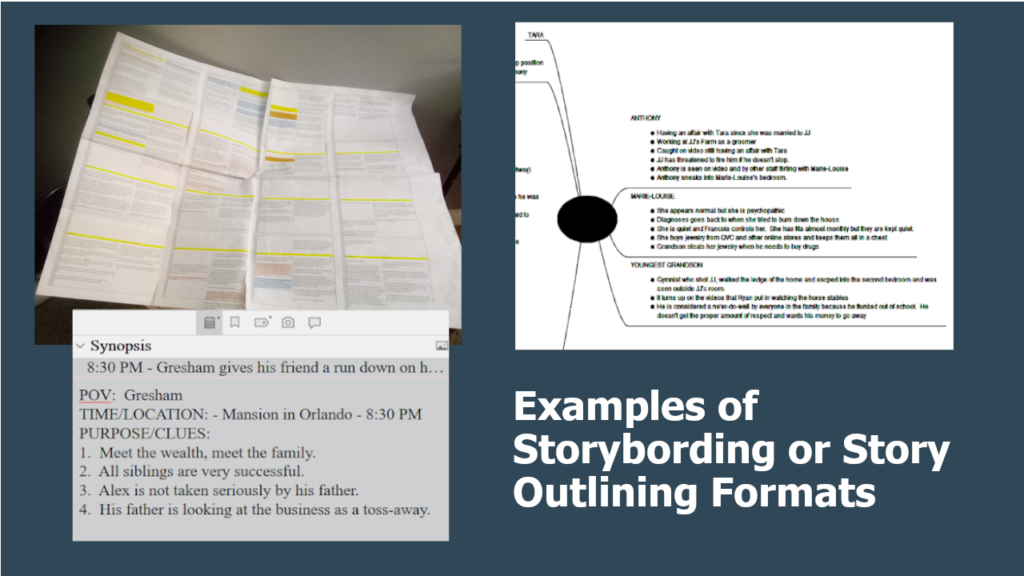
 It may help to think of yourself as more of a Town Crier.
 1. Using the read aloud feature in Microsoft Word, I read the book aloud as I read along with it. This gives you an idea of how the book will sound in the reader's mind.
 In Layer 8, I do a read-back. In Microsoft Word, I use the Read-Aloud feature that is contained on the Review Tab. By listening to the book read aloud by someone else, it doesn't skip over mistakes like I do as the author. By the time I'm finished with Layer 7, I've read and reread this book too many times to trust my eyes to spot every error.

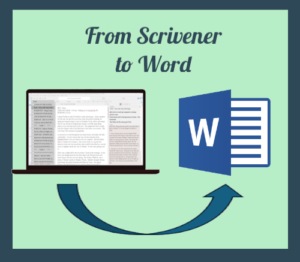
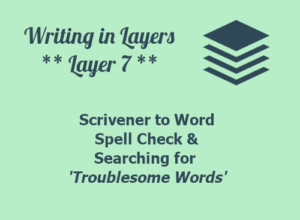 We compiled the novel into a Word document and named it "Manuscript from Scrivener". That's where we now pick up with Layer 7.
 Layer 6 is the first true proofreading. In Layer 5, I proofread to make sure the story flowed without interruption from scene to scene. My focus was on making sure the story flowed from scene to scene, without any big unexplained time gaps, or location mistakes, etc.
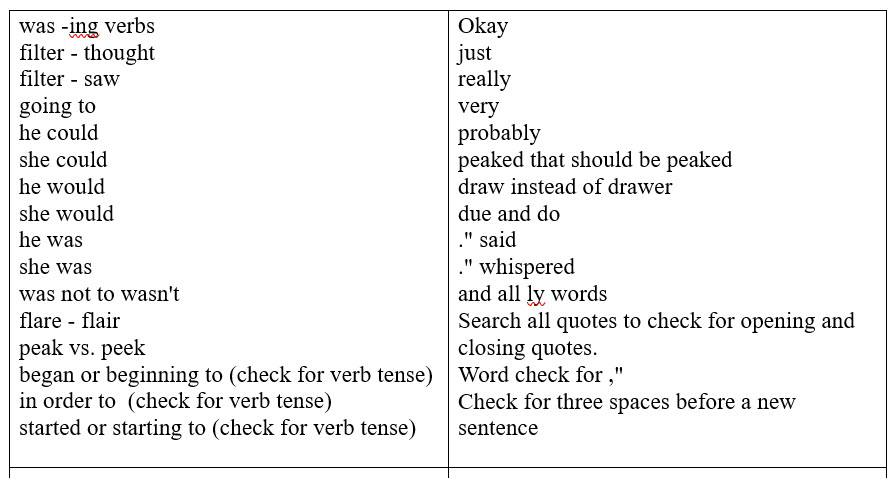
 Once you are finished with Layer 6, Click on File => Compile