Inflation Busting #10 - Establishing Local Farmer & Rancher Sources
I've done research and have streamlined that research so, hopefully, you can absorb what is going on in a five-minute scan. Many of you may be tuned out of politics and what is going on with Iran, China, Russia and the rest of the world and how this may or will affect inflation, food production, and truck deliveries going forward.
Normally, tuning out of politics would be seen as a good move and could even be interpreted as rage management. Younger adults who are establishing themselves in a career and/or working and raising a family don't have the energy or bandwidth to keep track of what is going on. I'm retired, so I have a bit more time than many of you. I wanted to end my 10th Inflation Busting Series with a suggestion of how what is going on right now may affect us as consumers and family members going forward.
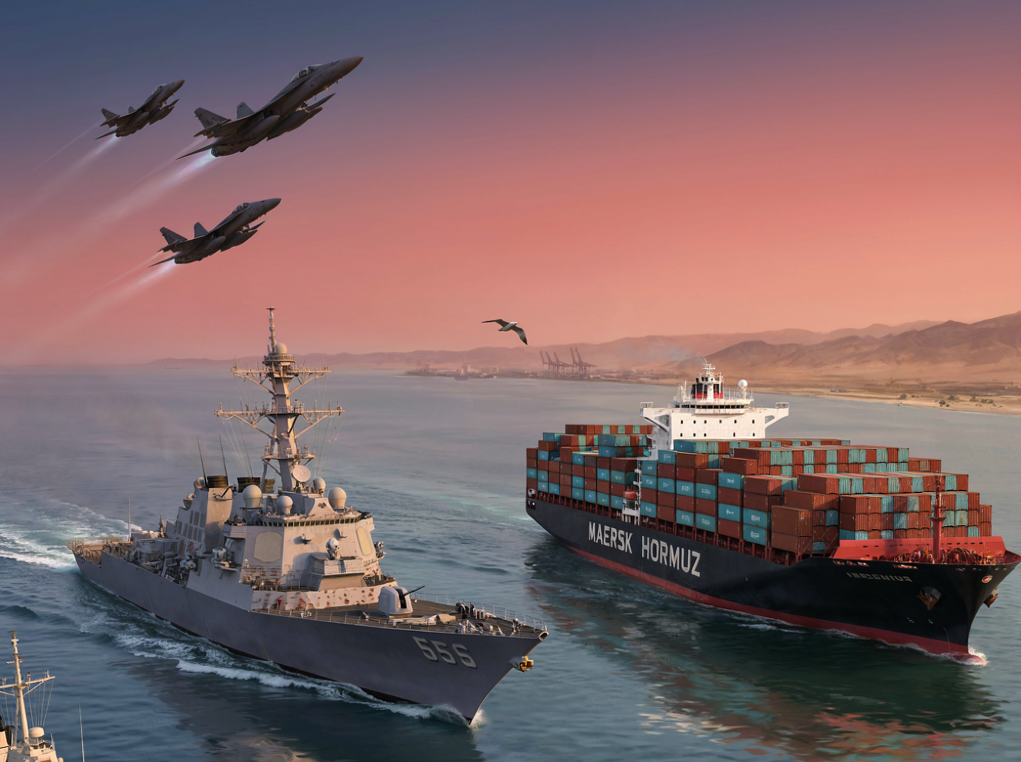
I believe, and you can give this whatever weight you deem fit, that we have entered a stage where there are now signs that the standoff between the US Government and Iran regarding transporting oil and other container ships through the Strait of Hormuz is already causing problems locally.
The big box stores are filling their shelves with old merchandise or inventory that they normally keep in the back of the store because the goods are now beginning to dwindle. After shopping a few days recently, I saw every other place on the shelf empty and a bit more space between the products. Walmart had aisles filled with extra large container boxes that I know they would normally keep in their back room inventory. These are the first real signs of the problems we may face as we got forward.
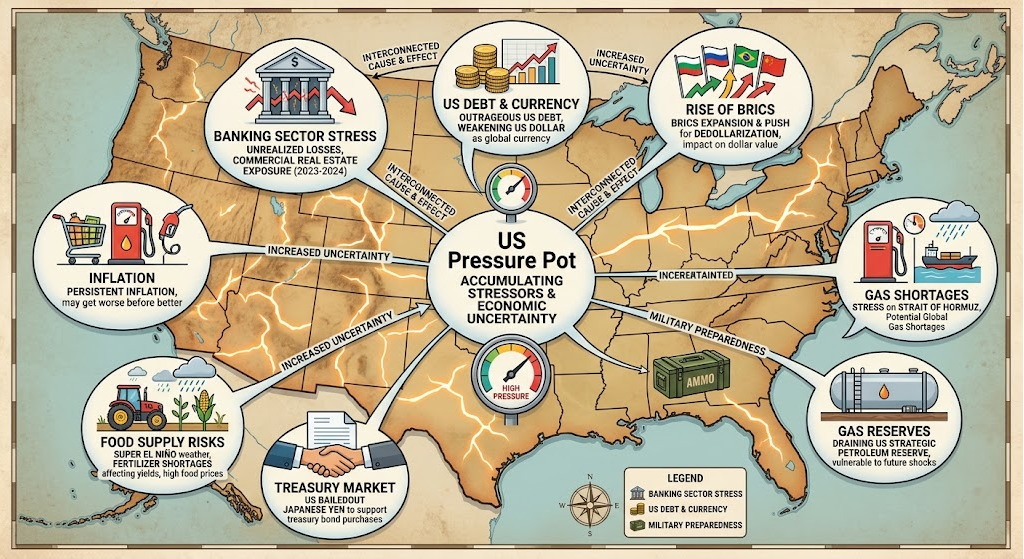
We're not just facing this escalating inflation, but now I'm seeing signs of a reduction in general inventory.
The purpose of this last Inflation Busting Segment is to introduce you to the idea of buying food and meat from local farmers and ranchers. Once you establish a relationship with these local suppliers, you will have a safety valve against the chaos that may occur in the local grocery stores if the eggs stop showing up, or the milk is two weeks late.
How a Crisis in the Strait of Hormuz Affects Store Shelves in America
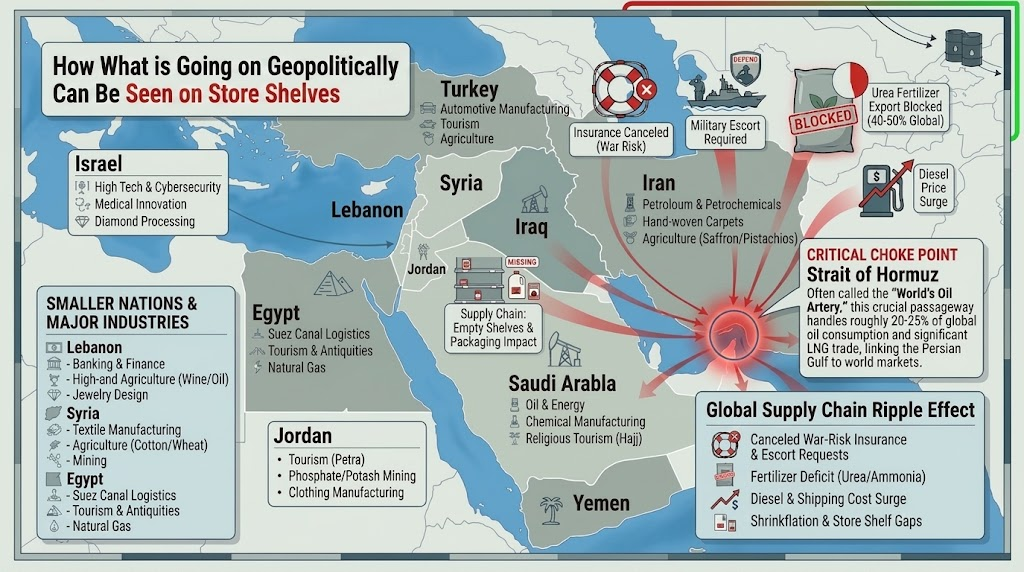
When news headlines talk about geopolitical tensions in the Middle East, most people assume it only affects the price of a gallon of gas at the local pump. But the reality is far more wide-reaching.
The Strait of Hormuz—a narrow waterway handling nearly a quarter of the world’s seaborne energy and almost half of its global fertilizer exports—is directly linked to the shrinking package sizes, higher prices, and patchy inventory appearing on store shelves in towns across America.
Understanding how a bottleneck thousands of miles away ripples down to local store shelves reveals why taking control of your family’s food supply is one of the most effective ways to build personal independence.
The Domino Effect: From Ocean Waterway to Local Grocery Store
The connection between a shipping narrow point and local store shelves isn't immediate, but it follows a predictable four-stage chain reaction:
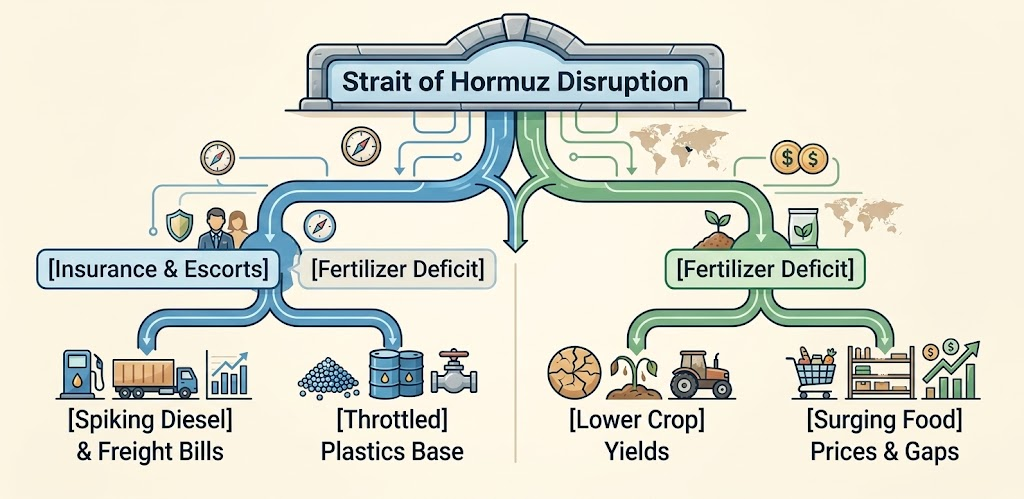
1. Canceled Marine Insurance and Escort Backlogs
When conflict or military friction rises in the Strait, maritime insurance companies pull back war-risk coverage or raise premiums by astronomical margins.
-
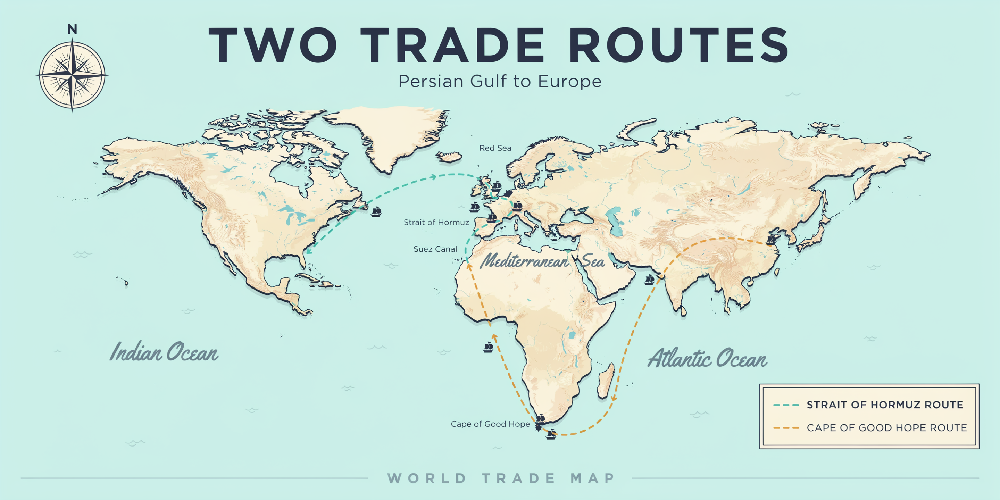
The Freight Stall: Ships are forced to anchor outside the choke point while waiting for costly military escorts or re-route entirely around Africa’s Cape of Good Hope, adding 10 to 14 extra days to travel times.
-
The Domestic Result: These delays absorb container availability, spike ocean freight rates by 30% to 65%, and cause delayed shipments at major U.S. distribution hubs.
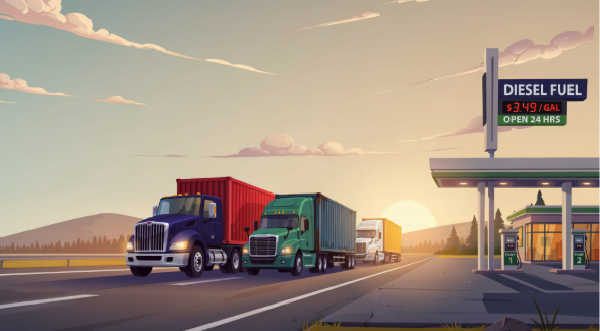
2. The Diesel Fuel Spike and Transportation Surcharges
Over 70% of all goods and food products transported across the United States travel in diesel-powered semi-trucks.
-
Fuel Costs Surge: As crude oil prices react to Middle Eastern instability, domestic diesel prices jump significantly.
-
Trucking Contract Rejections: Independent carriers paying significantly more at the pump are forced to pass those costs directly onto retailers and food distributors.
-
Delayed Store Deliveries: When delivery costs soar, shipping routes are consolidated or delayed. Instead of receiving daily or bi-weekly deliveries, stores face stock gaps while waiting for consolidated loads to arrive.
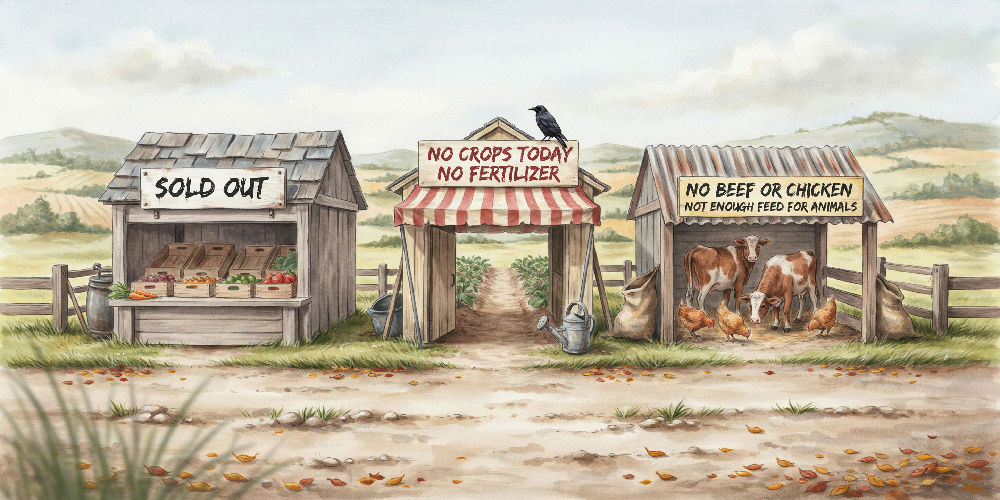
3. The Nitrogen Fertilizer Shortage and Crop Yields
The Persian Gulf is not just an oil hub; it is the source of 40% to 50% of the world's exported urea, the primary nitrogen fertilizer required for growing modern crops like corn, wheat, soybeans, and rice.
-
Fewer Inputs, Lower Harvests: When fertilizer exports from the Gulf stall, international urea prices jump. Farmers across North and South America are forced to reduce their fertilizer application per acre due to exorbitant costs.
-
The Feed and Meat Connection: Lower crop yields mean less feed available for domestic livestock, pushing up feed prices for commercial cattle, poultry, and pork operations. This cost feeds directly into higher retail meat prices with a 6- to 12-month lag.
4. Petrochemical Bottlenecks: Shrinkflation and Packaging Delays
Middle Eastern refineries produce crucial chemical base ingredients—such as naphtha and ethylene—which serve as the building blocks for global packaging materials, synthetic fabrics, craft supplies, and food containers.
-
Packaging Delays: When raw plastic resins and packaging materials are delayed or throttled at the factory level, food manufacturers cannot bottle, box, or wrap finished products, creating manufacturing backlogs.
-
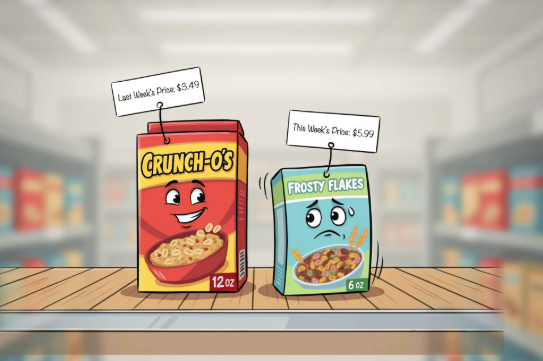
Shrinkflation: To absorb soaring freight bills, rising packaging costs, and expensive agricultural inputs without scaring off consumers with $10 price tags on basic items, manufacturers shrink package sizes while keeping prices the same or slightly higher.
How to Protect Your Household: Local Meat and an Ingredients Pantry
Relying entirely on long, fragile corporate supply chains leaves family budgets exposed to international trade disruptions. Building resilience does not require drastic lifestyle shifts—it simply means making a few intentional changes to how you buy and store food:
-
Establish Direct Relationships with Local Ranchers and Farmers:
-
Buying beef, chicken, pork, and eggs directly from local agricultural producers bypasses ocean shipping delays, corporate packaging markups, and diesel surcharges.
-
Purchasing fractional shares (an eighth, quarter, or half beef share) locks in a set price per pound and secures high-quality meat directly in your freezer.
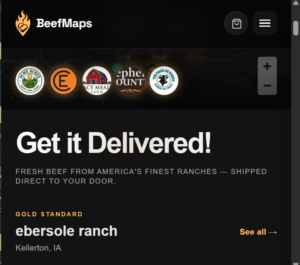
- Above are two screen shots of two websites you can start with. The one on the left is called BeefMaps.com, and this website will allow you to choose your state and you can zero in on ranches and farms close to your home. This one has a nation wide directory.
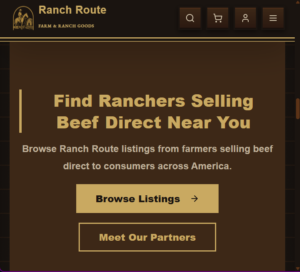
- The screen shot on the right is from a website called Ranch Route, which allows you to buy direct from the farmers and they have boxes and customized orders.
 Another Farm and Rancher director is called Eat Wild. They have a website, a directory and they seem to have a lively community. Many of you will find it easier to order online and many of you will like the idea of getting to know the farmers and ranchers in your area.Many local ranchers have posted several YouTube videos complaining about how the lifting of the tariffs will crush their businesses. These ranches and farms have been in their families for generations. It's important for us, as Americans, to support our ranchers and farmers.

 Click on image above to download a hi-res image from Google Drive


 New Audiobook by R Shannon - John Walsh is a successful funeral director with a loving family but he has a weakness for other women. The modern world thinks cheating is a victimless crime, but is it?


 When I start a book, I can remember one or two character names, but once there's more than three characters, I start getting them mixed up. Slipping a tab onto the page where new characters are introduced will make it easy to pinpoint all new characters so I can check back to see who is who.
 There's always one or two beautiful lines of prose in most books that I would like to review when I finish the book and before I put it away and go onto the next one. Another one would be for a clever turn of phrase used in the book.







 While searching for bookmark ideas, I came across the PrintablesFairy.com website. which is owned by Mishell, who is an author and creates amazing papercrafts of all kinds.


 Daily Supply: Every person needs at least one gallon of water per day. At the first sign of trouble, fill all bathtubs and have several empty soda bottles on hand to fill with water as a backup.
 Off-Grid Laundry Supplies: Stock extra liquid castile soap (like Dr. Bronner’s) or heavy-duty laundry detergent, a washboard or manual plunger-style washer, and a heavy-duty clothesline with clothes pins.
 Keep a few hundred dollars of physical cash on hand in small bills ($1, $5, $10, and $20). If banking systems or power grids experience temporary outages, electronic card payments and online banking won't be accessible.
 Print physical street maps of your local city and surrounding counties. Maintain a physical address and phone book for family, friends, and trusted neighbors rather than relying solely on cell phone storage.



 Keep your eyes peeled for mason jars, pantry organizers, baking mix recipe books, anything that will help you slowly switch to an ingredients-first pantry.
 PLEASANT SURPRISE: One pleasant surprise I learned was that when you need to read every word without flubbing, you catch all the mistakes. Even when my books are edited by a wonderful editor, small typos and name swaps, etc. can get through. But when you need to narrate it and listen back as you edit, those errors are all caught.
 When recording in Audacity, the audio will be saved as a 'project'. This will save it as a .aup3 file. This is the raw audio that is saved as a file that only Audacity recognizes. ACX requires .mp3 uploads. So the pathway is to save the project as an .aup3 file when you are working on it in audacity. When it is edited and finished, you will need to export it as an .mp3 file.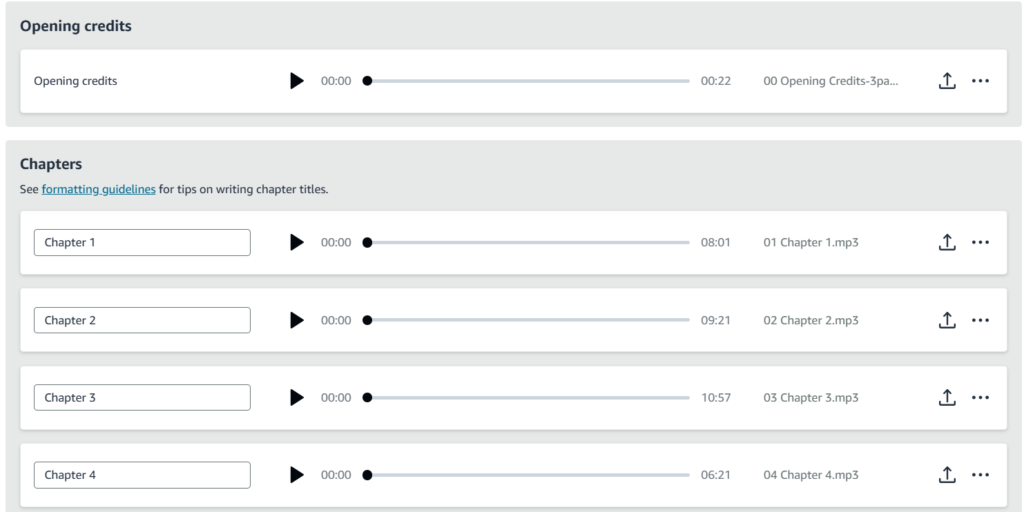





 The secret to drafting suspense without losing your mind is to write out the bare bones of the crime or suspenseful event first. Don't worry about anything else yet. Forget the deep backstory, the descriptive settings, or the witty dialogue. Focus purely on the mystery or crime itself, and build a strict chronology of how the clues or revelations are dropped.
 Leave notes to yourself. When you finish a writing session, make a quick note of where your mind is at and what needs to happen next. It makes finding your place the next day so much easier.