
WHERE WE LEFT OFF:
The last Peek Behind the Novel video may have been a tips video. So I'll just jog everyone's memory here. In Layer 4, that is the 'down-and-dirty' first draft. That's where, using my scene outlines, I write the scenes. I just keep going. I don't check anything.
WHAT WAS UNIQUE ABOUT THIS NOVEL:
 Although I follow a detailed outline of the story before I even start writing, each novel presents its own issues and/or problems. In this novel, I had several timelines I had to keep straight.
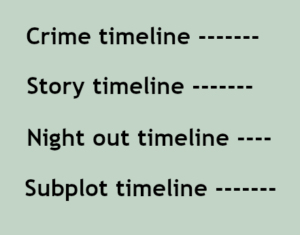
There is a crime timeline. Then there is the story timeline, where all the clues are dropped into the story. The characters had a night-out and that had its own timeline. Plus the subplot has a timeline.
Because I had to concentrate on keeping all of these timelines straight, I only sketched in the subplot. That means that in Layer 5, I will also be writing my subplot into the story. I can concentrate on the timeline for the subplot by itself.

However, I did leave guideposts in Scrivener for myself to make laying in the subplot easier for myself. As shown above, I write in a guidepost where I have free time for a scene from the subplot. I also highlight it so it's easier to find. Without these guideposts, I would have to pick through the whole novel looking for places to fit in the subplot scenes.
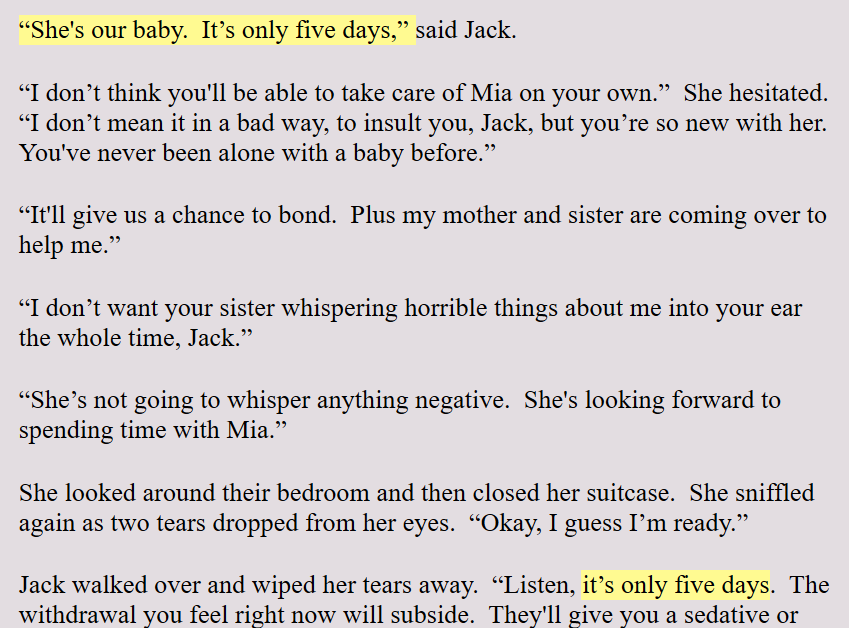
Another guidepost I left for myself is to highlight a timing that is involved in the subplot. By keeping this highlighted, it's a constant reminder that this timing may have to change as I write the entire subplot. This too prevents me from having to search and find or nitpick through the entire novel.
WHAT I DO IN WRITING LAYER 5:
Normally, Layer 5 is where I write in all of the descriptions; descriptions of the characters and the locations. I fix any glaring errors that pop out at me, but I make sure I don't get lost in any type of real proofreading.
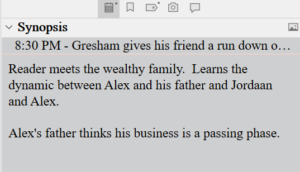 The second thing I do in Layer 5 is to fill out the Synopsis section. This section is in the upper right-hand side of the Scrivener platform.
I use only a few words to indicate what happened in this scene, especially what clues have been dropped. I don't use anything longer than a short sentence. The purpose for this is so that once I am finished writing Level 5, I can look at the entire story in Outline View. I have a snapshot of the Outline View below.
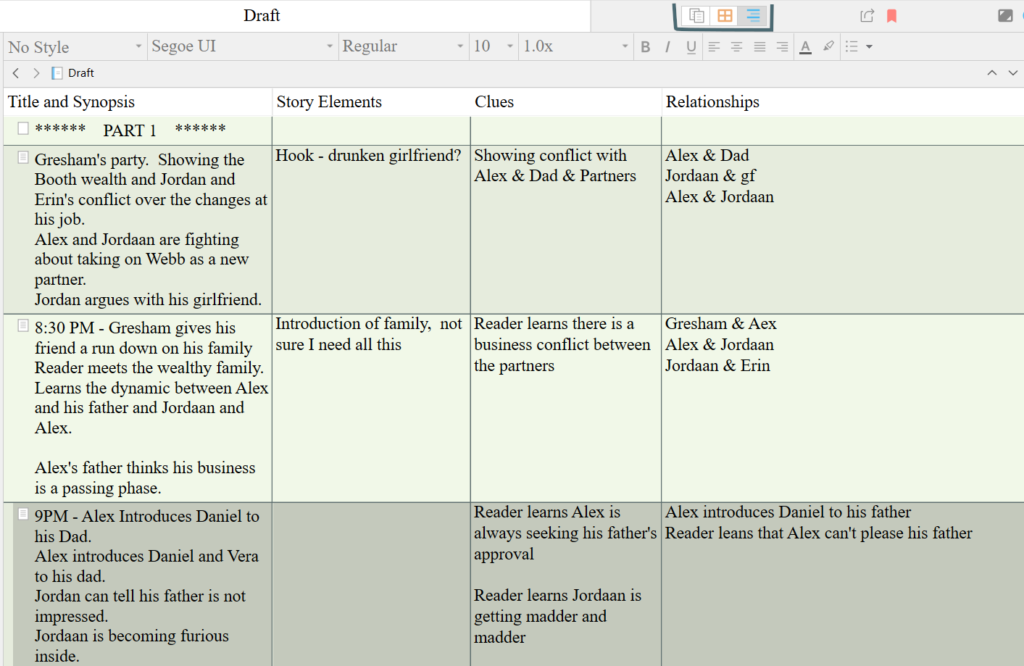
Once I have all of the scenes in and I have the synopsis filled out, I can view the novel from a bird's eye view again. This will let me know where the book is "sagging" or where I don't have enough going on.
I can see the weight of the story in this viewport. I can see the interactions of all of the characters.
LAYING IN THE ENTIRE SUBPLOT:
 Now, because I had to kind of abandon the full subplot in Layer 4, I will be finishing the subplot while I'm doing the descriptions and the synopsis box. Once I'm done with this layer, then I'll be back to discuss what happens in Layer 6!
Benefits of Writing Fiction in Layers:
1. Manage creative energy.
2. Keep the entire novel project manageable
3. Writing in layers leads to several layers of accomplishment
4. A story written in layers is a richer and deeper story.
Tips on Writing in Layers:
1. Name each layer and know your specific mission. This leads to a
feeling of completion and also a feeling of accomplishment several times during the entire project.
2. Learn the difference between creative energy and drudgery energy.
3. By breaking the writing process down into layers, it is less taxing on your memory.