
Inflation Buster: Get Rid of the Cash Eaters in Your Laundry Room
If you take a close look at your monthly household expenses, you’ll quickly spot a few sneaky "cash eaters"—everyday products that cost way more than they should while draining your budget bit by bit.
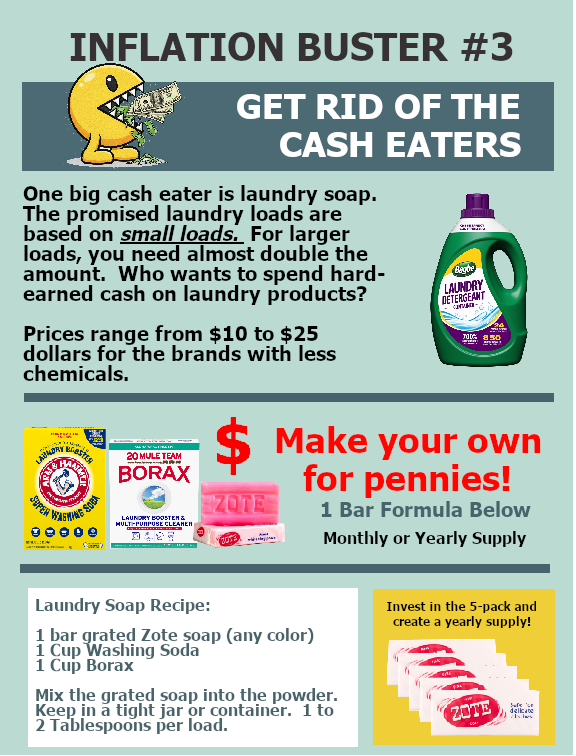
One of the biggest offenders hiding in plain sight? Store-bought laundry detergent.
 Commercial laundry soaps—especially the brands advertised with fewer chemicals or for sensitive skin—can easily run anywhere from $10 to $25 per bottle. To make matters worse, those "100 loads" promised on the front label are almost always based on tiny loads. Once you fill the tub for a normal or large family load, you end up using double the recommended amount, causing your money to wash right down the drain.
Fortunately, you can reclaim control over your laundry routine and save serious money by making a few simple, high-impact changes.
Make Your Own Laundry Powder for Pennies
Instead of spending top dollar on commercial detergent, you can whip up your own powerful, low-chemical laundry soap at home for just a fraction of the cost.
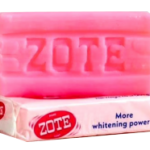
The 1-Bar DIY Laundry Soap Recipe
Ingredients:
-
1 bar Zote soap (grated, any color)
-
1 cup Washing Soda (Arm & Hammer Super Washing Soda)
-
1 cup Borax (20 Mule Team Borax)
Instructions:
-
Grate the bar of Zote soap finely using a hand grater or food processor.
-
In a large bowl, mix the grated soap thoroughly with the washing soda and Borax.
-
Transfer the mixture to an airtight jar or container.
How to Use: Use just 1 to 2 tablespoons per load.
Keep your eyes open if and when you're in Walmart or any of the Dollar Stores. They often carry Zote or a sister product in their laundry or soap aisles.
I keep a list of "Always Looking for These" and Zote laundry soap is on it. I read this list every time I enter a big box store to refresh my memory for things I'm always looking to replenish or things I'm looking for a good deal on. It also prevents me from wandering aimlessly through the stores. I know exactly where I want and need to look.
The Power of Pre-Soaking: Target Deep Dirt and Stubborn Spots
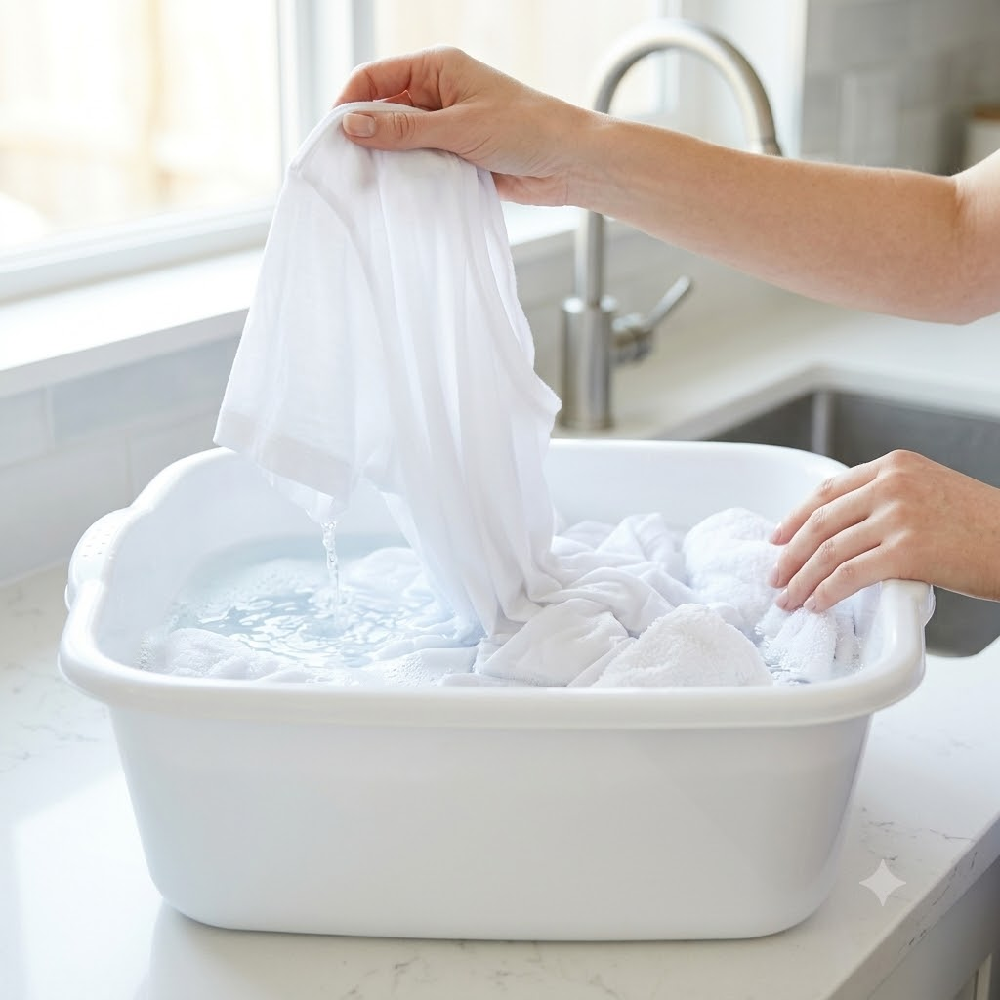
If you have clothes with set-in grime, underarm yellowing, or stubborn food spots, don't waste money buying expensive specialty stain removers or dumping extra detergent into the wash. Instead, rely on pre-soaking.
Before running a standard wash cycle, fill a bucket or your washing machine basin with warm water and a scoop of your DIY mix (or a little extra washing soda and Borax). Submerge your heavily soiled items and let them soak for 2 to 4 hours—or even overnight for extreme stains.
Why this works:
-
Breaks down oils and dirt: Giving the cleaning agents time to work without agitation allows deep-seated oils and grime to loosen naturally.
-
Brighter whites without harsh bleach: Borax and washing soda act as natural water softeners and boosters, delivering significantly whiter whites and brighter colors without damaging fabrics.
Slash Electric Bills with a Stand-Up Drip-Dryer
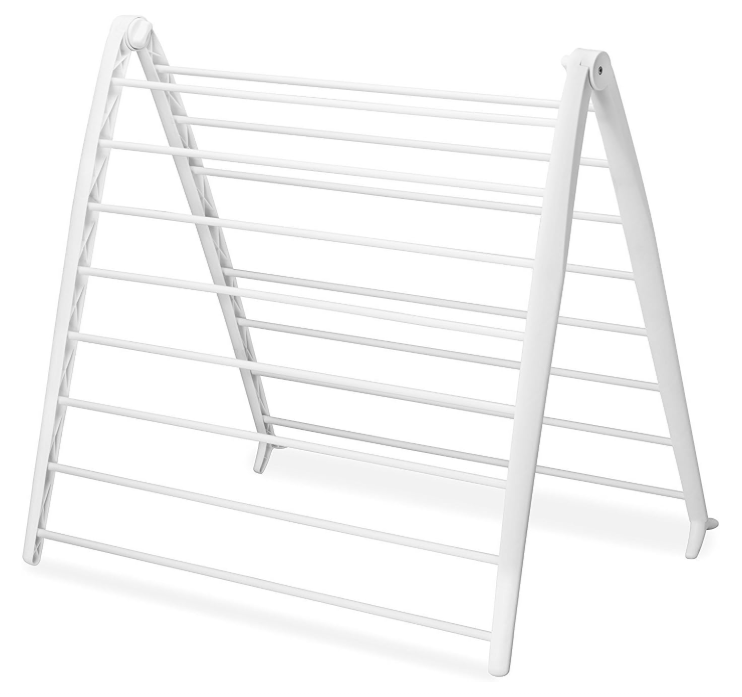
Your clothes dryer is one of the single most energy-hungry appliances in your home. Running it multiple times a week quietly jacks up your monthly electric bill.
An easy, zero-electricity alternative is to invest in a stand-up clothing drip-dryer or drying rack.
-
Drying Indoors or Out: Set up a folding drying rack in a laundry room, guest room, near a sunny window, or outside on a porch or patio.
-
Fabric Preservation: Tumble drying bakes heat into fibers and causes friction that wears out clothing, fades colors, and causes shrinkage. Air-drying keeps your wardrobe looking new much longer.
-
Zero Cost Per Load: Every load you air-dry is money kept directly in your pocket.
Phasing Out High-Maintenance "Dry Clean Only" Clothes
 Dry cleaning is another hidden cash trap that eats away at a frugal budget. Paying $5 to $15+ per item every few weeks adds up fast.
To build long-term financial resilience, start making a conscious shift away from dry-clean-only fabrics:
-
Audit Your Closet: Identify high-maintenance items and evaluate whether they can be gently hand-washed or washed on a cold delicate cycle at home (many polyesters, rayons, and blends can be).
-
Buy Washable Replacements: As dry-clean-only clothes wear out, gradually replace them with stylish, washable alternatives like machine-washable knits, cotton blends, and high-quality synthetics.
-
Adopt Frugal Habits for the Long Haul: Whether you swap these items out temporarily to weather inflationary times or make it a permanent lifestyle upgrade, eliminating dry-cleaning bills creates permanent room in your budget.
Take Back Your Laundry Budget Today
Trimming the fat from your budget doesn't mean compromising on clean, fresh clothes. By mixing your own laundry powder, utilizing pre-soaks, air-drying, and ditching expensive dry cleaning, you can eliminate the "cash eaters" in your laundry room once and for all!

Have a peek behind a real novel.

Check out my novelette Writer's Block that I wrote and narrated! It's available on Audible but if you want to download for free, click below to get professional audiobook delivery from Bookfunnel

I wrote and narrated it. It's my first attempt at narration!

 When you need something new, commit to making your budget net-zero.
 One of the easiest ways to build your buying fund without spending a dime upfront is leveraging the "For Sale & Free" tab on Nextdoor.com. People frequently post perfectly good furniture, home decor, toys, and household items just to clear out space quickly. Pick up a solid free item locally, clean it up, take a few great pictures, and re-list it on Facebook Marketplace.
 freebies, and neighborhood Junk Days into a game. Teaching them how to spot value, bargain, and sell is a fantastic hands-on lesson in practical finance that pays off for the whole family.


 PLEASANT SURPRISE: One pleasant surprise I learned was that when you need to read every word without flubbing, you catch all the mistakes. Even when my books are edited by a wonderful editor, small typos and name swaps, etc. can get through. But when you need to narrate it and listen back as you edit, those errors are all caught.
 When recording in Audacity, the audio will be saved as a 'project'. This will save it as a .aup3 file. This is the raw audio that is saved as a file that only Audacity recognizes. ACX requires .mp3 uploads. So the pathway is to save the project as an .aup3 file when you are working on it in audacity. When it is edited and finished, you will need to export it as an .mp3 file.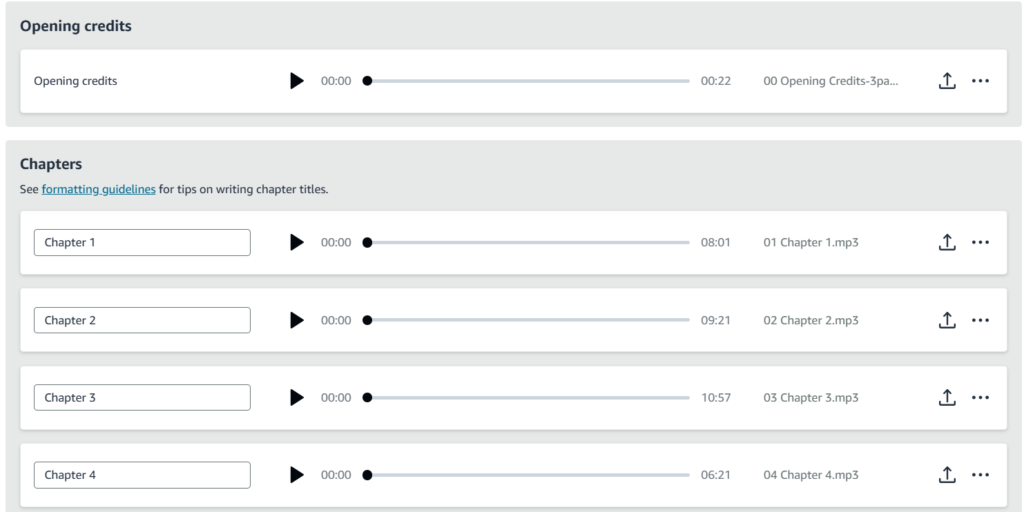






 The secret to drafting suspense without losing your mind is to write out the bare bones of the crime or suspenseful event first. Don't worry about anything else yet. Forget the deep backstory, the descriptive settings, or the witty dialogue. Focus purely on the mystery or crime itself, and build a strict chronology of how the clues or revelations are dropped.
 Leave notes to yourself. When you finish a writing session, make a quick note of where your mind is at and what needs to happen next. It makes finding your place the next day so much easier.
 When you sit down to outline your story before you write a single scene, something shifts. You stop thinking like a writer and start thinking like a builder. That's the whole point.
 The Brainstorming Hat — This is the first hat, and it's the loose one. You wear it when you're sketching out a few possible storylines, just to see which one has legs. This is quick work — short, messy ideas, not finished plots. The goal isn't to pick "the" story yet. The goal is to make sure whatever story you commit to actually has enough potential for twists, turns, and a full novel's worth of trouble. Don't skip this hat. Committing too early is how writers end up 40,000 words into a story that runs out of gas.
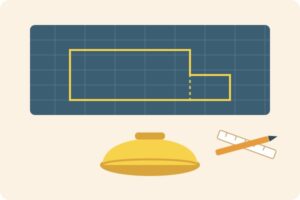 The Story Engineer Hat — Once you've picked your storyline, this hat goes on. This is where you lay out the bones of the story — what happens, in what order, and why. You can do this with short paragraphs, a bulleted list, index cards, whatever gets the structure out of your head and onto something you can look at. It won't be pretty. It's not supposed to be. This is the layer where you make sure the story actually holds together before you build anything on top of it.
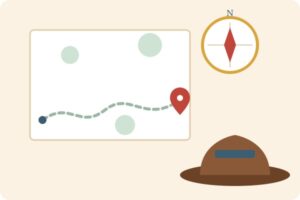 The Location Scout Hat — This one comes after your story has taken shape in the engineering stage. Now you go looking for the places where all of this is going to happen. Where does the crime scene sit? What's down the street? What does the neighborhood look like? Putting in a little effort here pays off twice — it makes your story feel grounded and real, and if you've ever thought about your book being adapted for film or streaming, having real, scoutable locations gives you a head start.