COPYING INTO SCRIVENER
I watched a video on YouTube teaching how to import a Word document into Scrivener. It suggested that you could use a symbol like the pound sign (#) to indicate the end of a chapter. It sounded so easy, but it didn't work. At least for me, it didn't work.

So I just copy and pasted each chapter into a new document. By breaking up the novel back into separate chapters and having the tools inside Scrivener to keep an overview of things, it made the whole process seem a lot easier.
CHANGES I MADE:
 I decided not to change the actual plotline of the story because I still liked it. I chose to polish up my prose and add some additional foreshadowing.
When I originally wrote the book, I wasn't sure there would be a second book. I wound up writing 5 books in the series. There wasn't much foreshadowing in the book, and the characters had developed over the series, so I was able to beef up the characters in the first book and add some foreshadowing now knowing how the series would end. I decided that these changes would bring Book 1 to a place I would be happy to then let go of the series.
 Now, this decision was made in real time. In other words, until I hit a stride in about the fourth chapter, I was still unsure if I would even continue on with the rewrite. But by the fifth chapter, I realized that the changes I was making, even though it wasn't changing the actual plotline, were good and well worth the effort.
The advice I would pass on to anyone who is considering a 2nd edition and you're not sure of it, try to be okay with proceeding one step at a time with some general doubt. Let that be okay. This is the advice I would have given myself on the day I started in Scrivener.
WHAT I LEARNED FROM THE PROCESS AND WHAT I WOULD DO DIFFERENTLY NEXT TIME:
Now that I have been through the entire 2nd Edition process once already, I realize that there are continual doubts along the way that I needed to just push through.
The one change I would make to how I did things is this: I would make a separate copy of my final manuscript and go into Word first. If I decided to change the actual plotline, then I would bring the book into Scrivener as I would need to use the outline mode to keep track of everything. However, since I only added foreshadowing and improved he prose, I would have done the work in Word.
The only reason for proceeding in Word only is because compiling the book from Scrivener to Word does mess up the styles and the formatting a bit. This gives rise to a need to re-read the book again before handing it off to an editor.
TIME OUT FOR A LITTLE ADVICE ON EDITING:
 I had the book edited originally, but I just changed every other sentence, so it had to be re-edited. I knew that going into this, so it was okay. Now, I like to edit the book myself and I have an elaborate multi-layer stage of proofreading that I go through so that when I pass the book to an editor, his or her time is not eaten up with correcting silly typos and adding forgotten commas.
By doing a thorough proofread, and with a suggestion that my weakness is verb tense and reading over my own typos, the editor can focus on the things I need the most help with.
THE NEXT DECISION TO MAKE:
The rewrite with prose improvement and foreshadowing added turned out to be MUCH easier than I anticipated. So after passing off the first book, Darius - A Vampire Story, to my editor, I decided to do an upgrade on the second book too. I just passed that one off to the editor yesterday.
SHOULD I MAKDE A NEW BOOK COVER?
I wish I could say this was an easier decision to make, but it wasn't. I really like the present book cover on my first book, but I changed the artwork a little bit for one reason:
I wanted to tweak my marketing strategy when I get the second book done so I wanted the book cover to look like a cross between a cozy mystery and a low-fantasy paranormal romance. My book has a ribbon of Catholic morality running through it, as well as a satirical commentary, so readers who are used to vampire hunters, or dark despair-saturated books like those of Anne Rice, or teenage books like Twilight would be disappointed in my book.

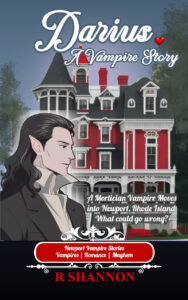
So as I move forward, I'm still experimenting. I decided to go with the new cover, but I'm planning a marketing relaunch when this 2nd book comes back from the editor and then I will watch to see if the new cover or even the 2nd edition makes any difference in sales or reviews. If it doesn't make a difference, then I may go back to my original book cover and then let go of it entirely.
So even now, I'm still proceeding one step at a time. I'm still waiting to see what happens. All I do know for sure is that once this last change is done, I will be ready to let go and let the series be what it is.
 Before I get to how to do a 2nd edition of your book, the preliminary questions you need to answer are:
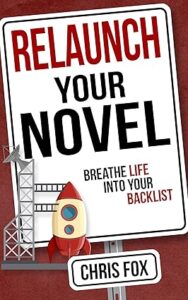 I read Chris Fox's book Relaunch Your Novel and he had great advice. He got my wheels turning and he asked the right questions about why you would want to relaunch your novel.
 The biggest temptation along the way was to take the attitude that everyone's early books aren't that great, so let go and just move on. This would have certainly given me a quick fix. But in my case, I just couldn't leave the book alone knowing that I could probably polish it up a bit before moving on. So for me, even though it was tempting to just let go and move on, I decided I want to fix the book -- and maybe even the entire series -- but I wasn't sure whether I just wanted to do a re-edit or to change the storyline, etc.
 I decided that I wanted to just fix the first book in the series because it had the lowest ratings. The second reason I wanted to make the effort with fixing the book is that I have now finished the series with the 5th book, and now that I know how the story ends, I wanted to put a little foreshadowing into the book while I was buffing it up.
 This was the one question that led me down the road of choosing to write a 2nd edition: What will I get out of it? The answer was and is: I knew if I fixed Book 1 that then I would be able to let go of the entire series and move on. I still like the stories and the series itself. It's not my most popular book series, but I still like it. So fixing the first book was important to me in terms of 'my body of work'. I knew I had more experience and I could improve the book, even if it was just adding some foreshadowing or improving on the prose.

 If you, however, are self-publishing and are planning to do your own marketing, giving away your book, especially when you are just breaking in as an author is crucial. Once you decide to give away your books, you will need a PDF document and an ePub document.
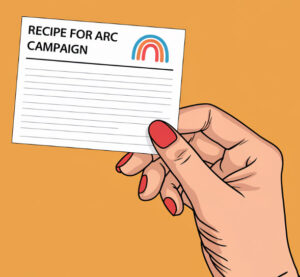 Yes, the recipe. I just finished planning a Private Advanced Reader Campaign and although it's not hard, it does require several steps and knowing what order you need to do each step is important. If you do them in the proper order, it will be an easy process.
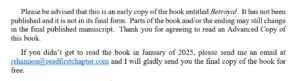
 For any Advanced Reader Campaign, I would suggest you add a disclaimer that it is an advanced copy, a watermark, and a link to fill out a questionnaire about what the reader thought about the book.
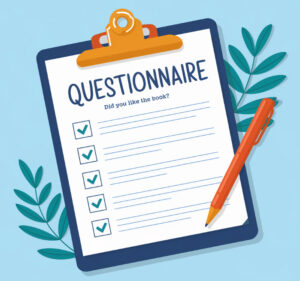 You will need to create the questionnaire for the readers to fill out. Now, if you don't have a website where you can create a form, you can use a google forms or you can ask the readers to send an email with feedback about the book to your email. I have found the forms get more interaction.
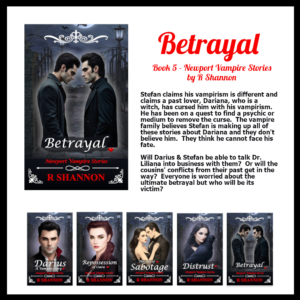 And lastly, you will need graphics to post on your website or social media.
 The one main reason I have right now is that I want to avoid offering this to the general public because I am not sure if the book, even though it is edited, is in its final form.
 In order to offer a limited ARC copy, I will use my newsletter list, which is really my reader list, and my website. I will limit the invitations to these two places.
 I usually bring these epubs into Sigil, a program to create and/or edit ePubs in order to make some global changes and/or clean up the extra codes it may bring inside. I will have a video on this one.Create a PDF from your docx file. Once you have the epub and PDF, you are ready to upload to KDP and test it. I will cover this in one of the videos.Upload the PDF and the ePub up to google drive and copy the links; you will need them later.
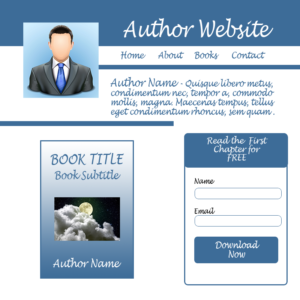 The next steps are done with my website. They have to do with pages and forms. So if you don’t have a website, then you can use google forms or whatever system you presently use to get signups. I use Mailerlite and could have set this up through them, but I want to receive the emails and names myself so I can keep a list of who the ARC readers are so I can ask them for a review when the book is ultimately published.
 The first thing I noticed is that the story needs to be contained or confined to a shorter version than a novel. This means that you won’t have the same space to build the characters.
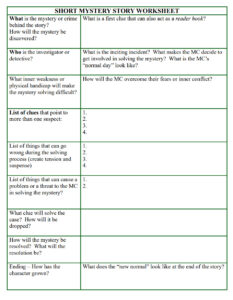 There are templates all over the internet for story crafting, but they all seem to follow the hero’s journey, which I find doesn’t work for mystery books. At least I was never able to make them work for me.