TEMPLATE – SIMPLE MYSTERY PLOT
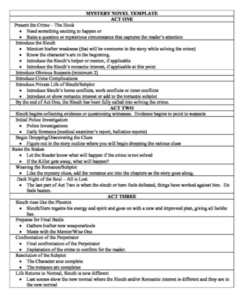 I spent a lot of time in researching novel templates and wound up getting more confused than organized. I may have a mental block on this, or if you are a beginner, you may find the same difficulties in getting your plot or story line to fit exactly over a template outline.
Below is a general and loose outline that I put together after writing my first draft and reverse engineering my two favorite books. I hope this will help you get organized in writing your first novel.
ACT ONE
PRESENT THE CRIME – HOOK
You will need something to happen or raise a question or mysterious circumstance in the initial first chapter to grab the reader’s attention and make they want to find out what you are talking about. This is called a “hook”. This is different from the “inciting incident”.
INTRODUCE THE SLEUTH:
Introduce the sleuth and mention his/her weakness that will be overcome while solving the crime. Introduce what inner conflict is bothering him/her, and what he wants in life or his profession. Keep in mind this character’s arc (where he starts out, how he changes, and where he ends up).
Introduce the sluth’s helper, sidekick or mentor. You can also introduce the romantic interest in this first section of the book if it fits. How he or she wanders into the story.
INTRODUCE OBVIOUS SUSPECTS (minimum 2)
INTRODUCE CRIME COMPLICATIONS
INTRODUCE PRIVATE LIFE/SUBPLOT:
Introduce Hero’s home conflicts, work conflicts or or inner conflicts.
Introduce the Sleuth’s romantic interest, which in a mystery romance is the subplot.
In the beginning, something happens that will call the Hero into action. This is called the “inciting incident”. This interrupts “normal life” and presents a situation that the hero doesn’t want to bother with or think she can handle it simply and quickly. He/She is expecting this will not disrupt life as he/she knows it. (In a mystery romance, it’s usually the first dead body!)
ACT TWO
Act two is the longest act and this is where all of the mystery investigation will take place. The sleuth will begin to collect evidence, question witnesses, suspect some people and think others are innocent.
This will include the initial police investigations and early forensics (medical examiner, bullistics reports, etc.)
Working from your Reverse Engineering Worksheet, decide how you will drop the clues into the various scenes. You will want a minimum of two suspects that both look guilty. Depending upon your plot line, you can have any number of people who could be a suspect. All of your scenes will revolve around the investigator finding clues and following them to the next clue, and you dropping them for the reader.
There could be another murder, the disappearance of a suspect, and any number of tension-building things that can happen. You always want to keep the drama moving, especially in this middle section where books tend to lag.
Raise the stakes: If they don’t find this killer soon, what will happen? If the killer gets away, what will happen or not happen? Make sure you write in the stakes, the risk and why the sleuth needs to find the murderer.
WEAVING THE ROMANCE – During the first and second acts, you will also be weaving the romantic beats of the story throughout the action. Before writing the romantic parts, have in mind the “development of the romance”. You need to know where it begins, where it goes and how it ends up. For example: They couple starts out as trying to be professionals on the case and hiding their attraction, maybe having a conflict on how they see the case, and then the heat or being together makes one of them make a move, they both admit they are attracted to each out, and in the end, they both find true love. In today’s world, you can find something a little more enticing that this flat example, but you get my point; you need to know where they are starting, how they will both change with romance, and where they end up.
DARK NIGHT OF THE SOUL/ALL IS LOST:
At the end of Act 2, the investigation of the crime is not working out or things seem to be going against the sleuth and any of his helpers. He/she or they reach their darkest moment, they feel like they should give up, their “Dark Night of the Soul”.
ACT THREE
SLEUTH RISES LIKE THE PHOENIX, REGAINS HIS/HER ENERGY AND MOVES FORWARD.
In this section, the sleuth regains his energy and his will and he/she decides that he/she is all in, is going to fight to the death to prove this case no matter what. He goes back to the beginning, reviews his clues, re-evaluates things, and finds something that was overlooked in Act 1 that suddenly has greater significance. This will be the new avenue of approach and this will lead to the ultimate solving of the crime and hopefully to justice.
CONFRONTATION OF THE PERPETRATOR:
At the end of the mystery, as it is solved, you may well have a confrontation of the perpetrator by the sleuth or there will be a scene where the cops run in and take him down, depending upon who your sleuth is.
RESOLUTION OF THE SUBPLOT/RETURN TO NORMAL:
Once the crime is solved, the sleuth will be a better person, he/she will have grown through their character arc, an they will be at a better place, more sure of who they are. If it is a mystery romance, this will also contain a scene or two of how romance has now changed his/her life for the better.
You may also have a scene where your sleuth is explaining the whole plot to someone who still doesn’t understand. Most books no longer have this, but I like it when the author “ties it up” in the end. I think it makes the book more satisfying to go over the plot and see and hear it summarized. I maybe old school, but I just think this adds to the experience of the story. I don’t have to tell you how much I dislike these movies and stories where the readers decides what the book means? I feel like throwing the book at the wall, so I like to have a summation, so to speak.
I hope this helps you if you too are just beginning to write stories.

 Once I finished my first Novel, Groomed for Marriage, I launched it on BookFunell to give it away in order to build a reader list. My expectations were low; I would have been happy to have given away 50 copies. Well, to my astonishment, I wound up giving away over 600 copies of the book. These are people who chose to sign up to down the full book for free.

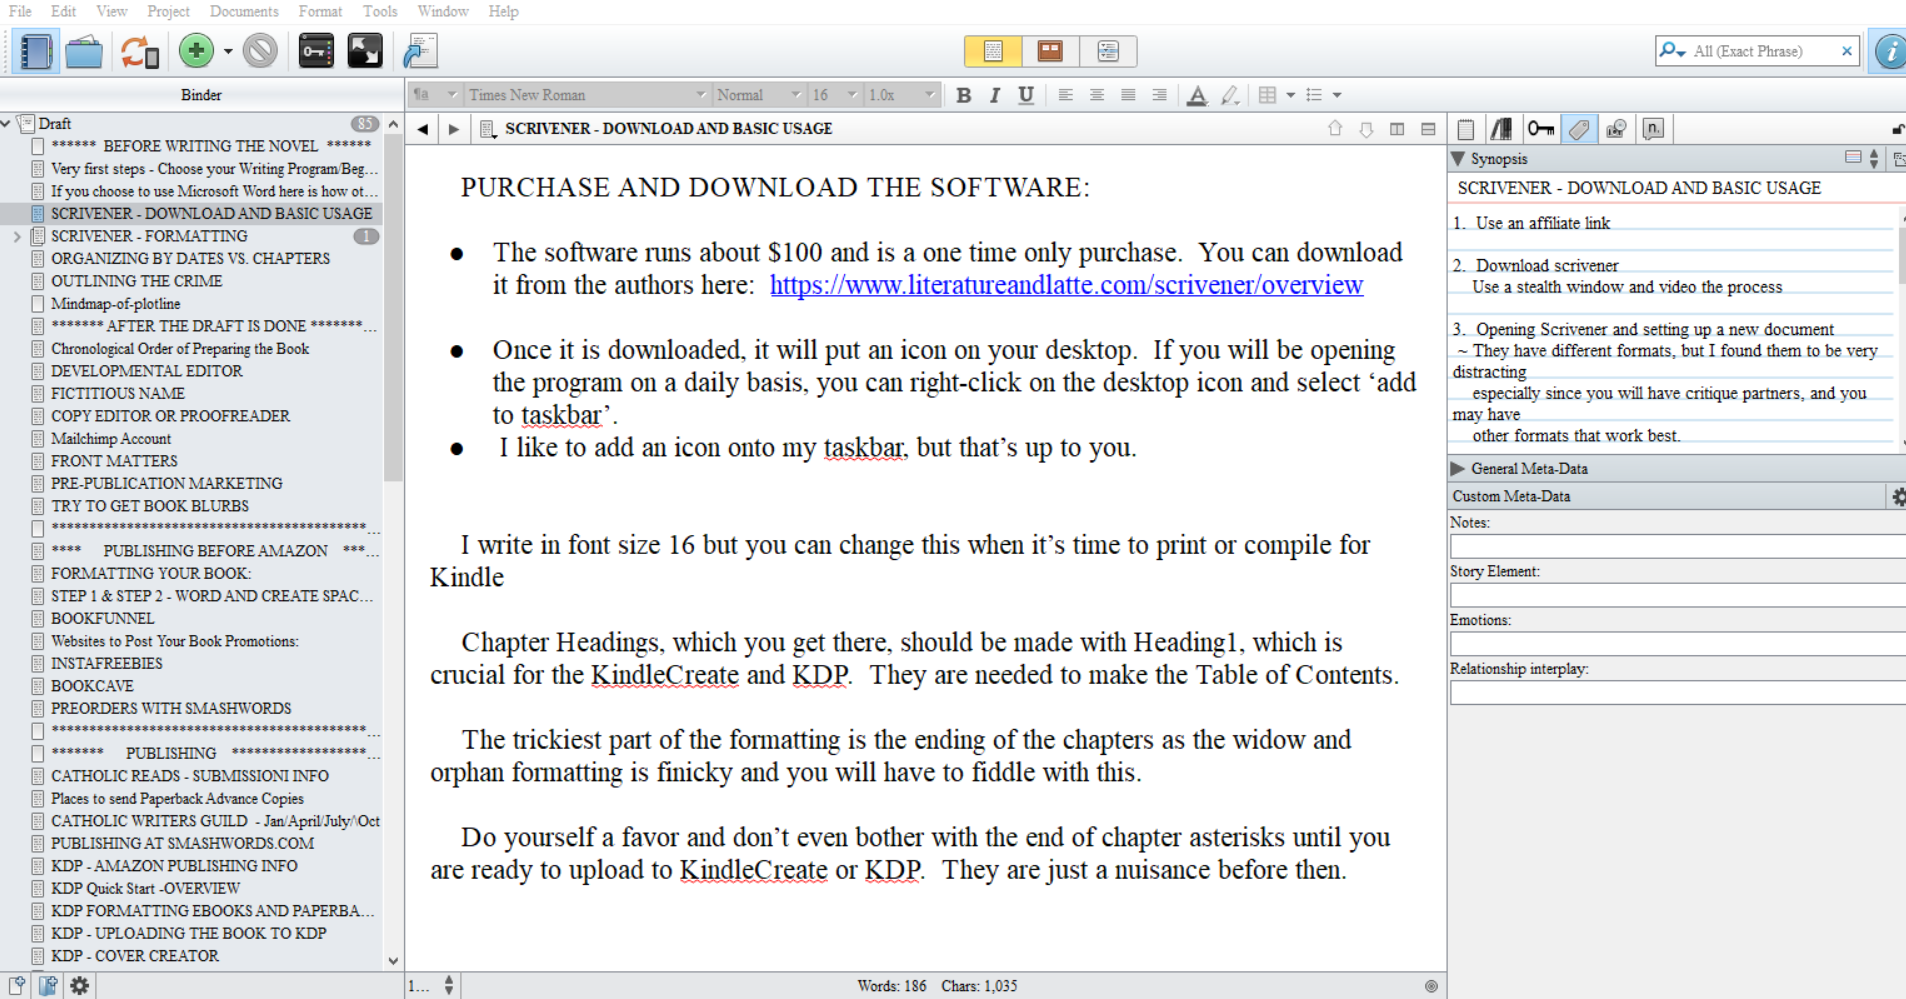
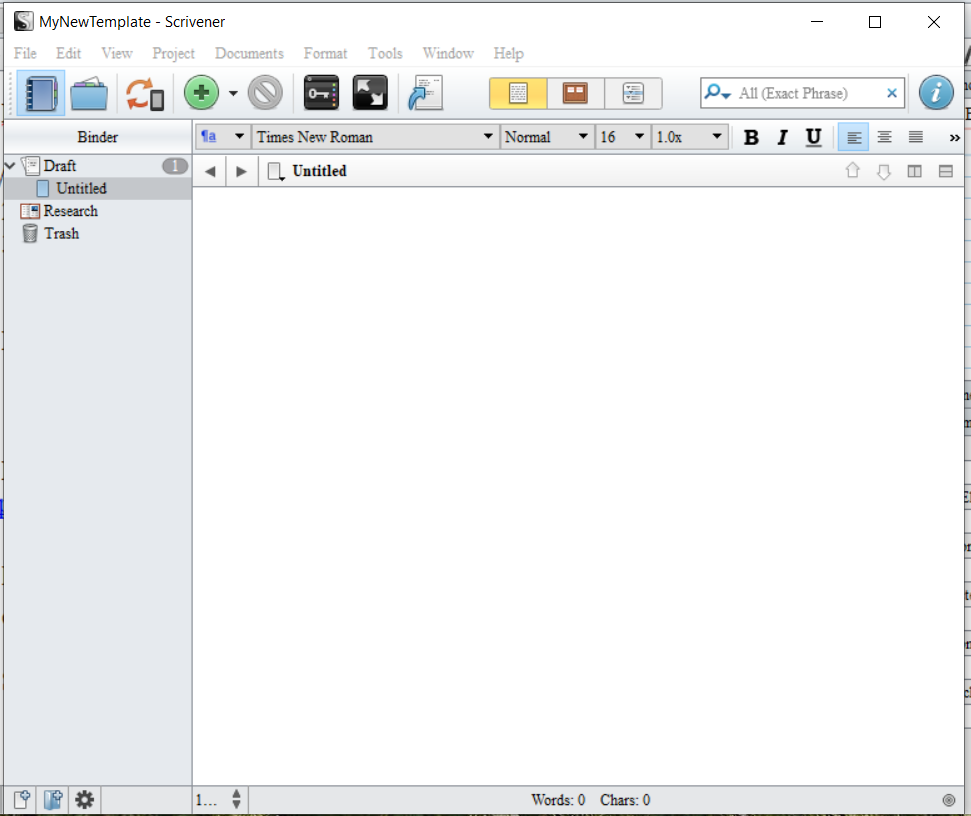 Scrivener comes with certain default settings. Most of them are fine, as is, but you may want to change the font of certain items and things to make working in the project more comfortable.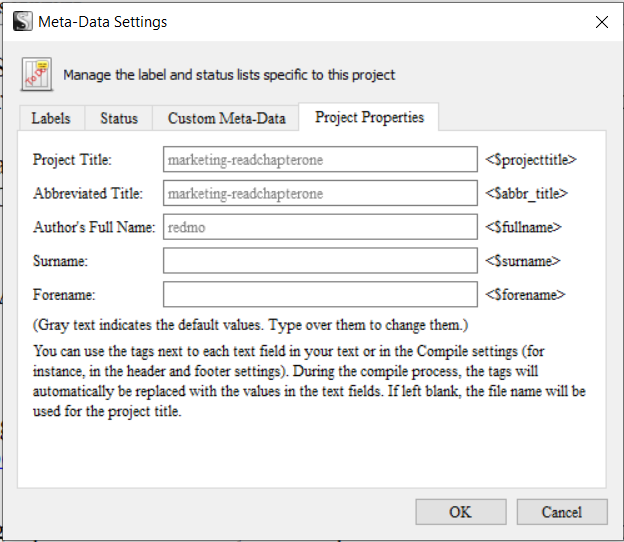

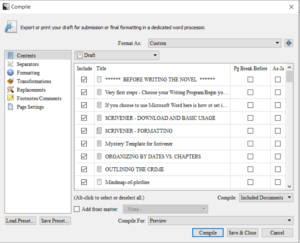
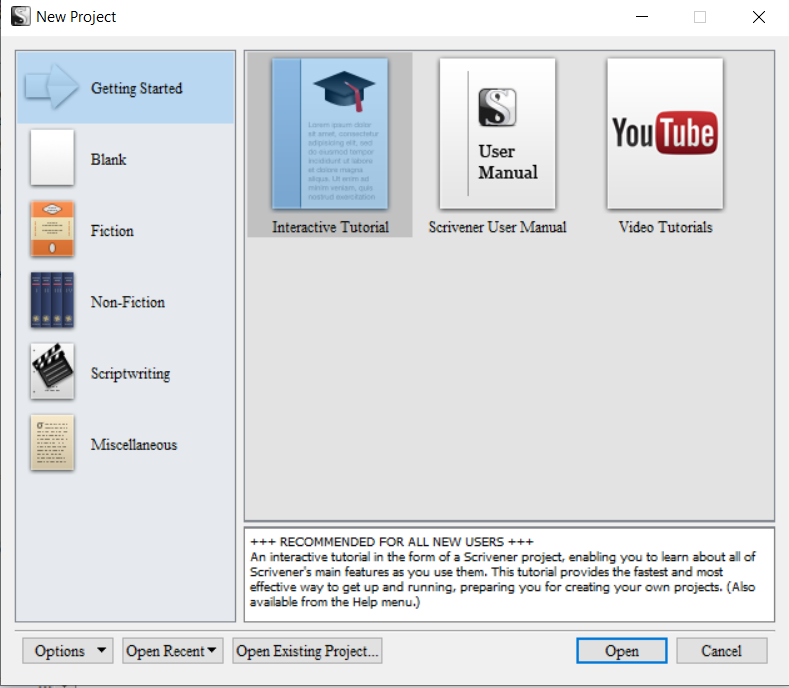
 So now you have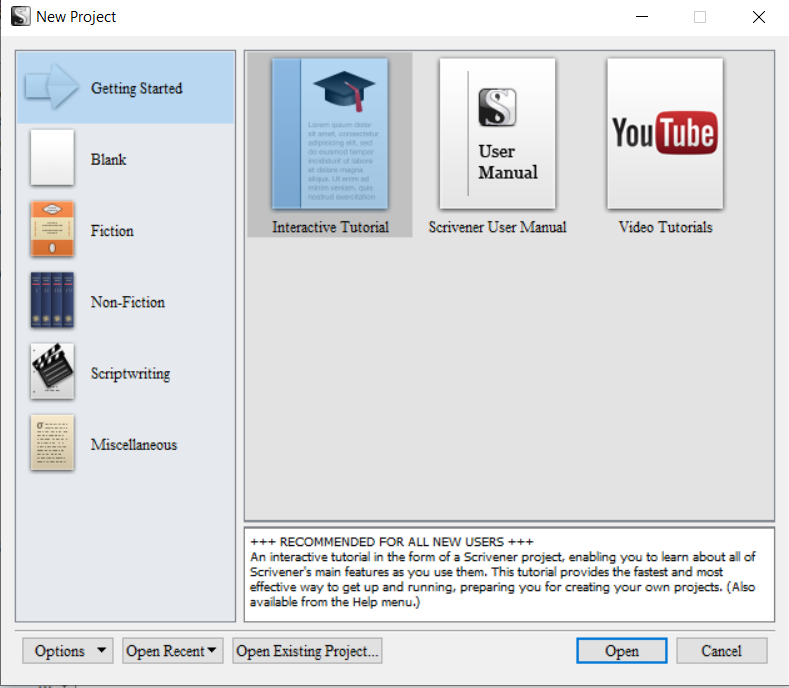
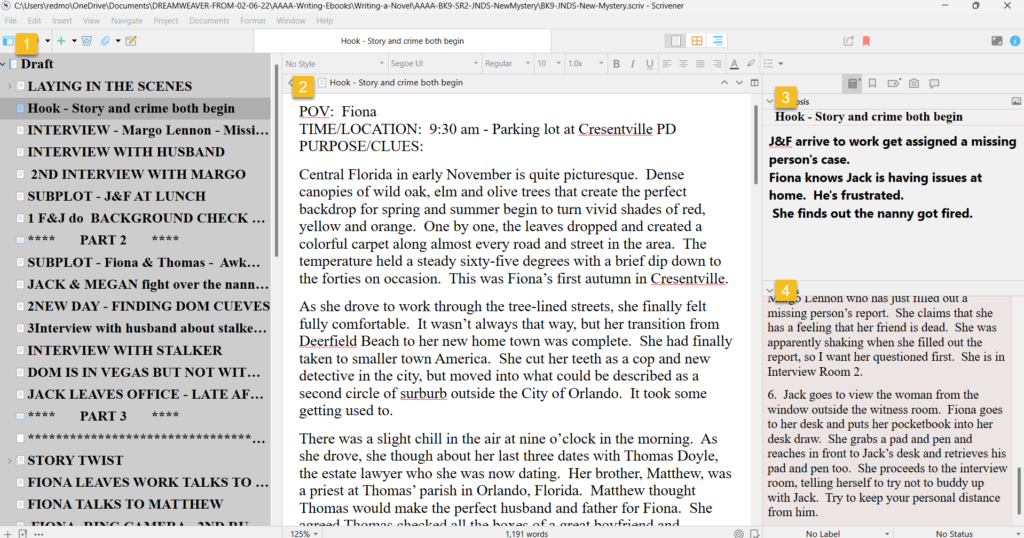
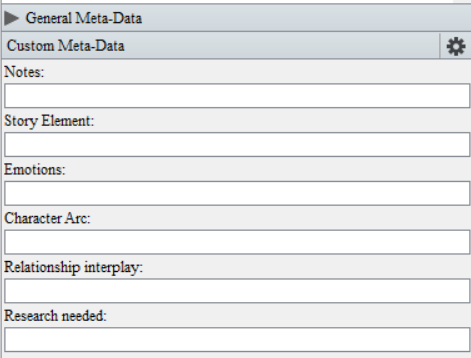 Custom Meta Data - Scrivener allows you to set your own Custom Meta Data entries and I use the following:


 If you are writing novels with a Catholic or Christian theme or backdrop, you may want to consider submitting the book to CatholicReads.com for review. They have a list of over 600 people who are signed up as already interested in Catholic books and Christian books. This is a niche market and one that may be a good fit for your novel.