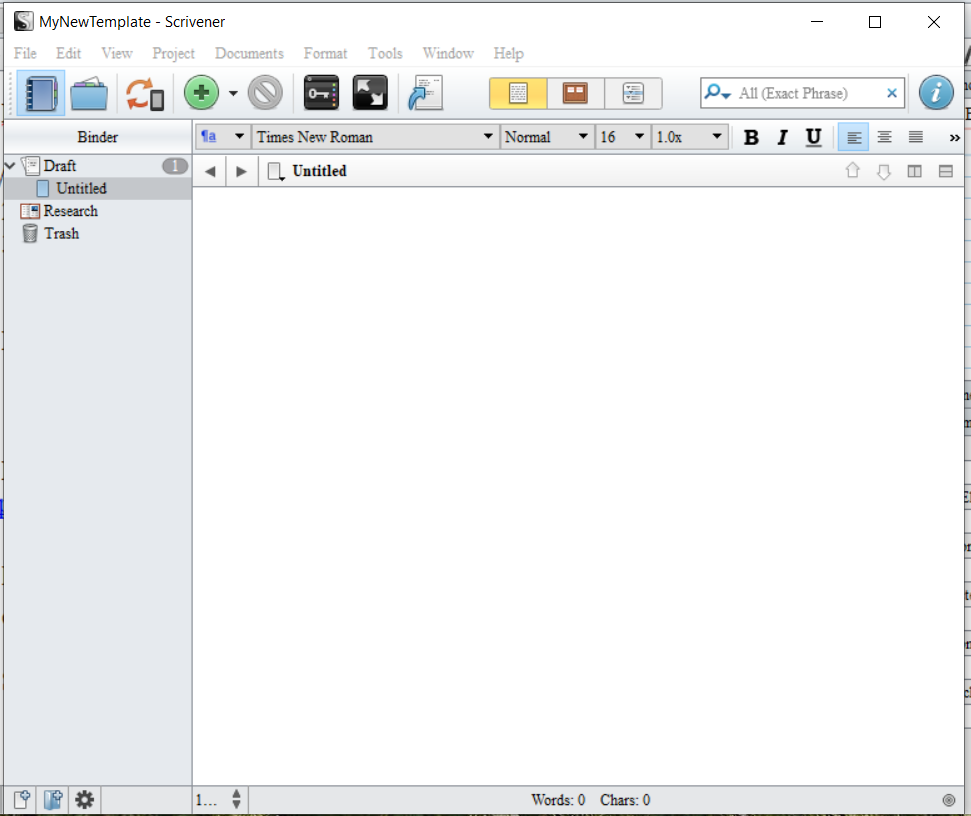
 Scrivener comes with certain default settings. Most of them are fine, as is, but you may want to change the font of certain items and things to make working in the project more comfortable.
For example, I prefer Times New Roman size 16 or 18 px. I find when writing, this causes much less eye strain. When the project gets closer to finished, I can go back and change the “compile” settings to Times New Roman 12px for actual upload to KDP.Amazon.com or for upload to a paperback template.
SETTING UP THE PROJECT SETTINGS/OPTIONS:
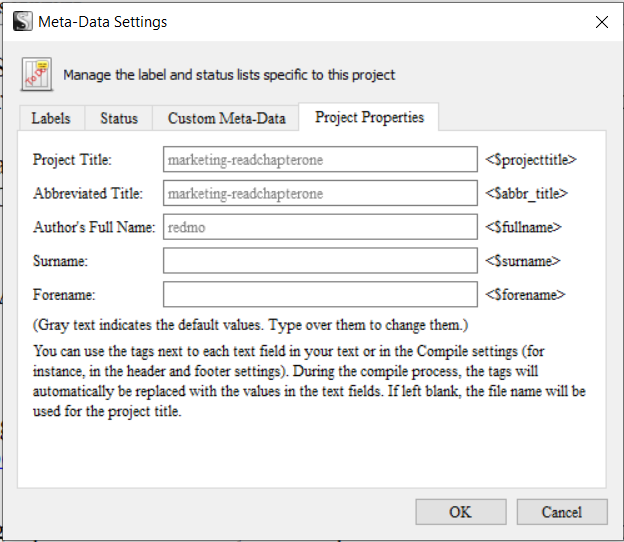
The graphic above is where you need to be in order to change the Project Properties. How to get there? Click on Document => Meta-Data Settings => Project Properties Tab. This will bring up the screen above.
Project Title will be one you fill in as well as Project Abbreviated Title. For example: The first book in my series is called Groomed for Marriage. So I would fill in Groomed for Marriage in the top box and then for abbreviated, I would fill in Groomed. You can also fill in your full author name, and then the last two boxes are to put in the first and last names separately. This information is where the project will pull the Book Name and Author Name from.
I ignore the labels section and I don’t work with draft vs. final copy, I just work in a draft until I’m ready to compile. So if you are a newbie, just leave those settings as is.
We will be addressing the Custom Meta-Data, but it will be more understandable later in the instructions.
![]()
COMPILE OPTIONS AND SETUP:
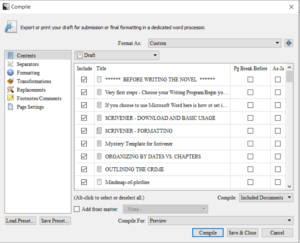
Click on File => Compile to get the dialog box pictured above. This box allows you to make lots of changes. I will start with a list of them and a brief discussion of what they change.
CONTENT: This tells the Project what to include in your project and whether to follow other formatting instructions or upload/print as is. So as a newbie, you won’t have much that shows up in this box until you start actually creating new files, so you can leave them as seen in the graphic above. These settings will serve you well as a new scrivener user.
SEPARATORS: This allows you to add a pound sign or you can add a few pound signs. My advice for newbies is to remove this as it can get very tricky as you are working to have separators being automatically put in because you will be making many, many changes to your book and you don’t want to worry about having to remember to take these out or add them. So until you get ready to upload to KDP.amazon.com or deliver to a publisher, do yourself a favor and forget the separators.
FORMATING: This formatting can get very tricky. I’ll try to explain this in the simplest terms. This area tells Scrivener where it will be pulling it’s files from. Just make sure “text” is selected in the second and third lines”. You won’t need to know anything else for right now, but if you want a better explanation, the scrivener user in this video makes it very understandable:
TRANSFORMATIONS: – Ignore this
REPLACEMENTS: – Ignore this for now
FOOT NOTES/COMMENTS: – If you will be adding footnotes and/or comments, you will need to fill out these options.
PAGE SETTINGS: These have to do with your headers and things, so you can work with the defaults, but this is also covered in the video below.
Next we will cover changing the “Tool Options”.

