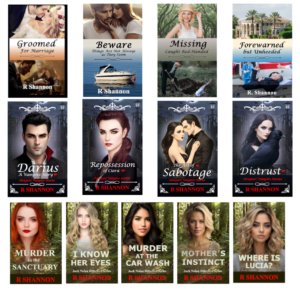
Check out my Book Series!
All my books have a thread of Catholicism running through them.
Ryan Mallardi Private Investigations
Jack Nolan Detective Series
Newport Vampire Stories Series
Author Marketing Website

All my books have a thread of Catholicism running through them.
Ryan Mallardi Private Investigations
Jack Nolan Detective Series
Newport Vampire Stories Series
![]()
Most of you will be familiar with Derek Murphy as a self-published author as well as an influencer within the self-publishing community. If you click on the graphic I made for his website above, you can visit one of his websites. He also organizes writing seminars all over the world, some of which are in old castles. So if any newbies are interested in that, he would be a great mentor to write with.
Derek has another website called CreativindieCovers.com for any of you who are struggling with book cover ideas. He has a lot of free resources and even templates.
When I was new, I watched hundreds of his videos and learned so much, not only as a writer, but also as a self-publishing marketer. He has great advice on early marketing techniques for new self-publishers and also other ideas about running Amazon ads and even using the free online book websites. Be sure to visit his websites and subscribe to his YouTube Channel.
I happened to catch a YouTube Short he posted today-- which I have posted below -- and it was great advice for those of us who have built up a reader list of about 3,000, and have created a website and are starting to get some reliable traffic. He has suggested a way to get book influencers to feature your books, and what he says is great advice. I will post his video and let you hear him state it himself.
As a quick review for the newbies: The first order of business in promoting your books is to build a reader list, also known as a newsletter. That should be the first step of any new self-published author. Put all of your energies there.
Once you have built the reader list up to a couple or few thousand, then you will be able to swap book features and mentions with other authors who belong to the same promotion websites and have a sizeable reader list as well.
The third level of marketing is about building an Author Website. With a website, you can brand yourself along with your books. In the video above, Derek is targeting those authors who are already a little further on from their first day as a self-publisher. But it's important information to keep in the back of your mind. It will give you a goal to shoot for.
It's important to know any author can build their book brand and author brand by following the steps that have worked for those who came before them. Derek has been a great leader in the entire self-publishing field. I hope you enjoy the video!
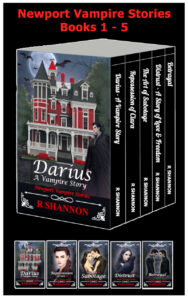
Click the image above to download the
entire Newport Vampire Series Bundle
Books 1 through 6
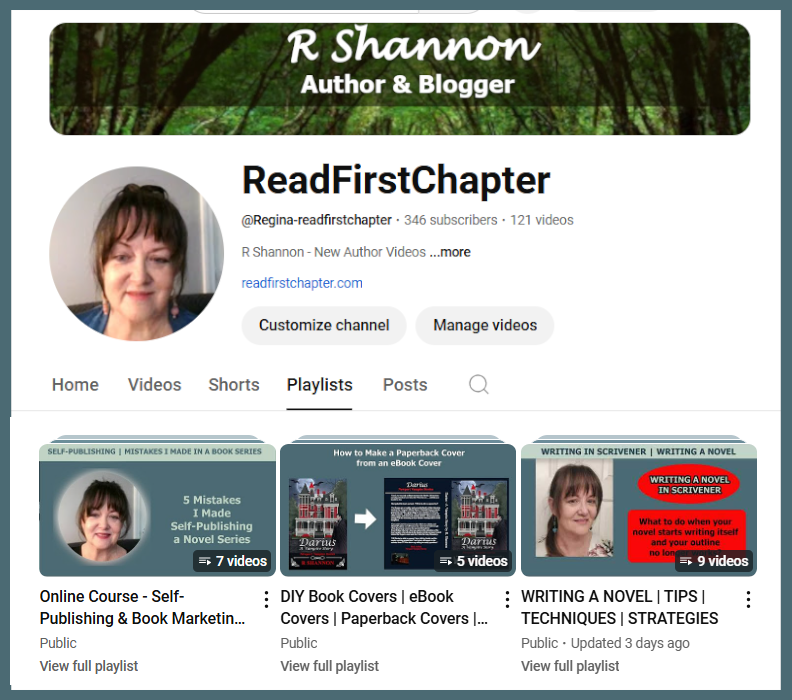
Be Sure to Check Out My
YouTube Channel where I have
Lots of How-to Videos for
Newbie Writers and
Newbie Self-Publishers
All my books have a thread of Catholicism running through them.
Ryan Mallardi Private Investigations
Jack Nolan Detective Series
Newport Vampire Stories Series


Download a ready-to-use graphic to iron-on to T-shirts, Aprons, etc.

Click on image above to go to Google Drive and download an 8.50" x 11.00" pdf of the above artwork. The text will be reversed so when you iron it on, the text will be normal.
HOW TO CREATE A PAPERBACK COVER FROM AN EBOOK COVER
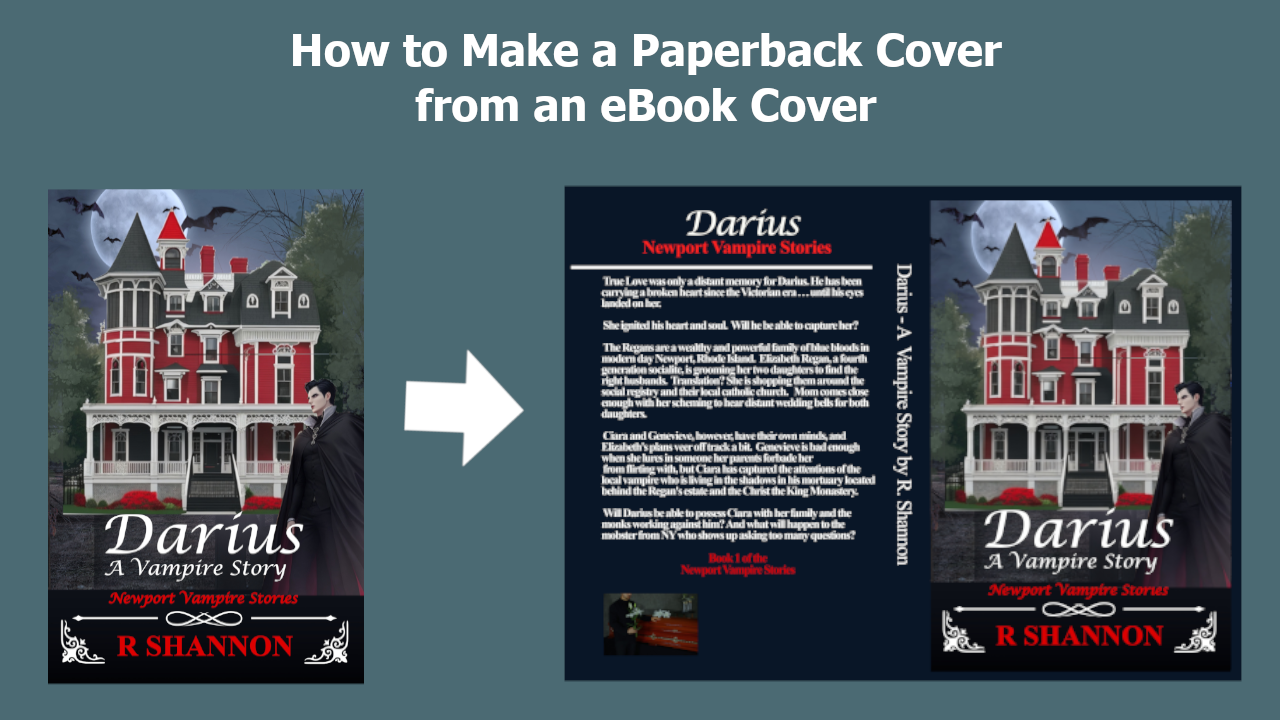
I just finished a how-to create a paperback book manuscript from an eBook manuscript so I thought I would make a sister video showing how to make a full high resolution paperback book cover from a low-resolution eBook cover.
The focus of the video is on the creation of the book cover, so I won't be going into too much detail on how Gimp works. However, I pepper the tutorial with some of the keyboard shortcuts or the names of the tools I am using. This should make it easy for Gimp beginners or others who like to work in Canva.
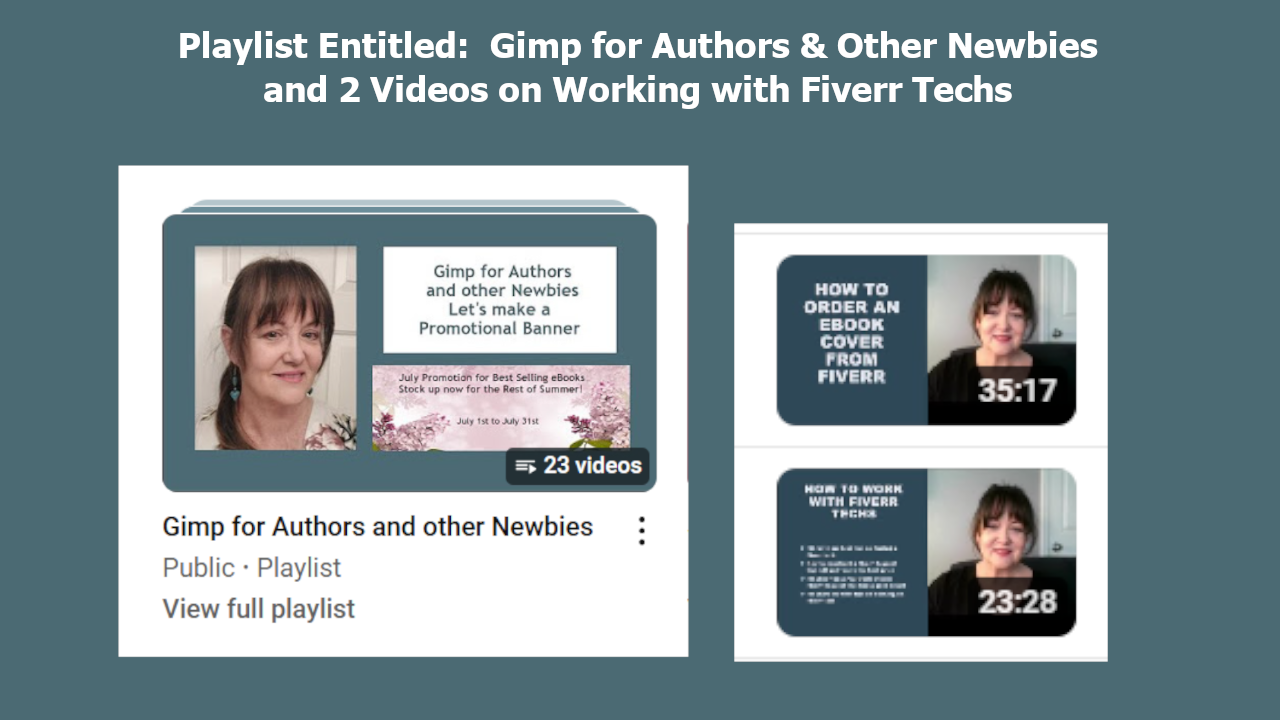
However, I do have a playlist on my YouTube channel teaching new writers ow to use Gimp, which is a free photo manipulation tool and you can use it to create book covers and other book marketing graphics.
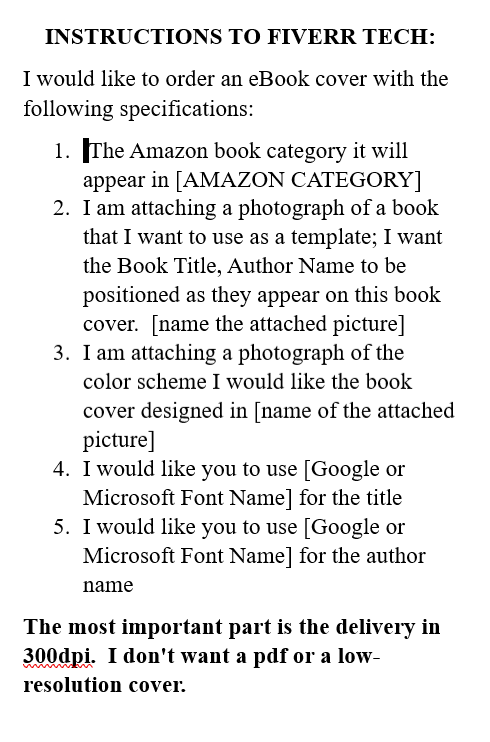 You can order a book cover at Fiverr anywhere from $5.00 o $200 and even higher. If you do get the cover through Fiverr, here is a suggested format to use to order your cover:
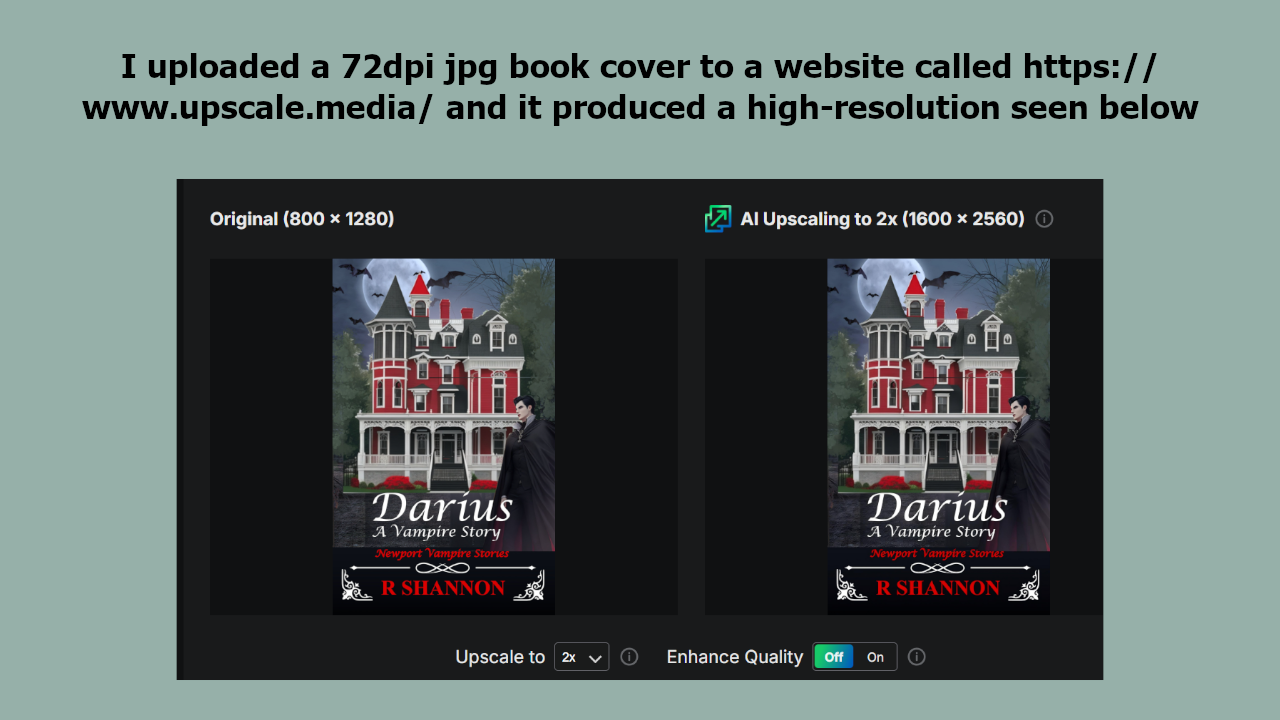
If you only have a low resolution, you can upscale it for free at the this website: Upscale.media
This will make sure you have a high resolution image before you begin.
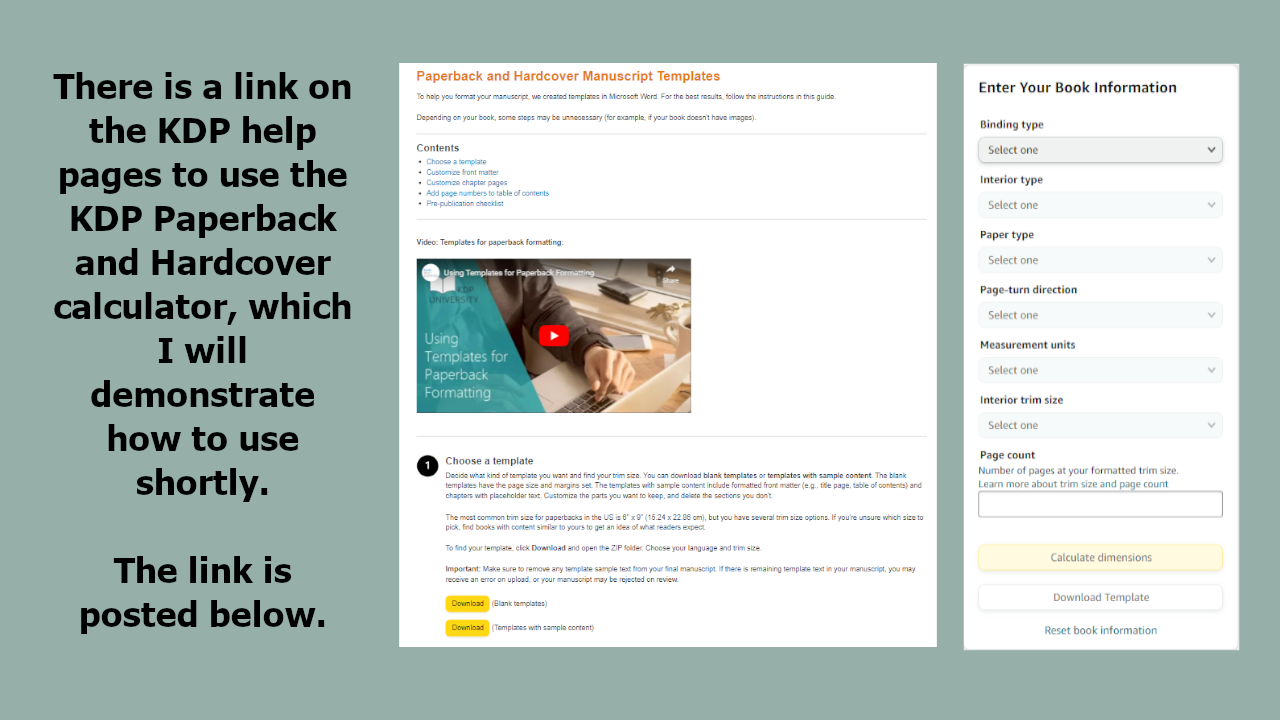
Each paperback cover will need it's own customized book cover template. The reason for this is because the number of pages of the book determines the spine width and that controls how wide the paperback cover needs to be.
KDP has a paperback calculator on it's website, and if you've never used it before, I do demonstrate it in the video on this subject below.
NEXT – YOU WILL NEED A PROPER PAGE COUNT:

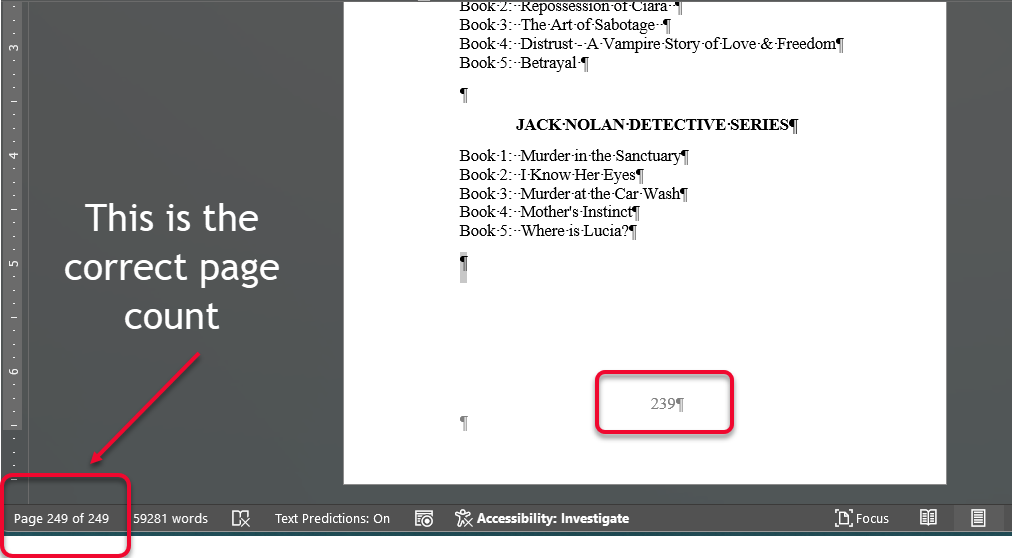
Here is a picture of the last page of my Betrayal Paperback from my last video. It shows two different page counts. The top one is what will be printed on the last page of the book. However, this leaves out the front-pages that use roman numerals and it also includes all of the skipped pages in the document. This is not the correct page number for a book cover.
Below on the left hand side, you can see another page count that is shown at the bottom of the actual Microsoft Word manuscript. This is how many actual pages are in this document. This is the page count you will need to run the Paperback calculator and get a proper sized paperback template.
Write down the proper page number before you go to the KDP calculator and run the template. You will need to click through the questions and choose your answers, including the size of paperback you will use. I use a 5.06 x 7.81 and demonstrate this choice in the video below if you want to see it done. Otherwise, you can go straight to the KDP calculator here.
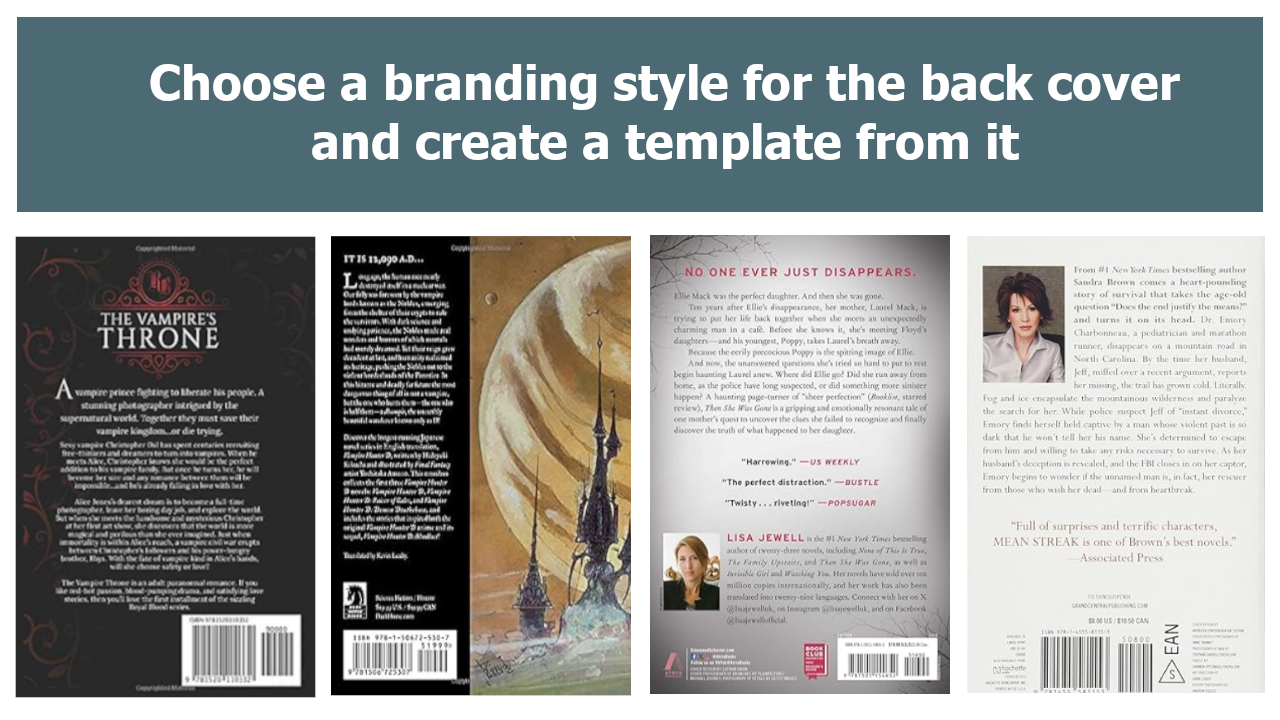
Above is a graphic panel showing you four back-cover examples that I pulled form Amazon this morning by searching for paperbacks in the vampire genre. I also pulled two other back covers just for comparison. You may want to think about what type and style of back cover you want to create before starting. You will follow the same procedure I've demonstrated in the video below, but you may choose another style for your book.
The book featured in my video is Betrayal and this is my 14th published book and it's the 6th book in my Newport Vampire Stories Series. So the branding for this series is already established. While I create my Paperback cover from the eBook cover, I will show you how to follow a style template as I work.
Once you choose a style for the back cover of your own, you can bring in that photograph and use it in the same way I use my series book template.
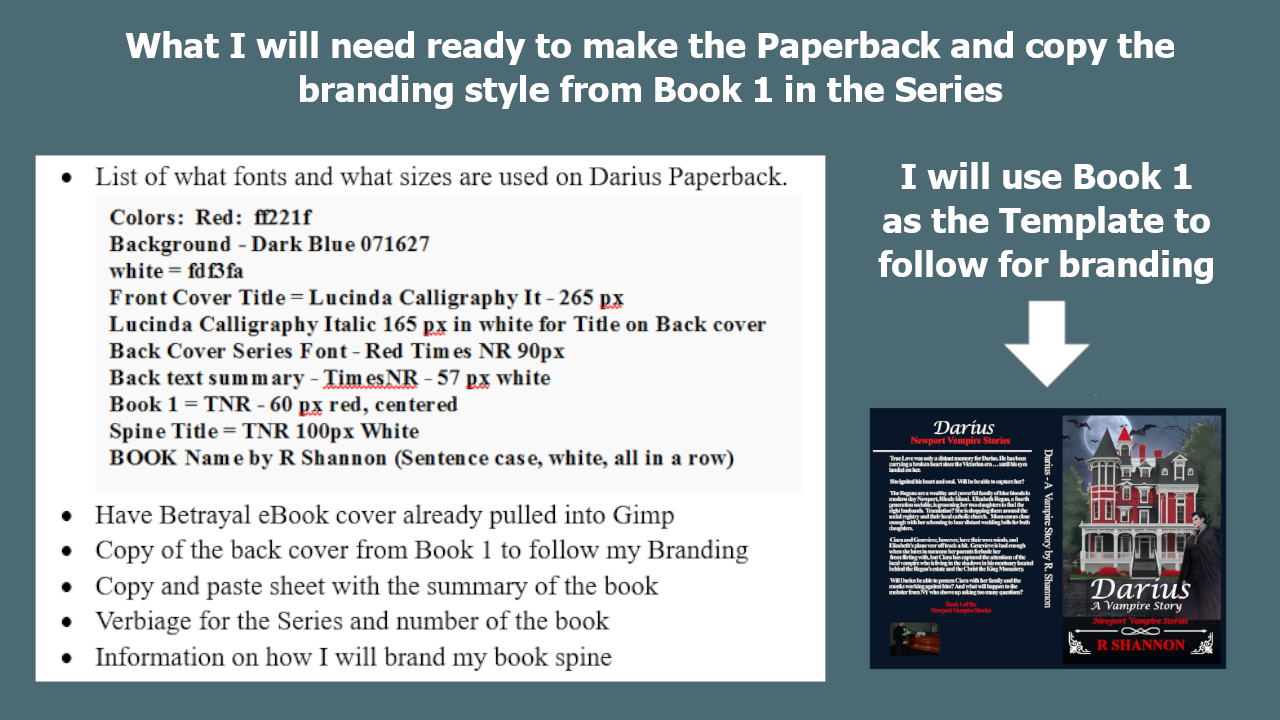
Because my style is already established, I have a list of everything that I will need from the cover, including the layout, all the color numbers, the font names and sizes, and even the size of the font I will use in the spine of the book.
QUICK SUJMMARY OF THE VIDEO:
If you are not a newbie and have no need to see it done, I will just summarize what I do in the video:
I bring in the series paperback template as a 'style template' and add guidelines to the downloaded KDP calculator paperback template.
I pull in and align the ebook cover between the guidelines.
I then pull in the back cover picture and align it accordingly.
Then one by one, I start at the top and create each text layer after another, using the series style template along with the customized margins from the paperback template.
Then using the text tool along with the rotate tool, I create the spine text and align in the center of the guidelines.
I save the finished paperback as an .xcf file so that it saves it as a gimp file with all of the layers in tact.
Then I export the same image as a .jpg file.
I then pull in that .jpg from the recent list and save the .jpg as a pdf. Gimp had a glitch at one time going from an .xcf file straight to a .pdf. So I just save the jpg first, which I will need anyway, and then I save the .pdf file.
That's everything in a nutshell. I'll post the video below for anyone who wants to watch the cover being created in real time.
This post is about creating a Paperback manuscript (5.6 x 7.81") from an eBook in Microsoft Word. Now, if you already know how to take Microsoft Word instructions and reinterpret them into Google docs, then I'm sure you will be able to learn how to use Google Docs to achieve the same ends.
FIRST IMPORTANT STEP:
Open the eBook and IMMEDIAELY SAVE as the Paperback Manuscript so you don't mar the finished eBook. It's important to note that Word has an automatic save that happens in the back, so you need to save it immediately so you don't ruing your final ebook manuscript.
You will only need your eBook in Microsoft Word, and any chapter graphic you choose to use. Now, if you already know how to take Microsoft Word instructions and reinterpret them into Google docs, then I'm sure you will be able to learn how to use Google Docs to achieve the same ends.
FIRST IMPORTANT STEP:
Open the eBook and IMMEDIAELY SAVE as the Paperback Manuscript so you don't mar the finished eBook.
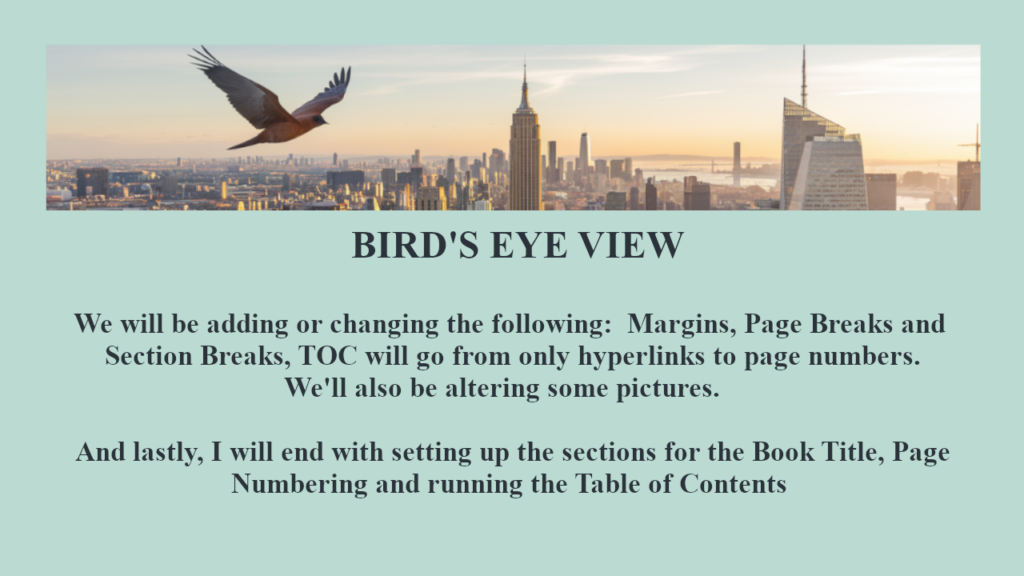
We will be adding or changing the following:
❖❖❖❖ - Have your scene ending marks handy so you can copy and paste if needed.
NEXT – WE WILL SET THE MARGINS FOR THE ENTIRE DOCUMENT:
Fix the Margins:
Layout > Margins > Custom Margins
Margins:
0.75"
0.75"
0.13"
0.75"
0.5"
Gutter left grayed out
Portrait
Mirror Margins
Whole document
Paper:
Custom Size:
Width: 5.06"
Height: 7.81"
First page: Default Tray
Other Pages: Default Tray
Apply to: Whole Document
Layout:
Section Start: Odd Page
Headers & Footers
Checkmark by Different odd and even
Checkmark by Different first page
Header: 0.35"
Footer: 0.35"
Page: Vertical Alignment: Top
Whole Documents
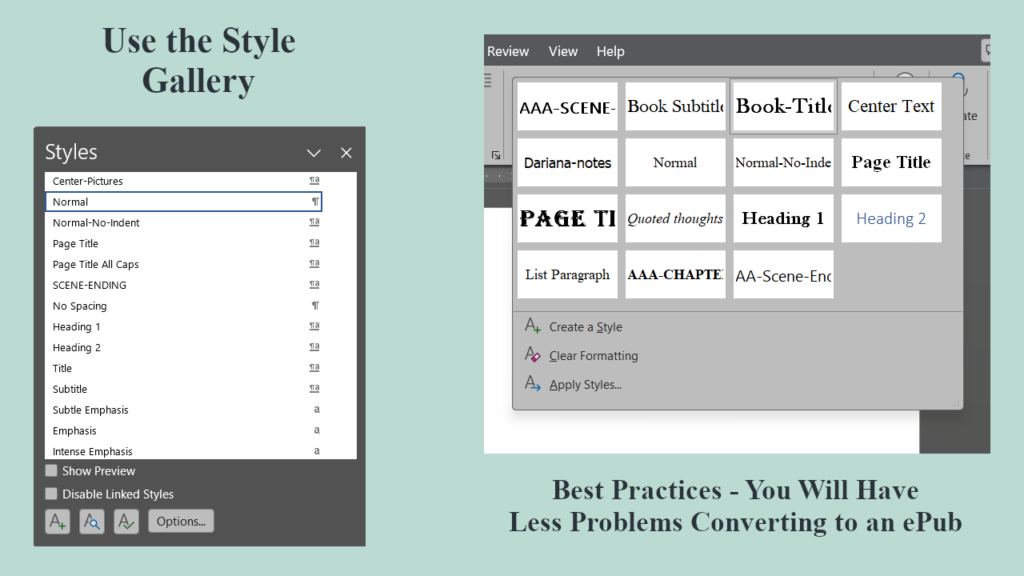
This video is targeting people who are creating a paperback from an ebook, but for anyone who is new and you don't have a finished eBook, I'll give you my quick lecture on using the style gallery. There is a new message on the KDP upload dashboard indicating after 03/18/25, they will no longer allow uploads of manuscripts other than those created in Kindle Create and/or an ePub, so you should use the Style Gallery for ALL STYLE and then you can write in Microsoft Word and convert the document yourself into an ePub.
You can try your hand with Kindle Create but I was never able to work in that environment. I'm sure they have ironed out a lot of the kinks by now, but I've already taught myself to make an ePub and knowing how to do it gives you the most control.
You can create an entire novel using about 10 to 12 styles. Once you go through creating the styles in a document, save it as a template to use over and over again.
Below is a list of all of my pages, whether they need to be on an even page or odd page, and where I want the book title, roman numerals, or cardinal numbers to begin.
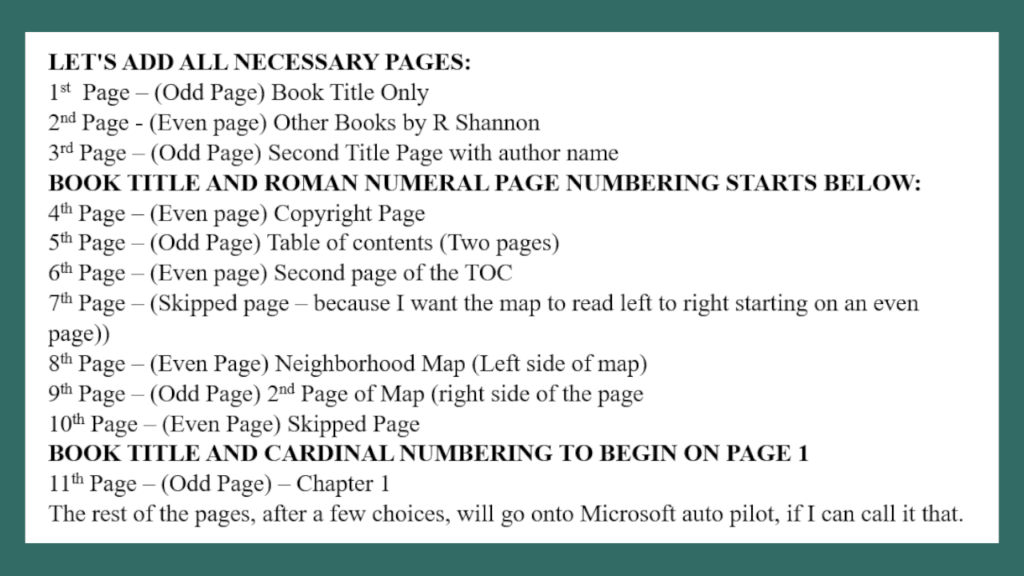
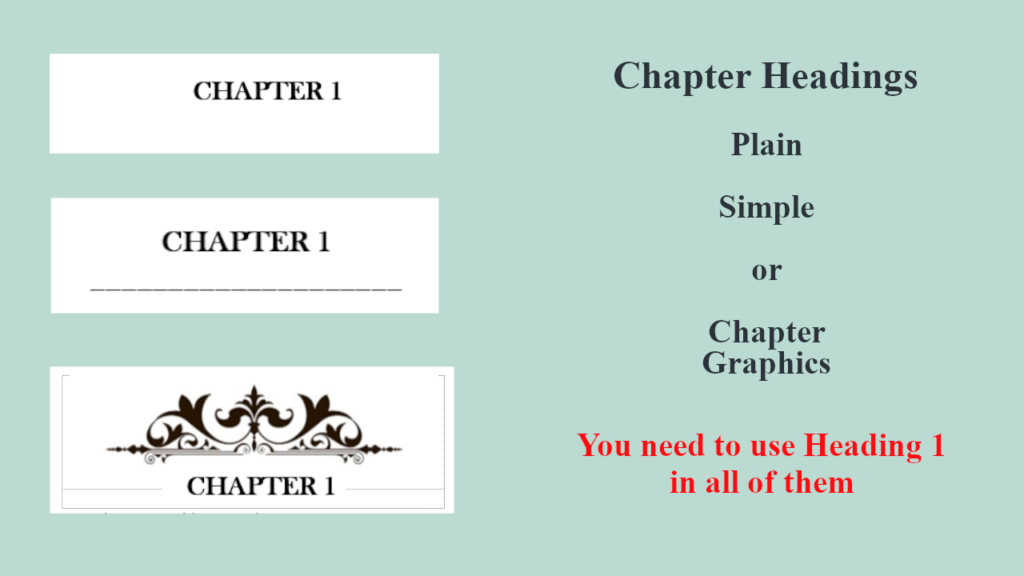 Chapter title graphics can be very tricky with the 'easy flow' settings and all the different eReaders that use the Kindle App. I've started using a simple Chapter underline and seem to have no problems with it.
But since the KDP upload is in pdf format, it's the equivalent of a photograph of each page of your book, so you can get a bit fancier. I'm going to demonstrate how I've been able to get chapter header graphics to work for me. It's probably not the only way, but it is the only way I was able to get them to work without any glitches.
In the Video below, I go over creating simple Chapter Headings followed by how to add chapter graphics. For a simple heading, you will modify the Heading 1 style by bolding the font, adding spaces above and/or below the chapter header. It's very easy.
For the chapter graphics, you will need to create a one-cell, two-row table. You will want to remove the borders, center the spacing and align it to the bottom. If you don't know what I'm talking about, you need to watch the video about this. I have time stamps below the video so you can find the exact section to watch.
The second half of the video I pick up with adding the section breaks between chapters, setting up the Book Title in the headers, and adding the page numbering. It's best to watch the video and follow along as I demonstrate.
Click on File => Then Options => Then Saving => and scroll down until you see three boxes having to do with embedding fonts. Check the top box but leave the other two boxes unchecked. This is how the KDP help pages instruct us to do it. However, be aware that when you upload, you may still get a warning that you didn't embed the fonts correctly but 'they have done it for you'. But when I preview the finished manuscript in the KDP previewer and purchase an author copy, the books look perfect.
One other setting that is worth correcting is on the Advanced tab. It is the setting that tells Microsoft Word not to compress your pictures. You want your graphics and/or maps to remain as they are in the document. So be sure to check this setting on.
Once you have all of your Chapter Title Pages formatted with Heading 1's, most of the TOC work has been done.
There are two important settings that control the TOC: One is Paragraph formatting (how much space will be between each line) and the Tabs formatting (which will tell Word how far away to put the page numbers from the Chapter Names). All the other programming has been done with the odd and even page breaks.
Once you set up the font size and style, the paragraph spacing, and the tab formatting, then you can run the table of contents. The tab settings for a 5.6 x 7.81 paperback is 3.25".
NEXT – NOTE DOWN THE REAL NUMBER OF PAGES:
Determine how many pages the book will have BUT make sure you have the real number of pages. The real number of pages is what you will use in the Paperback Cover Template Calculator.
NEXT – You will need the page number to run a Paperback Book Cover Template, so note the proper number of pages. If you need to go to the KDP cover template calculator, it's here: https://kdp.amazon.com/cover-calculator
SAVE YOUR DOCUMENT AS A DOCX AND AS A PDF.
Once you have converted this to a Paperback, it is easy peasy to save another copy and change the margines to 6" x 9" for the Hardcover.
All my books have a thread of Catholicism running through them.
Ryan Mallardi Private Investigations
Jack Nolan Detective Series
Newport Vampire Stories Series
In the last blog entry and video, I covered a list of six initial questions that should be asked in order to raise up an initial storyline. In my experience, within a story with multiple suspects or a mystery that needs to slowly unravel, the suspects, motivations and clues need to connect first to create what I call a crime spine or a mystery spine.
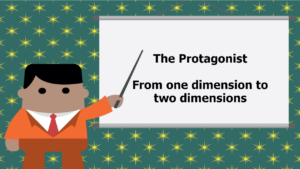
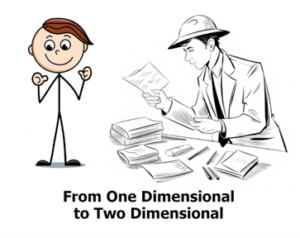 Once you have all of these story parts connected, this is the easiest time to take the characters from stick figures into two-dimensional characters. The characters will be transformed into their final three-dimensional states during the actual book-writing process, so the goal in this brainstorming process is to sculpt two-dimensional characters.
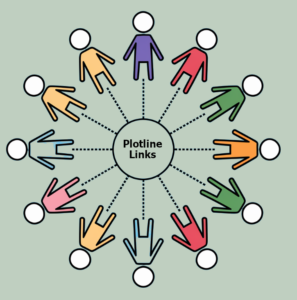 So the next set of questions is designed to take your story idea from this crime/mystery spine to a second dimensional level. This is the point where you can add realistic character traits and motivations that will fit inside the plotline. I assure you, there won't be any more trying to fit a fully-fleshed out round character into a square plotline. This process will avoid that.
So let's get into the second set of questions which cover the main characters, the suspects, the antagonist, and the motivations.
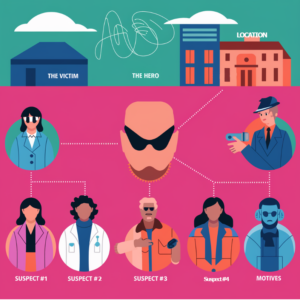
In a crime or murder mystery, pick two to four suspects and assign them each a motivation. If you are writing a different type of story, you will need at least one antagonist. Name the antagonist and/or suspects and choose their motivation. Do this for each suspect or antagonist.
Here is an example: A man is murdered in his house during a birthday party and there are four people at the party, all of whom can be a suspect: One of the guests is the man's child who is at odds with the father for some reason, and the child has recently been threatened with being cut out of his/her inheritance. The second suspect is the long-suffering wife who has just found out her husband is cheating again, after promising never to be unfaithful again. The third suspect could be the mistress who is not happy that her lover now wants to save his marriage and has ended their affair and cut off her mistress pay. And of course, there could be an old college buddy who is in attendance at the party, looking all innocent, but inside he is being eaten alive by a desire for revenge because of something that happened in their past. Knowing all of these characters and their motivations ahead of time will make sculpting the main character, the detective or amateur sleuth, much easier.
When I was new and watching writing video after writing video, the advice was the opposite. It was suggested over and over again to start by fleshing out a main character and plotting a story around him or her. What I found was that a fully-fleshed out character is not very flexible. You can't place a fully-fleshed out character into any storyline. For example, a quirky detective like Monk would be out of place playing James Bond. He would also not fit into any gothic story about family secrets. Nor would James Bond fit into a small-town mystery novel. A Columbo character would be out of place in a James Bond script as well. I'm sure you get the point.
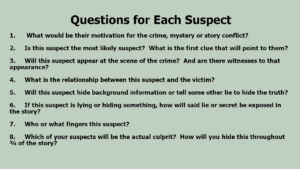
Go down the list or diagram of all the suspects you have chosen in your story. Ask yourself the following questions about each suspect. These questions also work in a story with only an antagonist.
Once you have answered each of these questions about each suspect or antagonist, you will have enough clay to now sculpt an interesting and riveting main character and storyline.
 Unless you are writing in a series where the main character is already fully developed, it's best to wait until after choosing the antagonist, suspects, and motivations for each of them to infuse the main protagonist with human traits. Why? Because the protagonist will need to have a character arc and this will need to be developed over the action of the story and in relation to all of the different suspects.
The action of the story will be triggered by the victim, what happened, what the investigation needs to solve the mystery or crime, and the main character will need certain skills and traits to make all of this happen.
For example: If you come up with a business entrepreneur as a main character first, and give him a family, a certain job, etc., how will he have the skill set to uncover all the clues that are already in the plotline? It's easiest to look at the completed crime spine and realize that you will need a bold computer wizard who is motivated by justice more than a lucky or wealthy businessman.
 Once you know who, what, when, where and how the story will proceed, now you can choose the type of protagonist needed to solve the mysteries. Now it is time to sketch in more character traits and details. This process will take your stick figure and raise it to a level of a two-dimensional character.
There are many questions to ask about the protagonist, aka the hero or good guy in the story. Below I have posted many of them to get your creative mind going.
Why is the protagonist in a position to solve the mystery? Who brings them into the story? Are they a professional detective and just get hired? If he or she is an amateur sleuth, what circumstance leads them into the scene of the crime or mystery? If it's a psychological story, how do they find themselves inside this psychological drama in the first place? Who and/or why are they now staying in a scary house or on an estate with age old secrets?
Here is a tip for Newbie writers: There are hundreds of videos suggesting you start with the main character, and this does work in very simple storylines or in simple romance stories. It doe work. But once the plotline has any number of antagonists or suspects, and there will need to be some kind of search or investigation, revealing one clue after another, it's best to know what particular steps the main character will need to go through before you breathe life into him.
In other words, if online research is needed, your MC has to have technical skills or an assistant who does. If the MC will be examining documents in old archives, he needs to have some expertise in this field and that will need to be part of his character back story. If he will be running around and jumping from one building to another or hanging off helicopters like Tom Cruise likes to do, he will need a back story about why he is in that kind of shape.
Newbie writers often get attached to characters they dream up out of thin air and then run into big problems trying to build a working story around this fully-fleshed out character. This can cause a bigger problem. It can lead to a bad case of writer's block, even a fatal case of writer's block. If you find this describes you, set aside that darling character you love and begin to brainstorm following these chronological suggestions and you may find yourself developing an equally riveting character that, with a different job or a tweaked backstory, can make a great storyline work. Remember: If you created one character that you love, it proves you can create loving characters. Just create another one.
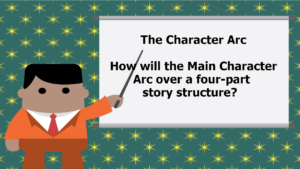 What fears or human frailty will the sleuth need to overcome in solving the crime? This is what drives a character arc. What will the main character ultimately learn? Does he have a fear of heights? Is she normally timid and now has to be courageous? What inner fears will be challenged when going about solving the crime and/or mystery?
Where and how can you fit the revelation of these traits into the character backstory?
Is the protagonist isolated or alone in their struggle? If they lack support or are actively opposed by others, how can you show them overcoming this lack of support and calling on their inner resources?
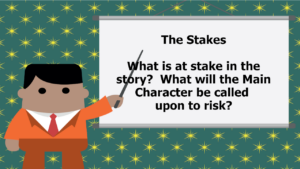
What will the main character need to risk achieving his/her goal? Has the detective been told he will be fired if he doesn't drop the case? Has the neighbor of a man who is gaslighting his wife been threatened with an expensive lawsuit? What is at stake and what change will be needed to get through the setbacks in the storyline? How will this change in character change the life of a main character? How can you show that final change in character in the ending of the book?
Knowing who the antagonist is, and knowing all of the suspects and their motivations will make it easier to come up with a customized main character flaw that will fit perfectly into the storyline.
 Again, it's easier to create a character after you already know what he/she will be required to do physically, what skills they will need, and what human flaw can make this challenging. It's easier than forming a main character that you like and then trying to fit him or her into a storyline that already has a life of its own.
It would be hard to fit a character like the father on Married with Children into a James Bond film and vice versa. Think of the skeletal plotline as an obstacle course. Once you know what physical stamina, hurdles, level of intelligence, investigative experience, and technical skills a main character will need to run the ball all the way down the field, it is easy to sketch up a character based on that obstacle course. You can easily add any quirky or funny bits to their personality later on.
Another consideration is how the hero's success or failure will affect others around him? Are innocent lives at risk? Is the fate of a community, a nation, or even the world hanging in the balance until the hero saves the day? The wider the impact, the higher the stakes.
Are his or her loved ones in danger? If the protagonist's family, friends, or romantic partner are threatened, the stakes become deeply personal and emotional. This raises the stakes too.
 Is there a moral dimension to the conflict that raise the stakes? Does the protagonist's decision have far-reaching ethical implications? Is he/she fighting for justice, truth, or a greater good? Moral dilemmas add weight and complexity to the stakes.
Looking down at your brainstorming outline, ask yourself: How can I add a little pressure into this plotline? What happens if he doesn’t solve the case? Who will be let down if he fails? What effect will failure to solve the mystery have on his world or our world?
As the suspects respond to questioning, will one or more of them throw in an outright lie or a lie of omission -- that only the reader will know -- that will send the main character down the wrong path? This will cause the reader to worry about the main character. What clue will ultimately uncover this red herring or subterfuge?
 Is there a ticking clock in your storyline? Is there a deadline to solve the crime? Is there a rapidly-approaching event that can significantly heighten the stakes? The faster the clock ticks, the more intense the pressure, the higher the stakes. This added time pressure can turn a mystery into a thriller.
If you haven't figured a time element into the storyline yet, think about how you can use time in a way to add tension into the plotline.
Most readers like a surprise twist or unexpected turn. What twist or turn can you add into the mix to heighten the stakes and keep readers guessing?
Is there a sense of uncertainty or ambiguity about the clues? If the outcome is uncertain and the protagonist is forced to make difficult choices with limited information, this too can add tension and heighten the stakes.
If you can't think of an unexpected twist and turn at this point, it's okay. My experience has been that whatever doesn't come in the brainwashing session will come in the next layer of writing which is outlining the scenes.
 Before I begin a new novel, I brainstorm a minimum of four potential storylines. I go through these questions in this order and come up with an actual storyline. Then I pick the best one, the one I know calls to me to be written. So I know this brainstorming strategy works.
It took me one full year to come up with my first storyline and I thought about it everyday. But I didn't know where to start or how to proceed. My goal in this two part blog and video series is to help the newbies get over that first initial hump of getting a workable storyline. I hope this will work for some of you.
Below is the video that was done on this material:
 When Brainstorming a Novel Storyline, what questions do you need to ask and answer? After having written 14 novels, I believe this technique that I'm about to tell you about will help anyone brainstorm a working plotline.
For simplicity, I've broken it down into two phases of questions because in order to answer the second set of questions, it's easiest to know the answers to the first set of questions.
IMHO, if you just start asking random questions that pop into your head without some order, it can lead to more confusion or chaos. It can even frustrate the story engineer into thinking it's not a working storyline, even though it can be.
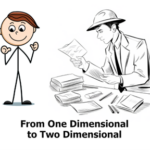
The first set of questions will guide you through brainstorming a broad-stroke storyline into existence. It will end with stick figures. The characters will be stick figures. The locations and motivations will be stick figures, so to speak. Knowing this ahead of time, you will know you are making progress if the stick figures all have the potential to interact and connect with each other without an issue.
The second set of questions, which I will get into in the next installment, will help you turn the brainstorming questions into a workable storyline that will begin to lift off the paper and become two dimensional.
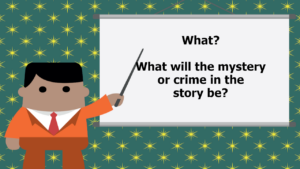 What will the mystery or crime in the novel be? Will it be a psychological thriller and mind control is the crime? Will it be a murder mystery? If so, what is the cause of death? If it's a science fiction plotline, what mystery will hook the reader and thread through the entire story only to be revealed at the end?
Any experienced author will tell you that any book, regardless of genre, needs at least a string of mystery or suspense running through it. This is what will keep the reader reading. What will the mystery, crime or element of suspense be in your storyline? The answer to this question will begin the workable plotline.
Be specific in your answer to this question: What specific crime or mystery will drive the plot? Is it a murder, a theft, a missing person, a haunted house, psychological event that changes a family forever, or something more unique? What are the simple circumstances that surround this mystery? Think broad strokes, just a list of three general details.
 The type of crime or mystery will dictate the investigation methods and details. It will also dictate what clues will be needed in order to slowly reveal the mystery throughout the four-part plot structure.
The answer to this question may also reveal the complexity of the story. For example, a financial crime is more complex than a murder mystery. The choice of crime may also determine the book genre: if it's a grizzly murder, it may default into a noir crime. If it entails mind games or gaslighting, it may default into a psychological mystery. If it's a small town and there won't be any bloody details or romantic spice at all, it can be either a clean mystery crime novel or even a cozy mystery.
This question will also determine the core of your story, and may also determine not only a certain genre but a book category or two as well. Will it be a gritty murder mystery or a whimsical cozy mystery? Will it be a A Missing Person's novel that is all about the revelation of one secret after another? Will it be an amateur sleuth murder with a satirical edge?
If it will be a murder mystery, you will need to choose a cause of death. If it's a police procedural, you may need to cover fingerprints and DNA evidence. If it's a fraud crime, you may need to weave in a computer tech wizard to find the clues. If it's a private investigator novel, you may need to weave in surveillance, and neighbor interviews. Think about what avenues you as an author you will need to go down in order to tell the story.
A little tip for newbies: My first novel series was with a private investigator because it didn't require knowing police law or the intricacies of police training, etc. Taking on a police procedural, or an FBI agent plotline will require much more research and may not be the fodder for a first time author.
 Is he/she a private detective, an amateur sleuth, a police officer, or maybe just a weekend visitor who is inadvertently led into solving a mystery?
Another tip is this: At this early stage in brainstorming, don't choose a background, or a motivation, or any personal traits or challenges for the protagonist. It's too early. You will need to coordinate and connect all the characters, the crime or mystery, and all the suspects and their motivations before you can weave any story around any of them.
In this phase of brainstorming, you are really choosing only what hat your main character will wear. But at the same time, you may be choosing the book genre and the ultimate marketing categories for the finished book -- which is a good thing.
 Determine the identity, background, and significance of the victim. This decision can affect the motive, the suspects, and the overall narrative story arc. The victim's characteristics can also influence how the crime impacts other characters or the community at large. Before figuring out who the suspects are, you need to know who the victim is and why they were murdered or wronged in some way. If it's not a crime story but just a mystery or thriller, you will still need a victim. They may not die in the story, but there will be at least an injustice done to them. What is that injustice and who is the victim of it?
 The victim's background, their relationships, and their secrets are all vital. Were they likeable? Did they have known enemies? A compelling victim, even if flawed, gives the reader someone to care about and root for. Even if the victim hasn't been killed or murdered, who is being bullied or targeted as the victim and why?
 Where will the story play out? Most stories will have multiple stages, but where will most of the action take place? Will it be a haunted estate house? A corrupt business office? Will it be on the streets in a cityscape? How does the setting influence the mood and the unfolding of the mystery? For example: If it's a gothic novel, you will want a large estate house or a monastery, a place that has secret rooms, tunnels, or has a long history with lots of secrets. If it's a urban thriller, you will need several stages in a city scape. If it's a psychological thriller, it may need at least a mental institution. Think of yourself as a location scout for a movie: What interesting places can most of the drama take place?
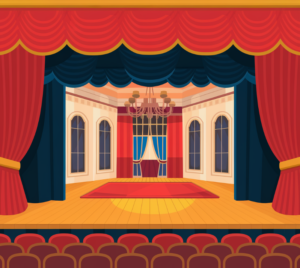 Choose a location that not only serves as a backdrop or a stage for the events to take place but which can become its own character. What secrets does the location harbor? Who lived in the historic mansion in another era? Will you need a remote island somewhere to have a closed-door mystery? In a city scape, the backdrop may be about about the certain era, or just a gritty story, or a surreal story. In a mystery drama, what happened in the main family that started all the secrecy? What sin has been passed down through the generations? What corporate setting do you need to show back-door deals or money laundering? What setting can you choose that will enhance the story?
If it's a cozy mystery, what quirky town or setting will give the story a whimsical feel? The setting can range from a small, isolated town where everyone knows each other, to a bustling city with numerous hideaways, each providing different challenges and atmospheres for the mystery or suspense.

The next question is How? How does the crime happen? How will the ultimate culprit have secret access to the victim? What evidence will there be at the scene of the crime that will begin the formal or informal investigation? And who will those initial clues point to?
If it's not a crime novel, how did the underlying mystery come to be? Is it a generational sin that transferred through generations to a child or grandchild? Is the estate house not at rest because of a secret that it and the family are keeping? How does that play out? How does the story dilemma or conflict come to be?
How the crime happens will be only known to you as the author. The real motivation, suspect and last revealing clue will need to remain hidden until Part 4 of the Story Structure. But knowing how the mystery happens, who is ultimately responsible and how that last clue will be discovered will give you a destination in the storyline. This will be the secret pathway you are following when writing the entire story.
 Will the story be set in a specific time period? Will it be a general contemporary book that won't reference any specific time period at all? Or will it be specifically cast in an era or time period that will require research?
Is the time period of when the story occurs relevant? Is your emerging storyline a historical novel? Will the timeframe of the story determine how the case is solved? In other words, will it be before the internet? Or before cellphones? And if so, how relevant is the timing or era to the story?
Will the time period affect what ultimate genre your book will be placed in? Will it qualify it as a historical novel? Is it possible to set the crime novel back in time in order to market the book as a crime story and a historical novel? It makes things easier if you can decide on this in the brainstorming period.
These initial questions will allow you to sketch in a storyline with very broad strokes. The victim, protagonist, suspects, setting and time era are named and sketched in only as stick figures or location suggestions only.
Don't be discouraged if everything seems bland or one dimensional. Working from this one dimension until you lay in a mystery or crime spine of the story will ultimately make fleshing out the story so much easier.
Be sure to check out Part 2 of this series to find out the next set of questions.
Below is a video I made from this material:
All my books have a thread of Catholicism running through them.
Ryan Mallardi Private Investigations
Jack Nolan Detective Series
Newport Vampire Stories Series