
WHERE WE LEFT OFF:
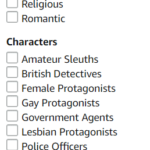 In my last blog post, I went over how to find the right genre for your ebook. I also suggested you choose one or two book cover 'templates' from the ebooks you see during this journey. That's our starting point for this blog post. Now that you know where you want to go, it's time to learn about the technicalities: the sizes, resolutions, etc. It's all here on one page.
CHECK OUT SOME FONTS TOO:
You may want to explore some fonts as well. Three popular free font websites are: fonts.google.com, dafont.com and even fontspace.com
If you are planning to work with a designer, it is best if you are in control of most things about your cover. Not knowing what font the designer will use could be a problem if you want to change the font down the road or add a second book to a series. Unfortunately, I'm speaking from experience. So be sure to choose everything about your book cover even if you will be working with a designer.
WILL YOU NEED A COLOR SCHEME?
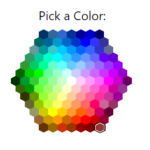 Often the ultimate colors of your cover will come from the pictures you choose. But there are techniques to wash a scene in a very subtle color in order to cast a certain mood into an image. You may want to take a look at a website or two where you can find some great colors. Here are two:
This site is for complimentary colors
This one is for a color picker.
THE eBOOK COVER TECHNICAL STUFF:
IMAGE SIZE: The best and recommended size for the ebook cover is 2560px by 1600px. This number comes from KDP itself. This is the size for the eBook cover.
RESOLUTION SIZE: Create the cover using 300dpi, which is high resolution. Don't compress the size, as Amazon compresses the sizes a bit itself.
COLOR PROFILE: RGB - If you don't know what this is, don't worry about it. It just means we will be using RGB which is the color for the web as opposed to CMYK which is color for printers.
RULE FOR WHITE COVERS: If your cover will have a white background, you will need to add a narrow 3 to 4 pixel border in a medium gray to define the background.
THE TECHNICAL INFO ON PAPERBACK COVERS:
The more versions of your book offered, the more Amazon will want to offer them for sale. So having an eBook and a Paperback is a minimum. Many authors are offering audio versions of their books and now hardcovers now too.
The paperback template is based upon how many pages your book will be when finished. The size of the cover will depend upon what size paperback you choose to produce as well. You can find the calculator below at this link.
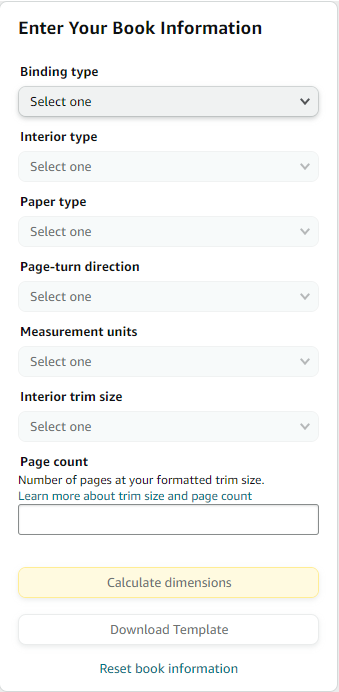
Once you click through to the paperback template calculator shown to the left, fill in the following information based upon your own choices. Once you put in your particular page count, click on Calculate Dimensions.
At that point, it will throw up a template with measurements. Unless you are an actual graphic designer, the dimensions will mean nothing to you. You will work from the template.
Download the template and save it onto your desktop -- or somewhere else you will be able to find it later. If it downloads into a zip file, right click on the folder and choose "Extract all". It will allow you to extract the files and save them into a folder that will default to the same name.
Binding Type: Hardcover or Paperback
Interior Type: Black and White or Standard
Paper type: White or Cream
Page Turn Direction: Left to right
Measurement Units: Inches
Choose a size: (I use 5.06 x 7.81) - You can see what dimensions the other authors in your main category use. I would go with the crowd on this choice.
Fill in the page number and click "Calculate dimensions".
It will throw up a template like the one below:
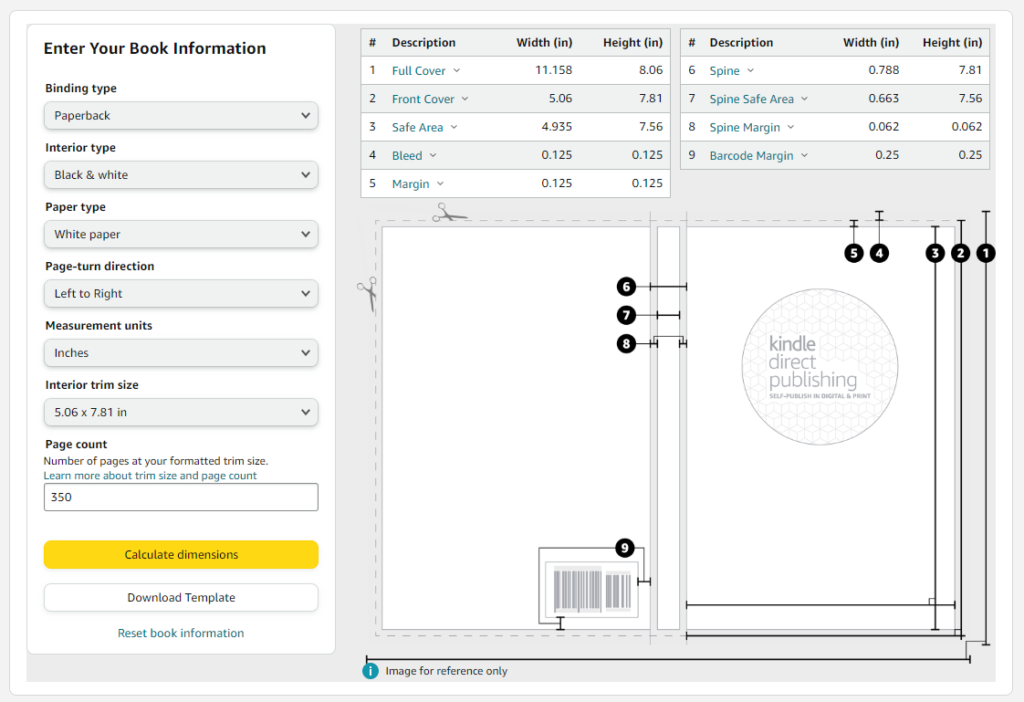
Click on the button that says 'Download Template".
WHAT DO I DO WITH THE TEMPLATE?
If you plan to have a graphic designer create the cover for you, then pass on the png file to them. Tell them you want the artwork produced in 300dpi and you want it delivered in a png file -- not a pdf. Be firm about this. Tell them you won't pay for a PDF. A PDF is useless if you decide you want to tweak the artwork. If you can get them to give it to you in a xcf file (gimp) or a psd file (photoshop), even better. That is the best of all worlds. Not all artists will agree to that, but give it a try.
If you plan to design your own book cover, you can right click on the png file and select 'open with' and then select the Gimp program. I'll pick up in my next blog post with creating only the eBook cover in Gimp. We'll start there.
SHORTCUT TO CREATING THE PAPERBACK COVER:
 When you create the eBook front cover, you can design the back cover at the same time. I suggest this because when your manuscript goes out to the editor, there will be about a month of 'free time' and if you want to get a jump on getting your back cover done, this is a good time but it is before you will know the exact page count.
Then once you have your page count, the only thing that will really change is the spine of the book. As long as you are using a one color background or a unifying blend of colors, you can easily create a spine to unify the front and back covers and it will fit perfectly into the template.
This is also a good way to keep your spines consistent. I wish I had known this when I first started out!