
START WITH A SIMPLE WORD FORMAT
I've been struggling with trying to do this for about three years! I finally figured it out, thanks to some other YouTubers, one of which was Derek Murphy -- who knows all things when it comes to self-publishing!
I write in Scrivener and when it's time to proofread, I compile into Word and do the proofreading and editing there. So I start with simple formatting. This simple formatting will make adding the chapter graphics easier. You need to trust me on this. You will want to embed your fonts in Word also.
We will be going from DOCX to an ePub file. So as a reminder, make sure you do your Table of Contents using the Heading 1 links. I only have 3 pictures that I use in my books. One is a small publishing icon, one is a small scroll I use on the Note to Readers page, and the last one is the Chapter Graphic itself.
IMPORTANT: One more reminder to do your Table of Contents in Word using the links and Heading 1. If you forget this, you will have to redo the entire process I'm showing you! (Speaking from experience)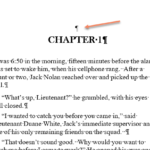
IMPORTANT: See above. Leave one blank before your Heading 1/ Chapter Titles. You will thank me for this later!
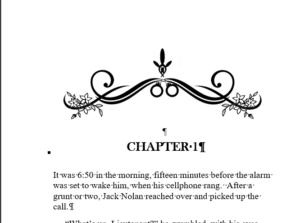
IMPORTANT: Only add one chapter header picture right before Chapter 1. Make sure it is wrapped “top and bottom” and also aligned to center. See above picture.
Save the document as a .DOCX file.
DOWNLOAD SIGIL PROGRAM - THEN OPEN IT:

ONCE IT IS DOWNLOADED, open your Sigil program. If you don't have it yet, it's a free download. Go to https://sigil-ebook.com/sigil/download/ and download your version.
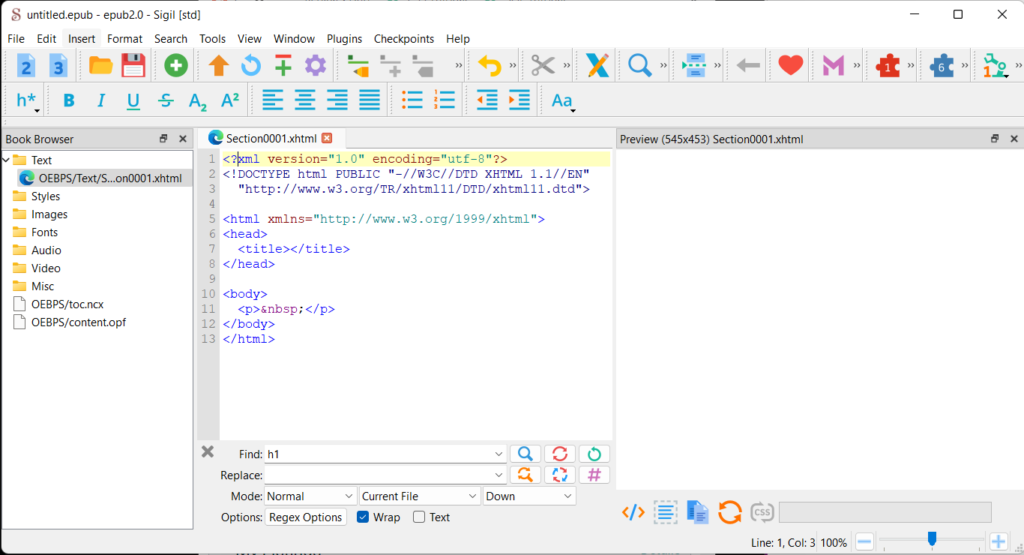
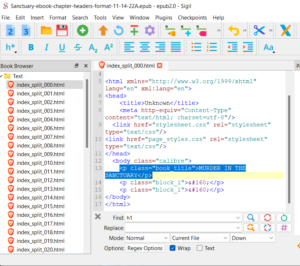
Once it's downloaded, open the program up. When it opens up, it will be sort of blank, like above. This is what a blank ePub document looks like. We won't be using the blank document.
Click on File => Open => Choose your recently-downloaded manuscript.ePub file. It will open it up in the Sigil program.
Once you open your manuscript epub file, it will pull in all of your chapters as individual html files.
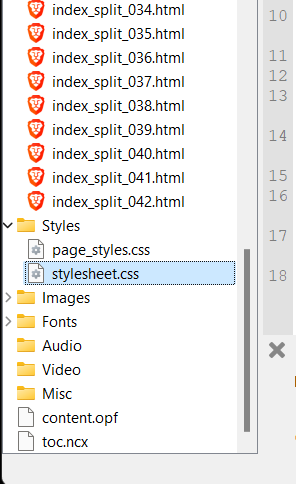
Then there is a Styles folder. We will be making changes to the individual html files, the Title pages, and the stylesheet.css. Be sure to use the style sheet I have highlighted to the right.
Your images from your eBook will be pulled into the Images folder by the convertio process. You will be using the one chapter header graphic over and over. You have everything you need to begin to format the chapter titles.
LET'S ADD THE CUSTOM STYLES:
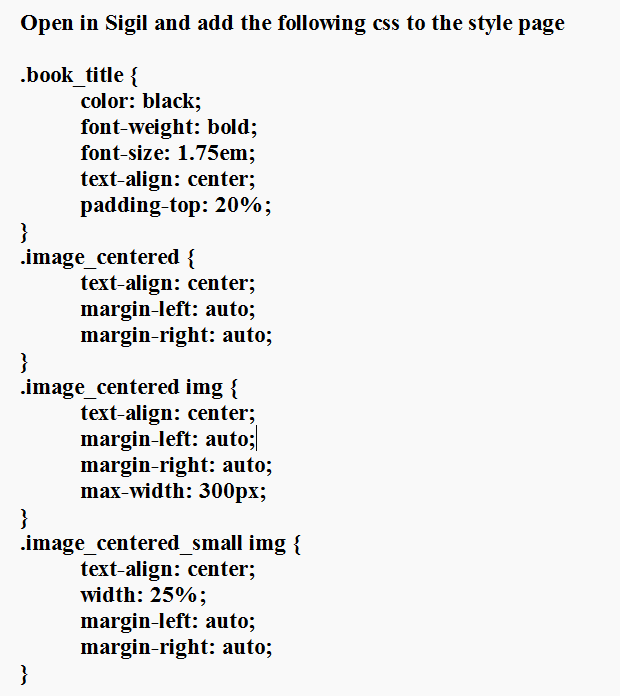
You will have to type out these codes. Each digit and space is important. If you forget one semi-colon or bracket, the codes won't work. So double check your work before you copy and paste into the Styles document.
DIRECTIONS: Go to the File Listings on the left side. Find the Styles folder and double-click on the stylesheet.css file. When it opens, scroll all the way to the bottom of the file.
Copy and paste the above coding into the page and save. There is a save icon on the top menu of the Sigil program. Or you can use Control S to save.
** See below for further coding explanation
FIX THE TITLE PAGES:
Nowt that we have saved the new css codes, it's time to change the files to pull in the new coding.
Looking at the diagram above, double click on the first file, marked index_split_000.html. This is the first page, which is my Book Title page. Now, even though I have coded this in Word to align to the center of the page, the ePub converter ignores this and throws my title onto the top of the page.
So I will change the class name from whatever it is (this will be auto-generated by your ePub converter) to "book_title". (Note: Be sure to use an underscore, not a dash) This will then move the title down 20% from the top of the page. I use 20% because when someone reads on a tablet in landscape, I don't want the title to disappear from the page. By moving it only 20% down, it is still 'above the fold'. If you don't understand this, don't sweat it.
I do the same thing on the second Title Page in my manuscript. Make the same change to "book_title". Changing the class name to "book_title" is the only change you need to make.
NOW WE WANT TO ADD THE CHAPTER GRAPHICS:
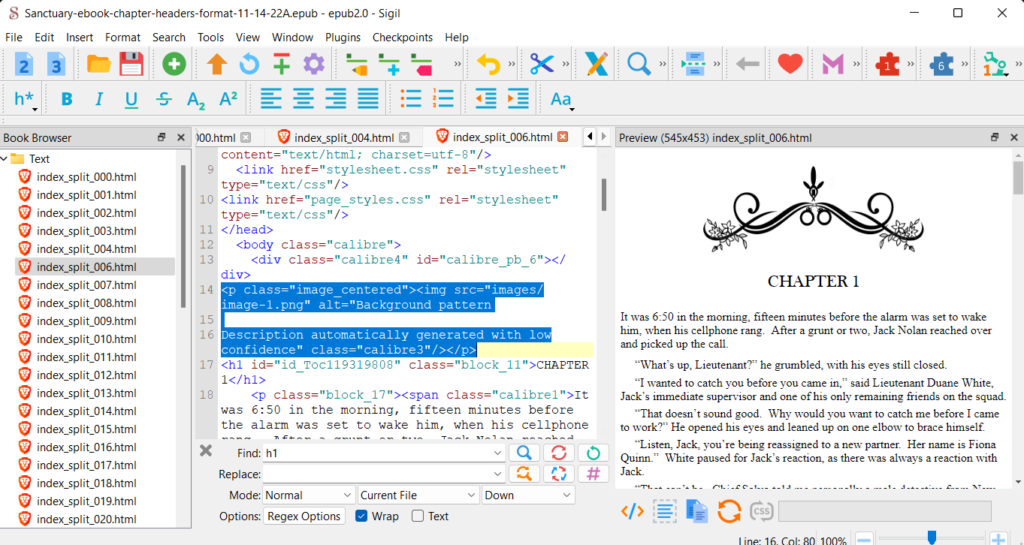
Double click on the first chapter page in the document above. There will be auto-generated html coding referencing the picture. If you look below, I have changed the coding to reference the class of "image_centered". That's the only part of your coding that needs to change.
Once you have made this change, copy this to your clipboard. (Control C).

One by one, you want to double-click each chapter to open it, and copy and paste this coding right above the CHAPTER 2, CHAPTER 3, CHAPTER 4, etc, in each file. It will be a little time consuming, but believe me, it is MUCH EASIER than hoping and praying that you can get a converter to get the spacing and alignment right.
Once you have finished each one, you can then save your work, and email it to your Kindle account and check it on your ereader and on your cellphone. I have had a perfect conversion using this method.
I hope I have helped you save all the frustration and hair-pulling I did in searching for a way to do this!
** FURTHER EXPLANATION:
The css codes added some alignment codes, to make sure they are centered. The max-widths of 25% are to make sure my publisher icon is not too big, and the max width of 60% is to make sure the chapter header graphic does not come up too big. The rest you don't really need to know, but if you are curious, you can go to W3School CSS to learn more.
These codes are used to style my chapter graphics, the book titles and the small publisher icon and another small graphic I use. So if you are only adding the chapter headers, you will only need to add those codes.