 This blog post is done to accompany the video that is posted below. This will give you the instructions that may be helpful to keep open as you create your own 3D Book Series Bundle Cover like the one on the left.
These instructions will allow you to make any size bundle cover, going in any direction.
At the end of the video, I will also give you instructions to make the thumb cut or the finger pull that is popular on book series as well.
WHAT YOU WILL NEED:
- A high resolution front cover copy of your book, or whatever other copy you
 want to represent the book series
 - Gimp photo editing program which is free, or photoshop. If you use Canva, I will assume you can translate all the steps in that program.
- A high resolution picture of whatever you want to be the background behind your books spines.
- Any emblem or other branding graphics that you may want to put on the covers. In the cover that I make in the video, I use a police badge graphic to brand the series as a police procedural.
- You will need a large rectangle image with a transparent background in order to work. Make sure you are also working in 300dpi or 300ppi, whatever the resolution is referred to in your program.
LET'S MAKE THE 3D BORDER DIAGRAM:
In gimp, the first thing we will do is open a document that is 2500 pixels wide and 1,000 pixels high. This will make sure you have lots of room to work.
The next step is to bring in a 3D bundle model cover that you found on Amazon, like the picture on the above left.
Next, draw lines around the cover so that you create this shape. Our final cover will be transformed into this final shape by using the perspective tool. The example of this is above right.
LET'S CREATE THE COVER AND THE BOOK SPINES:
Open a new document that is 2082 x 1000 pixels and 300 dpi. This will turn out to be too large, but better too large than to run out of room. This will give me a good platform to make the book series mockup.
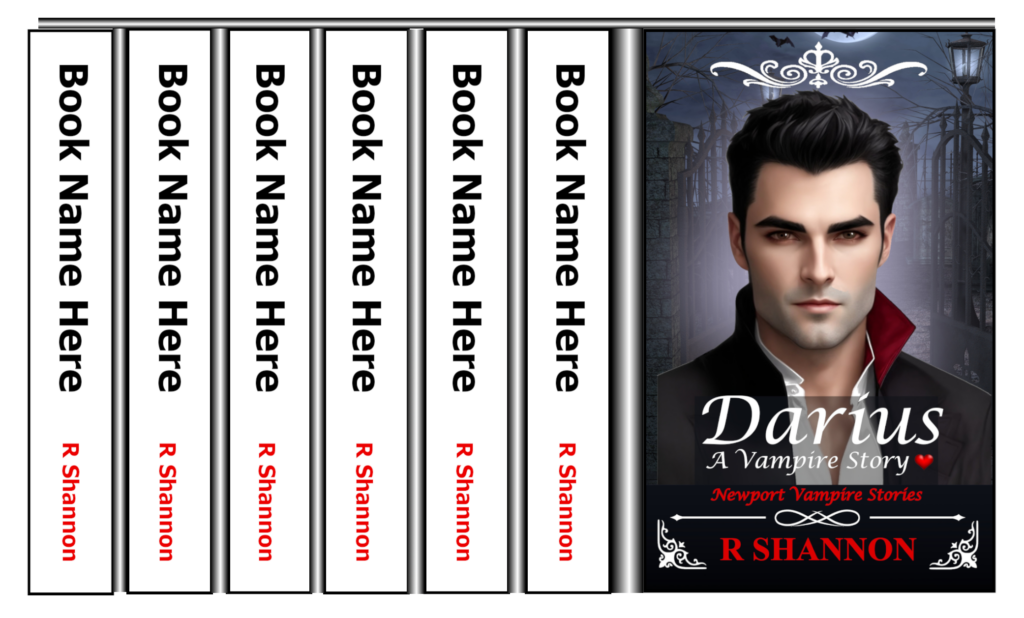
Bring in your ebook cover and place on the right side of the space. Leave a space between all the books spines and the cover. Add the titles and the author name.
My best tip is to start with the book title that is the longest. This way, you will choose the right size font to use. You will also need a picture to put on the background of the book spines. You can either add a color wash layer or fiddle with the opacity to make sure you can read the book titles.

Once this is done, you will then want to add a 5 pixel line between the books and then on that same layer, add a filter, gaussian blur and blur it out until it looks like a slight bend between books.
The final step is to choose a light color and dark color from your front cover. The create a gradient in the space between the front and back. Anyone with digital graphics skills will be able to put this together with just these few instructions and pictures. However, if you are new to graphic design, just watch the video below where I demonstrate how to make it using gimp, which is a free program.
The video below will be available when it is posted:


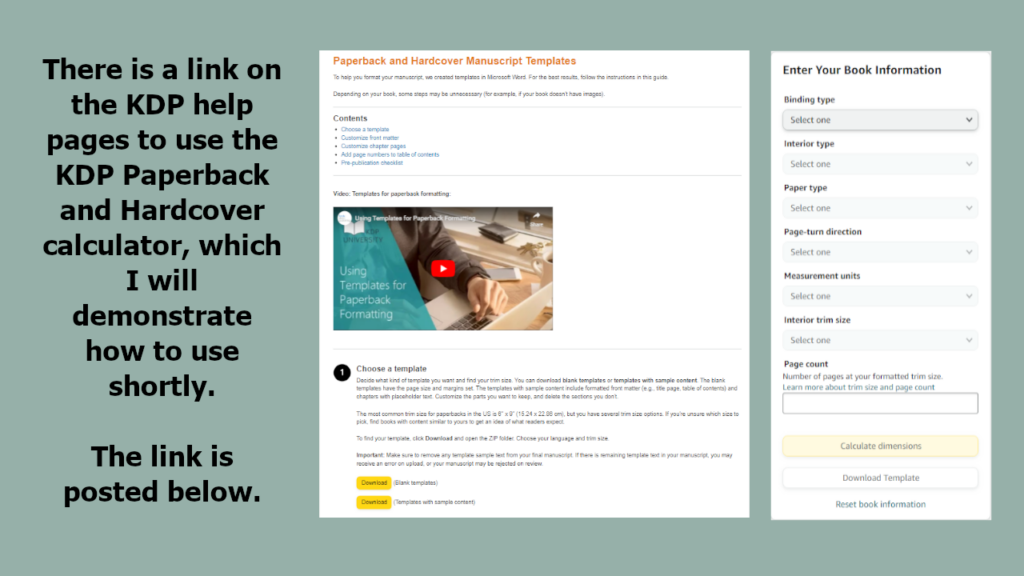
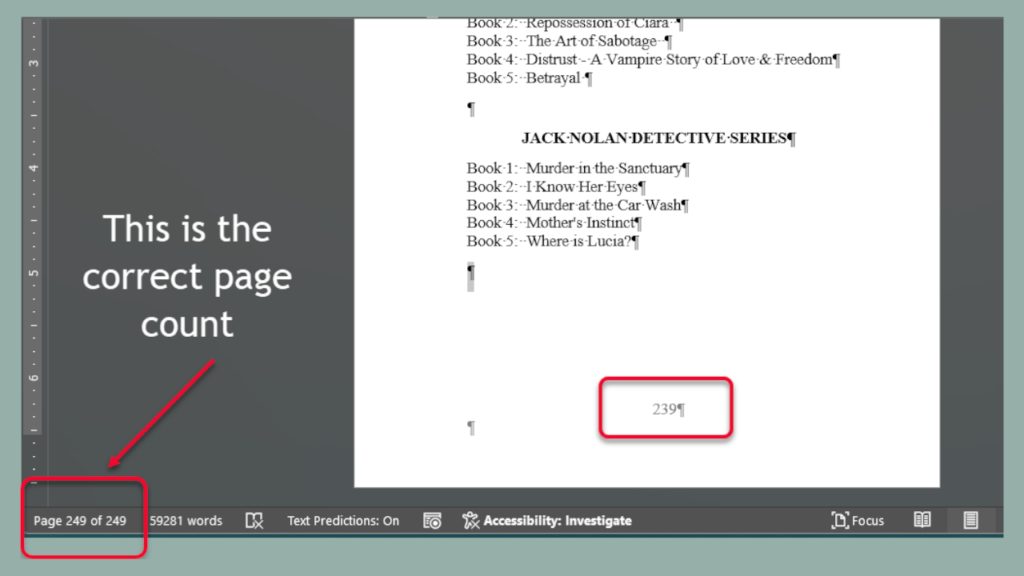
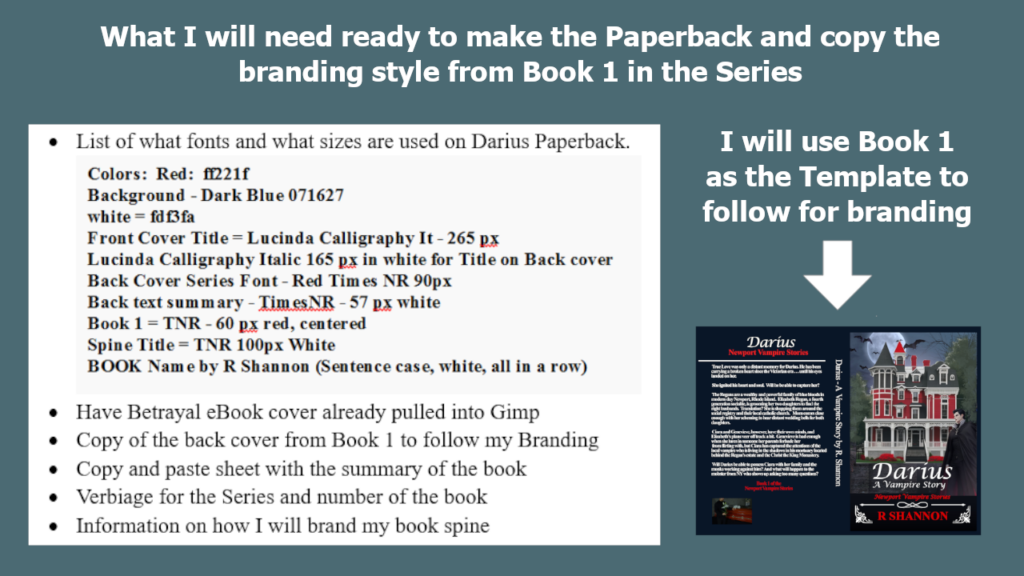
 In this blog post and video, which I will post below, I'm going to go over all the steps you should take in preparing to contact an artist at Fiverr to purchase an eBook cover. These tips will be helpful to both those who have money to publish but no time and also those on a shoestring budget.
 I'll use my own book entitled
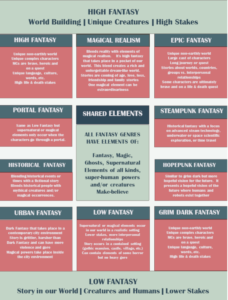
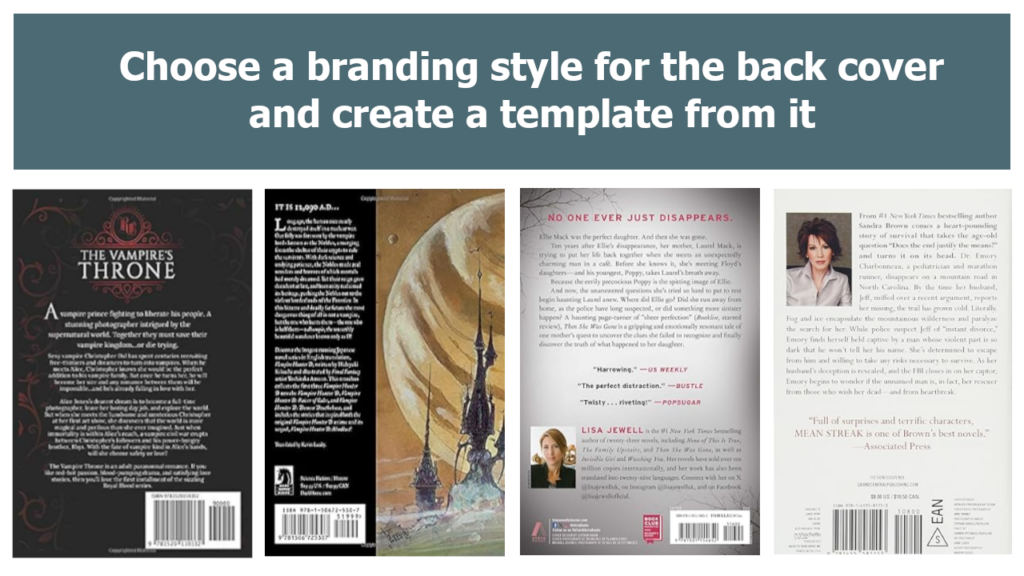
 Another tip I can pass on is that if you choose a classic as a guiding light book, or a popular book that has been professionally published, by analyzing those books and seeing where they are positioned, in a way you are getting the advantage of the marketing department that is behind this bestseller. The publishing companies have a marketing department and they work all day positioning books. By watching those bestsellers, you can profit, so to speak, from all of their education and know-how.

 Try to put all the pictures of the books on one page. You can do this in Word. If this seems like too much work, you can save the inspirational covers and keep them all in a folder so you can upload them to your fiverr Request.