
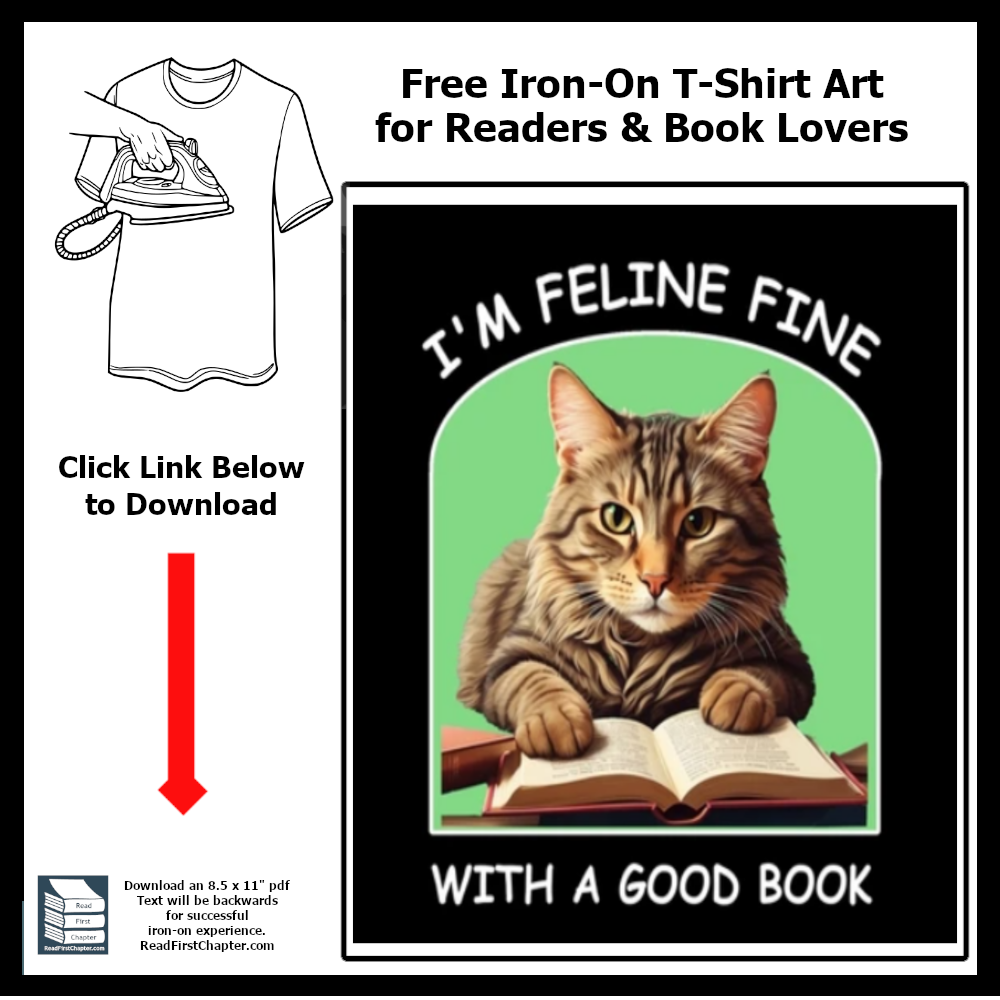
Click here to download a high resolution digital copy with everything backwards so you can iron on the design to a T-shirt or other fabric item. Downloads are kept on Google Drive.
Category: Diary of all blog posts
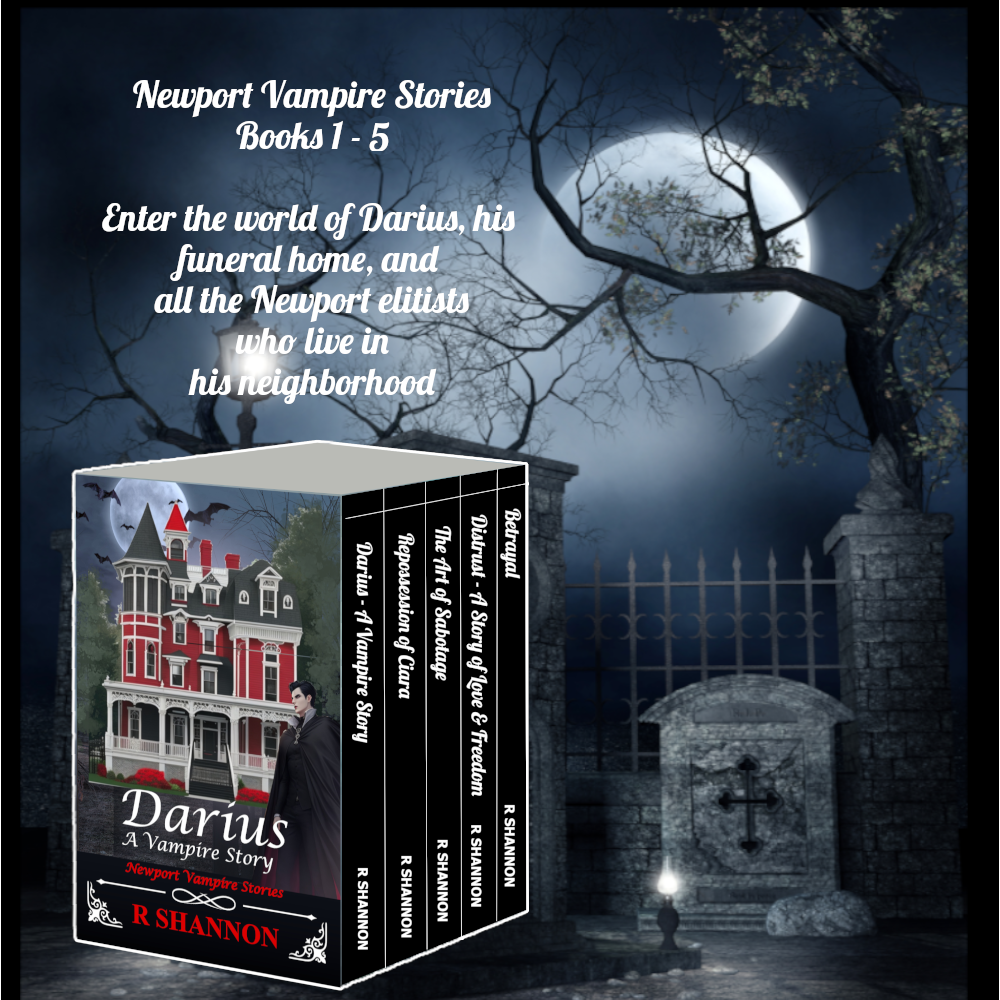 Click here to download the entire series for free -- for a limited time!
Coloring Page – Cinco de Mayo
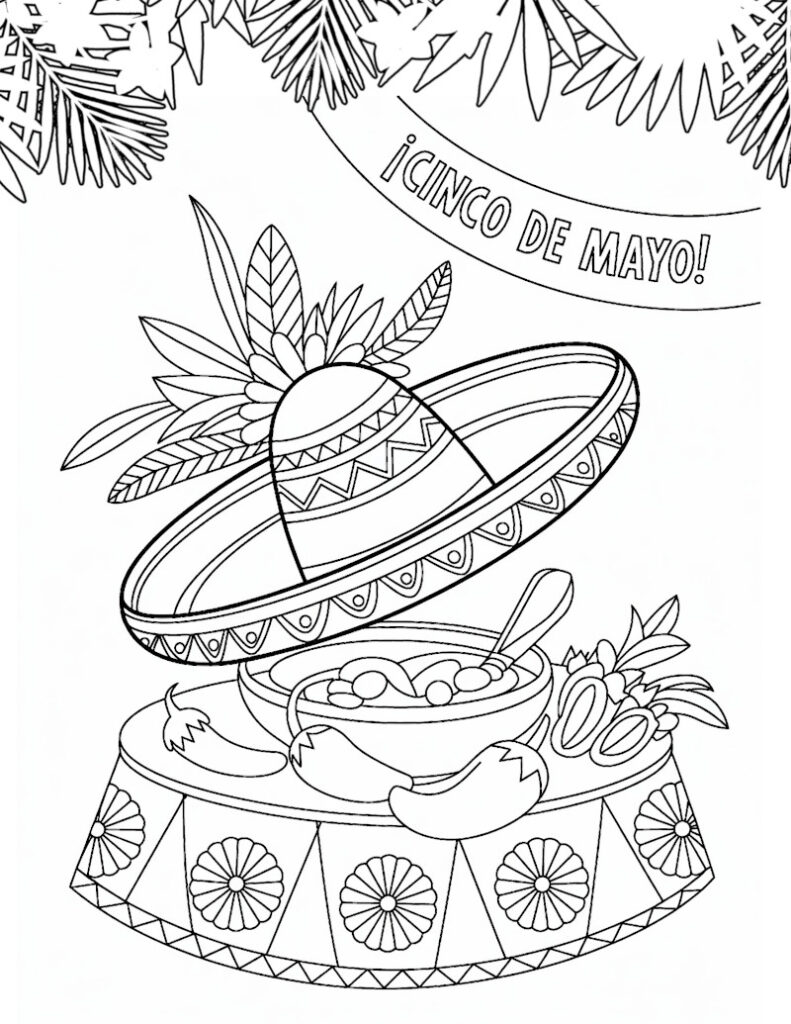 Click here to download an 8.5" X 11" pdf from
Google Drive
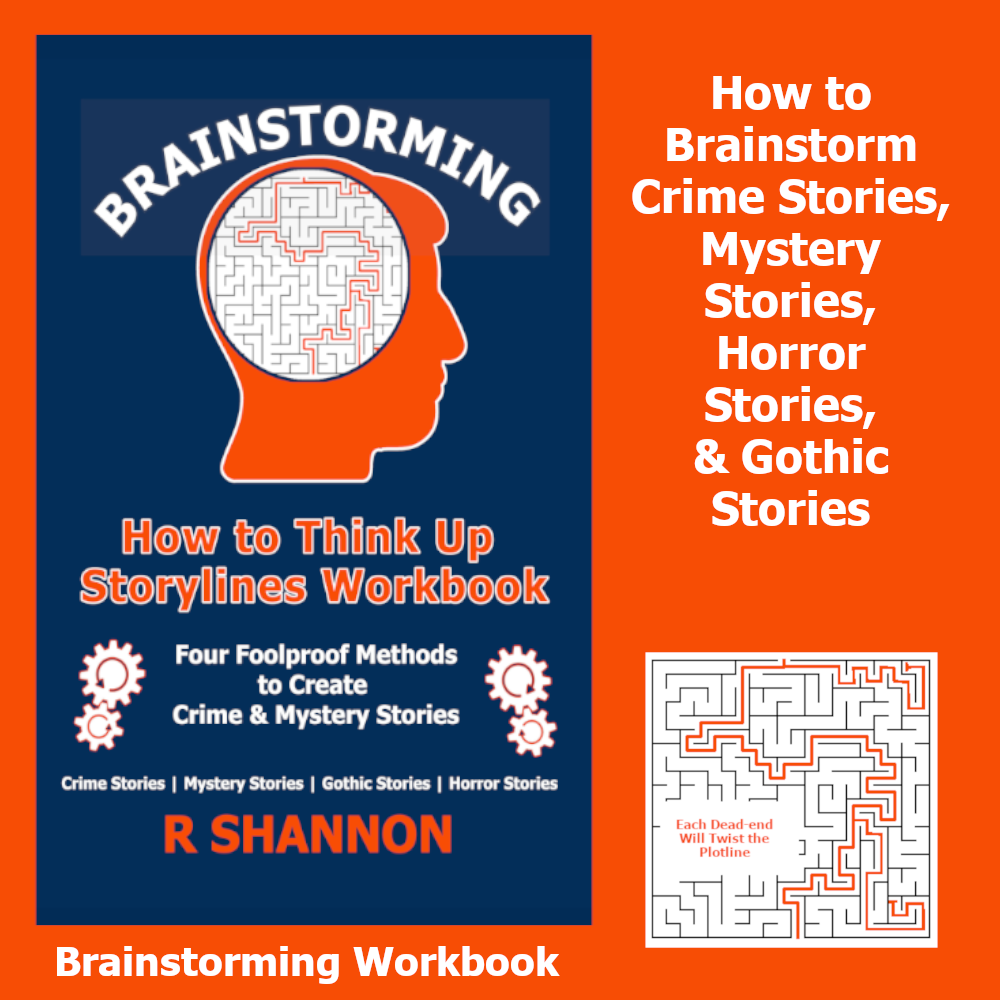
Check out my new Brainstorming Workbook!
Free Download for a Limited Time
Check out my Book Series!
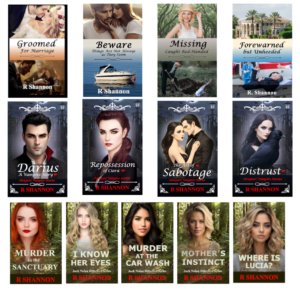
All my books have a thread of Catholicism running through them.
Ryan Mallardi Private Investigations
Jack Nolan Detective Series
Newport Vampire Stories Series
Iron-On T-shirt Design – A Good Day to Read

Click here to download a high resolution digital copy with everything backwards so you can iron on the design to a T-shirt or other fabric item. Downloads are kept on Google Drive.
Coloring Page – Earth Day
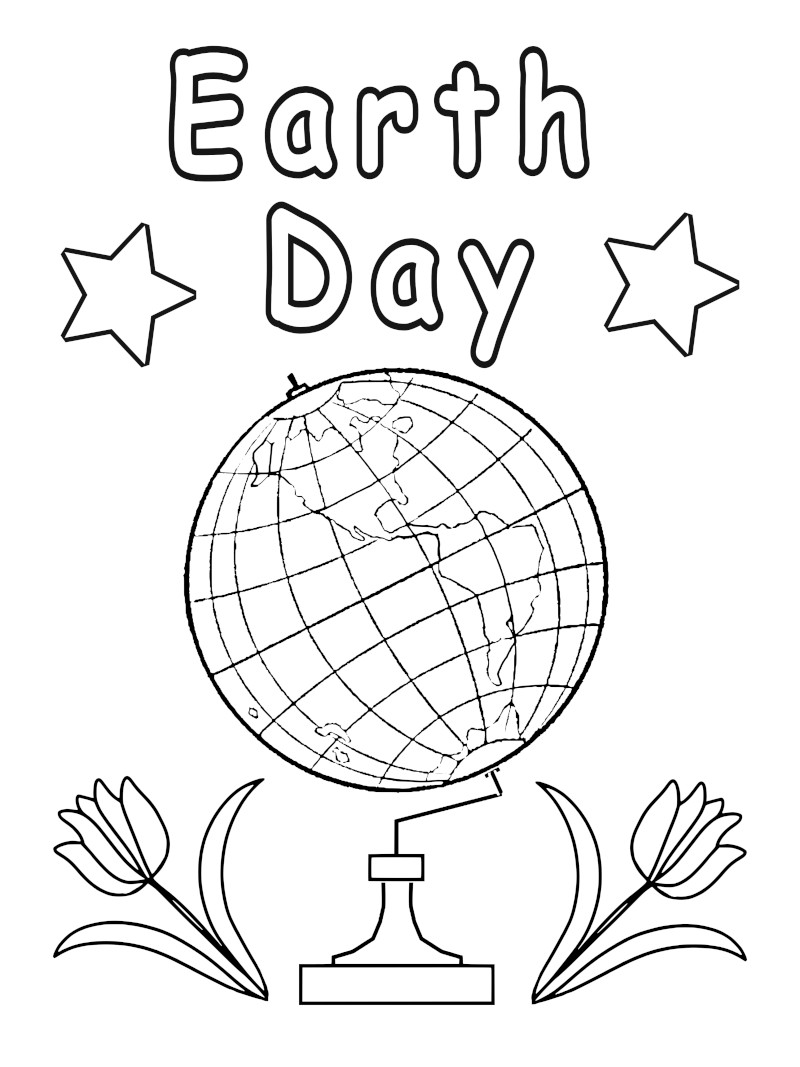
Click here to download an 8.5" x 11" coloring page
from Google Drive
Check out my new Brainstorming Workbook!
Free Download for a Limited Time
Check out my Book Series!
All my books have a thread of Catholicism running through them.
Ryan Mallardi Private Investigations
Jack Nolan Detective Series
Newport Vampire Stories Series
How to Create a 3D Book Series Book Cover
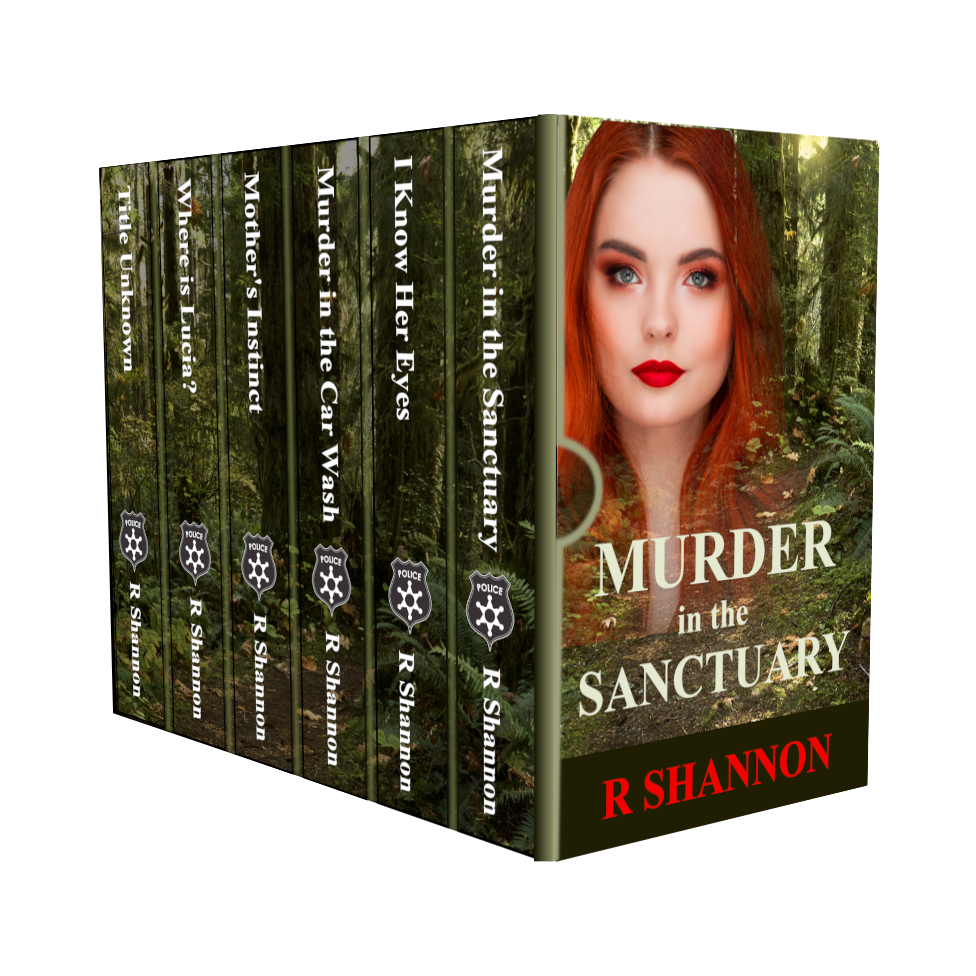 This blog post is done to accompany the video that is posted below. This will give you the instructions that may be helpful to keep open as you create your own 3D Book Series Bundle Cover like the one on the left.
These instructions will allow you to make any size bundle cover, going in any direction.
At the end of the video, I will also give you instructions to make the thumb cut or the finger pull that is popular on book series as well.
WHAT YOU WILL NEED:
- A high resolution front cover copy of your book, or whatever other copy you
 want to represent the book series
 - Gimp photo editing program which is free, or photoshop. If you use Canva, I will assume you can translate all the steps in that program.
- A high resolution picture of whatever you want to be the background behind your books spines.
- Any emblem or other branding graphics that you may want to put on the covers. In the cover that I make in the video, I use a police badge graphic to brand the series as a police procedural.
- You will need a large rectangle image with a transparent background in order to work. Make sure you are also working in 300dpi or 300ppi, whatever the resolution is referred to in your program.

LET'S MAKE THE 3D BORDER DIAGRAM:

In gimp, the first thing we will do is open a document that is 2500 pixels wide and 1,000 pixels high. This will make sure you have lots of room to work.
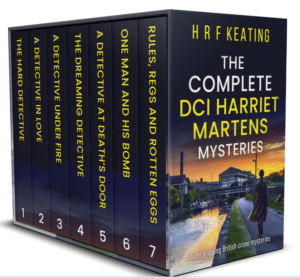
The next step is to bring in a 3D bundle model cover that you found on Amazon, like the picture on the above left.
Next, draw lines around the cover so that you create this shape. Our final cover will be transformed into this final shape by using the perspective tool. The example of this is above right.
LET'S CREATE THE COVER AND THE BOOK SPINES:
Open a new document that is 2082 x 1000 pixels and 300 dpi. This will turn out to be too large, but better too large than to run out of room. This will give me a good platform to make the book series mockup.
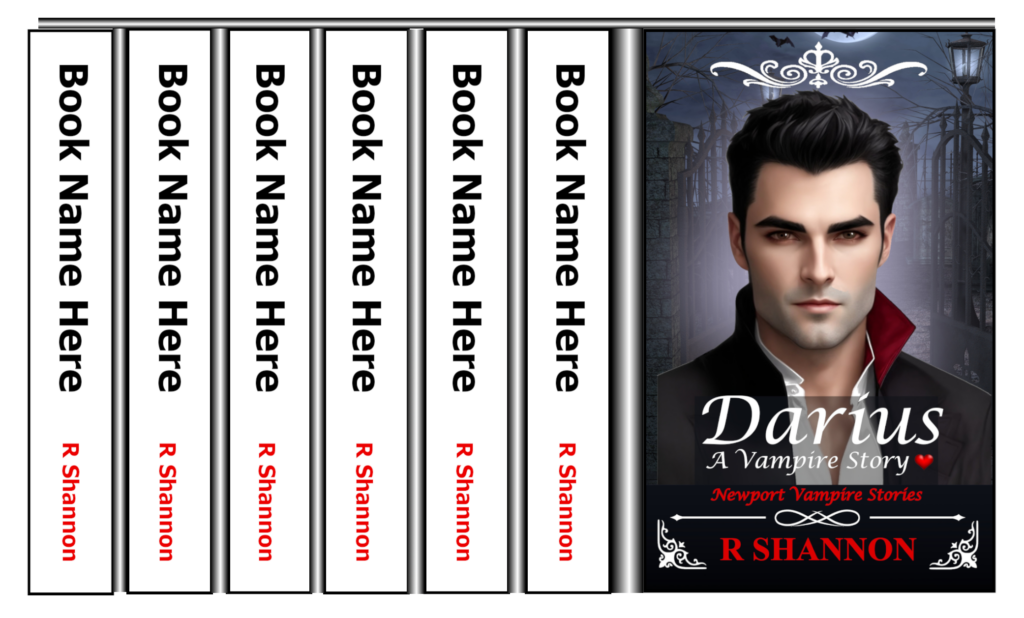
Bring in your ebook cover and place on the right side of the space. Leave a space between all the books spines and the cover. Add the titles and the author name.
My best tip is to start with the book title that is the longest. This way, you will choose the right size font to use. You will also need a picture to put on the background of the book spines. You can either add a color wash layer or fiddle with the opacity to make sure you can read the book titles.
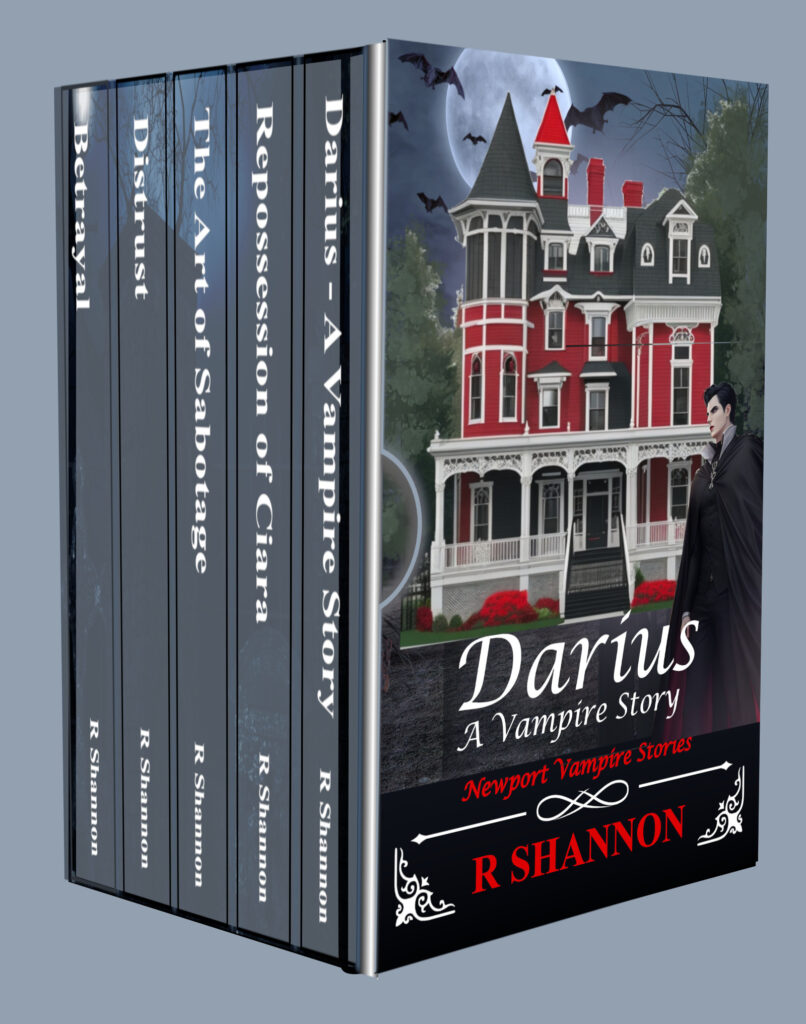
Once this is done, you will then want to add a 5 pixel line between the books and then on that same layer, add a filter, gaussian blur and blur it out until it looks like a slight bend between books.
The final step is to choose a light color and dark color from your front cover. The create a gradient in the space between the front and back. Anyone with digital graphics skills will be able to put this together with just these few instructions and pictures. However, if you are new to graphic design, just watch the video below where I demonstrate how to make it using gimp, which is a free program.
The video below will be available when it is posted:
13 Tips on Formatting a Book with Text, Pictures and Graphics
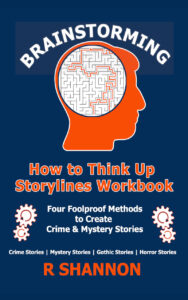 I just finished formatting and publishing a new workbook entitled Brainstorming: Thinking Up Storylines and wanted to make a blog post and video while all the information was fresh in my mind.
I made a few errors when creating my book, and hopefully, reading through these 13 tips, it will help you avoid those same errors.
1. You need to know the size book you want to create. That's called the trim size. The most common size for novel paperbacks in the USA is 6" x 9". Larger books have different printing costs. I published a workbook and it was 8.5" x 11".
2. You will feel most confident by downloading a template right from the KDP website. If you don't know the exact number of pages, you can use a template with the approximate number of pages. I didn't use a template. I just used very tight margins and the default print size in Microsoft Word. But if you want to download a template, you can find them on this page: (https://kdp.amazon.com/en_US/help/topic/G201834230).
3. The inside layout of your book will depend upon how you set up your page margins. In some books, like children's picture books, you may want a more spatial look. For my workbook, I wanted my margins as tight as I could get them. They were 0.5" top, bottom and both sides. That's about as tight as you can make margins.

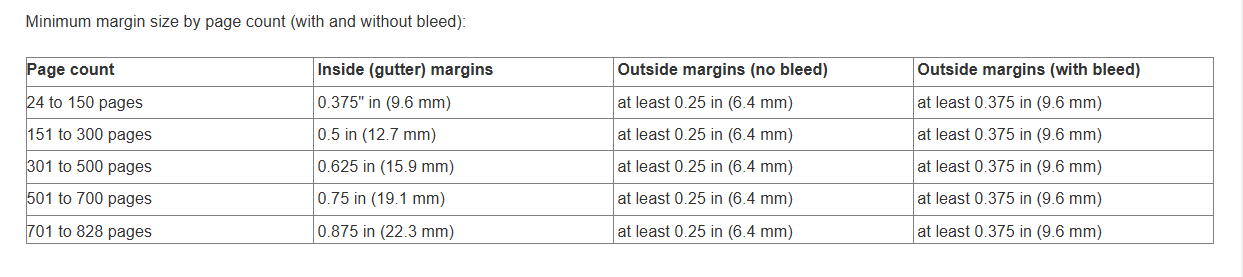
4. You need to know how much space to choose for the book gutter. Above is a snapshot from the KDP website showing the inside gutter margins based on how many pages will ultimately be in your book. As you can see, they have different measurements for bleed and non-bleed. If you are setting up your book from the beginning, you can work with an "approximate number of pages." If you click on the picture it will open a larger size. Otherwise, here is a link to the KDP page with the information.
Notice too that you need to choose based on bleed or no-bleed. These instructions and video are for the book that has no bleed. This means all the text, pictures and graphics will be inside the page margins.
5. This is for two changes under the File section of the document. We will embed fonts and choose not to shrink the photos.
5A: File > Options > Save > Embed fonts, check the top box only. But be aware that even though this is following the directions from the KDP website, you may get a message that say something like: Your fonts are not properly embedded, but we can embed them for you. Don't scramble around trying to fix them. It always says this. As long as you checked the top box, it will be fine. Below is a link to check the video about embedding the fonts for yourself. Here is a link to check out the video on how to embed the fonts from the KDP website:
5B: On the Advanced Tab, go down to where it talks about saving photos. Then check the box that says, do not compress the pictures. Also make sure your pictures are in a large format. Mine was set at 220ppi which was fine. If you are using high-resolution photographs, you may want to put the ppi up to 300.
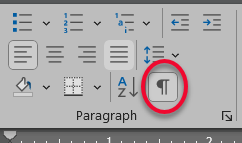
6. Put on the Show/Hide selection, so you will see all of the line breaks and page breaks. Also, add a page number so that it will take this into account. If you wait until the end to add the page numbers, then this may throw off some tables or graphics. So before you even begin, add the page numbers. You will need them for the table of contents anyway.
7. This is a work-flow tip: Before adding a picture be sure to add a space above and a space below the picture. You may need the space above to add more text or a title, and you may need to add text or add a page break after a large photo. If you don't use this spacing technique, you may have to go through a whole game of tug-of-war with Word in order to get a space above or below a picture. So try to use this technique to save yourself the frustration. I demonstrate this in the video below!
8. I have added pictures from the insert picture menu and I have even copied and pasted graphics from my Gimp program straight into the book. They both work for me. I mention this because I either read or heard on an instructional video that you always have to insert them. But I copied and pasted many of the pictures in my workbook and they all came out perfect in the final copy.
Be aware that any pictures that have color in them will be printed as black and white.
9. Each picture or graphic will require you to make at least two choices. Both choices will be made from the Picture Format tab. In order to see the tab, you must click on the picture.
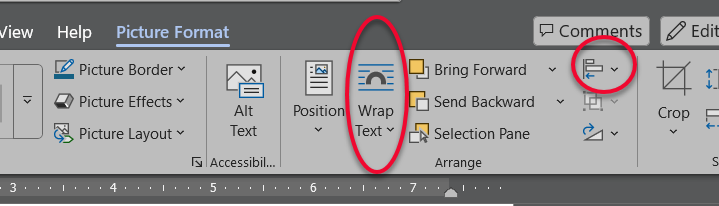
The first choice will be to wrap the text or not wrap the text around the picture. These choices are both inside the Picture Format tab as seen above. In order to see the Picture Format selection, you will need to click on the picture to make it active. Then inside the picture format, choose the wrapping style and also the align style. You will most likely want to center the picture.
Don't be alarmed if the picture appears to not be perfectly centered. Behind the scenes, Microsoft is allowing space for the gutter of the book.
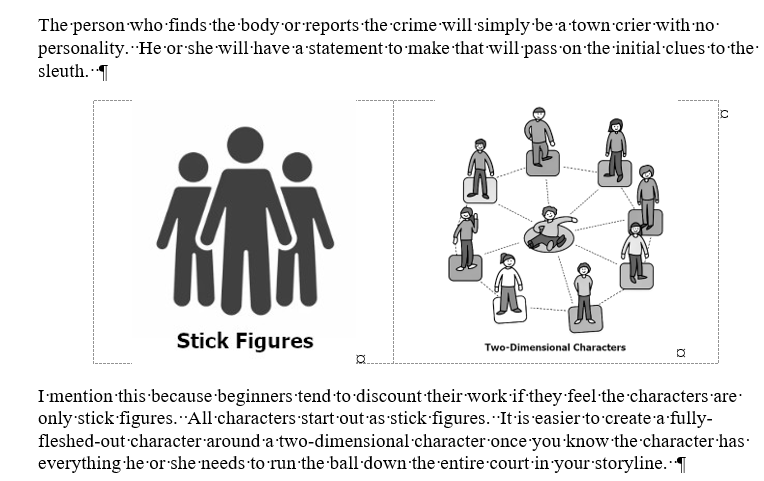 10. To add two pictures side by side, use a table with no borders and center the table. Then center the pictures in each cell. I demonstrate this in the video below.
11. In the workbook, anything with color will be produced in black and white. Just know this ahead of time.
12. In order to have a two tiered table of contents, you will need to use Heading 1 for the top tear titles, and Heading 2 for second tier titles. Likewise, if you will be working with more sub-headings, you will need to use Headings 3, 4, etc.
13. Use Odd-Page Breaks and Even-Page Breaks instead of line breaks!
In my workbook, there were pages that started a new brainstorming method, so I wanted those to be on the right hand side. So I made sure I chose a page break that was a section break (odd page).

Likewise, I had a two-page workbook form that I wanted the user of the workbook to be able to see side by side. So the first page needed to be on the left hand side, so it had to be a section break (even page). I have an example of how it looks in Microsoft Word above.
One further tip is that once you finish your book, you need to save a copy as a PDF. All paperbacks have to be submitted in PDF format to KDP. However, in order for you to check your even and odd pages, it is easier to look at this in the PDF because that will how the extra pages that Word skips. If this doesn't make sense, be sure to check out the video below!
Below is the video which will show up once it is published:
Coloring Page – April Fool’s Jester
Check out my new Brainstorming Workbook!
Free Download for a Limited Time
Check out my Book Series!
All my books have a thread of Catholicism running through them.
Ryan Mallardi Private Investigations
Jack Nolan Detective Series
Newport Vampire Stories Series
Two Different Stories from the Same Story Premise
THE BIG CLOCK & NO WAY OUT
AN OVERVIEW OF THIS COURSE:
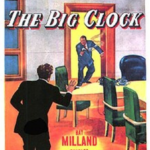
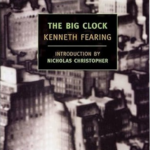
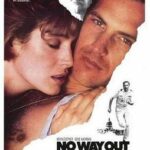
I recently saw the movie entitled "The Big Clock" which was made back in 1946. It was a psychological thriller noir and noticed that it was the same story premise as another movie from 1987. The premise of the stories are the same and they are both based on the original book entitled "The Big Clock" by Author Kenneth Fearing.
I believe doing a deep dive on these two films has a lot to teach about story engineering and brainstorming new stories. One reason is that the underlying premise of the story is exactly the same, but the whole story is different in each movie. Not just slightly different. Very different.
I will break up this mini-course into a crime spine to demonstrate how the clues are dropped into the storylines and how the authors' choice for locations, and twists made for the completely different story.
The Big Clock was about 1 hour and 30 minutes, and No Way Out is about 1 hour and fifty minutes. But there is a lot packed into the movies.
THE BIG CLOCK WRITERS, PRODUCERS, DIRECTORS AND ACTORS:
The Big Clock – 1946 Movie was produced by Richard Maibaum and directed by John Farrow. As stated above, it is based on the novel entitled "The Big Clock written by Kenneth Fearing.
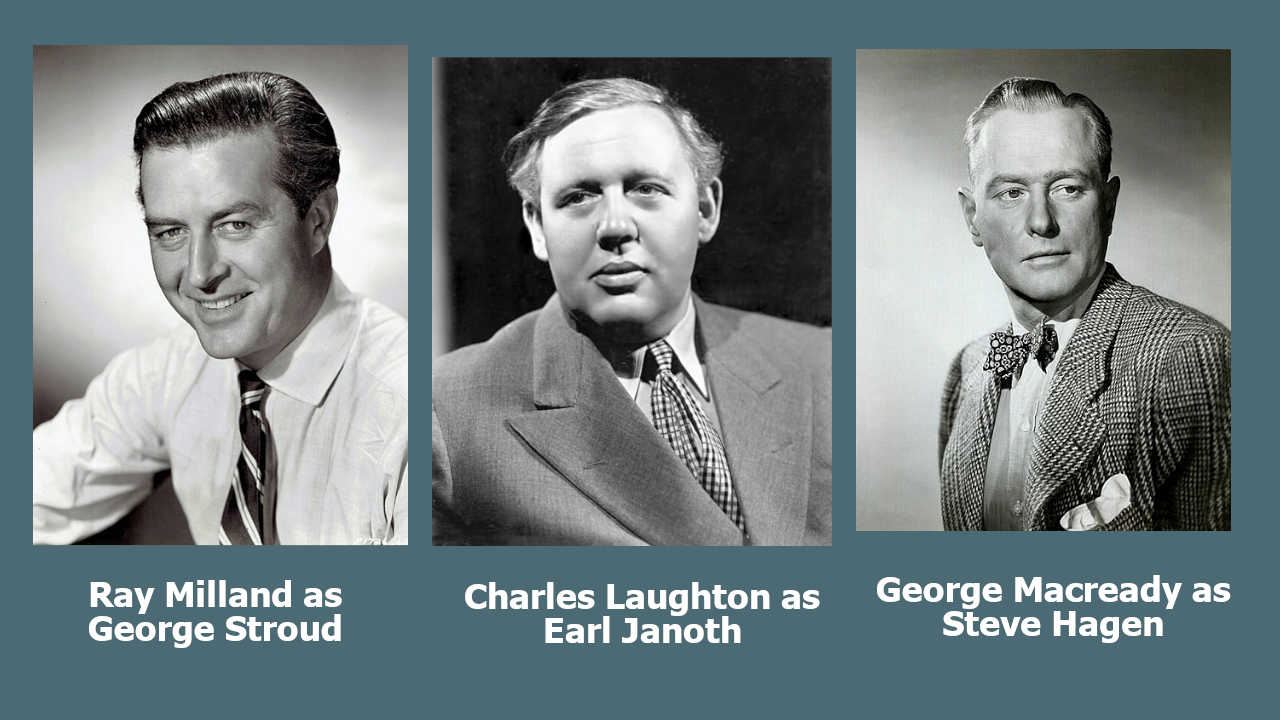
The movie has several stars from the 1940s in it, but the main parts are played by Ray Milland, Charles Laughton, and George Macredy.
Other Stars: Elsa Lanchester and Rita Johnson
THE BIG CLOCK LOCATION:
I want to take a moment to talk a little bit about the building that serves as the location for the drama. Janoth Publications Building in located in New York City. The building's clock plays a small part in the story but anyone under 40 probably won't know why. Research revealed that this movie was shot mostly in Los Angeles on sets, but the magazine company is set in New York.
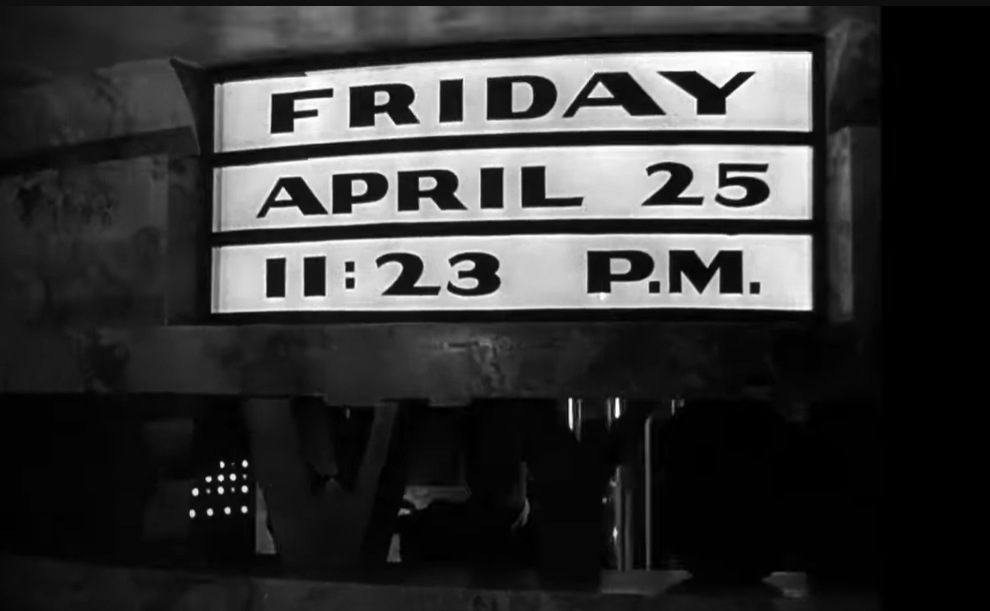
At one time, digital clocks were the latest in technology. So this building that had a digital clock like above, that could be read from outside by anyone in the city, was a big deal. I believe that's why it was chosen as the location for the story. By today's standards, it's a riot, but in 1946, it was the state of the art!
I will put the clues as they drop in red text. This way, you can see how they are sprinkled into the storyline.
THE STORY HOOK - THE MOVIE OPENS WITH A FLASH FORWARD
- George Stroud is running around the building, up in the clock area, and you can tell he's hiding from someone. He is frantic and sweating. He is thinking out loud and asking himself how he got himself into this mess. This gives the viewers a glimpse of what is to come.
NEXT SCENE: THE STORY PREMISE IS LAID DOWN:
The Premise: George Stroud is the Editor in Chief of Crimeways Magazine. He's rushing around at work with his staff trying to get his work done because he's going on a honeymoon with his wife -- and son.
He was called away from his original honeymoon due to a work emergency at Crimeways Magazine. This trip has been planned for him to make it up to his wife. He's a good guy, gets along at work, and is a great crime investigator -- which is why he is editor in chief of the magazine.
NEXT SCENE: Earl Janoth, the big boss at Janoth Publications, is a slave driver and he sends his right hand man, Steve Hagen, in to talk George into postponing his honeymoon again because they need to solve the Fleming case before the cops do. Hagen goes in and delivers the news, but George is adamant that he is not missing another honeymoon. He then tries to get Steve to understand how his wife feels about things.
NEXT SCENE: A smartly dressed, beautiful blonde is rummaging around in Janoth's office, the big boss, and she also has the intercom on. The intercom is a device that allows Janoth to listen in on his employees. The woman's name is Pauline York and we find out in short order that she is Janoth's mistress. Pauline hears George trying to reason with Steven Hagen as to why he can't cancel another honeymoon.
Earl Janoth walks into the office and catches his mistress in his office and he's not happy. He doesn't know how she got in and she brags about taking his private elevator up and flirting her way through security. Not liking to be out of control, Janoth walks her out of his office to the public elevators, but not before telling her he will see her later at 10:50 PM. There is tension between them. We also find out that Janoth is paying her bills, including her singing lessons.
NEXT SCENE: Back in George's office, Hagen is still putting pressure on George to postpone the honeymoon, but George refuses. He eventually storms out of the conversation and he leaves.
PAULINE'S SCHEME - WHAT SHE WANTS:
In the next scene, it's lunchtime and Mistress Pauling walks into a fancy restaurant where George is sitting at the bar with another man. George orders them two more stingers and the mistress saddles up to them and says, make it three. The man then excuses himself because of an appointment with a psychiatrist. Pauline slips into his seat.
She tells him she wants to tell his fortune and reads his palm. She then repeats everything he was complaining about regarding Janoth, the boss. He now knows she overheard him. She claims her and Earl are old friends. She suggests that maybe she and George should put their heads together to get even with Janoth. However, at the time this suggestion comes out of her mouth, George's wife, Georgette, comes in and walks up and is not happy about her husband sitting next to and talking with this beautiful blonde.
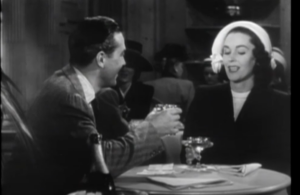 After a tense moment between the two women, Pauling leaves. George smooths down his wife's feathers by showing her he has reserved a table for them to have lunch, and he has ordered champagne, and they will toast their honeymoon.
The wife settles down and she confirms that she has the tickets for the train and they both toast to their honeymoon.
Back at the office, Hagan tells Janoth he was not successful in talking George into postponing his honeymoon. Janoth is not happy, but says that he has another idea, another approach.
NEXT SCENE - AFTER LUNCH - JANOTH'S SETUP
George is engaged with co-workers taking care of everything so he can leave on time. Janoth strolls out of his office at 4PM and joins George in front of his Crimeways Crime Board and he proceeds to compliment George about being able to solve the crimes even before the cops in most of their cases. Janoth is not the type to compliment anyone and George takes the bait.
Then George goes into a long explanation of how he uses the blackboard to add all the clues, and he focuses on an 'irrelevant clue' and that's always the one that helps him solve the crime.
During the conversation, Janoth slowly walks with George during their conversation into his office. He then tells George how happy he is that they are comrades at work, and they can always count on each other. George is enjoying having his ego stroked. Then Janoth tells him he wants him to work non-stop on this Fleming case and it will increase the circulation by at least ten percent.
George then wakes up and realizes that Janoth is trying to get him to postpone another honeymoon. But this time George refuses.
After the buttering up didn't work on George, Janoth resorts to threats and tells George if he doesn't stay, he will be fired. He also tells him he will blacklist him and he'll never work in this town again. George still refuses and he's mad because he knows Janoth was manipulating him. He says, fine, I'm going anyway. He walks out and goes back into his office.
PAULINE'S SETUP - WHAT SHE WANTS
His secretary calls in and tells him there's a woman on the line who wants to tell his fortune. George knows it's Pauline, so he picks up and blurts out that Janoth has just fired him. Pauline is shocked and she asks him what he's going to do. He says, right now, I need a drink. She wants to join him, but he says no. She then says that she knows a way to make Janoth give them both what they want. She tells him it will be worth his while to at least listen to him. He agrees.
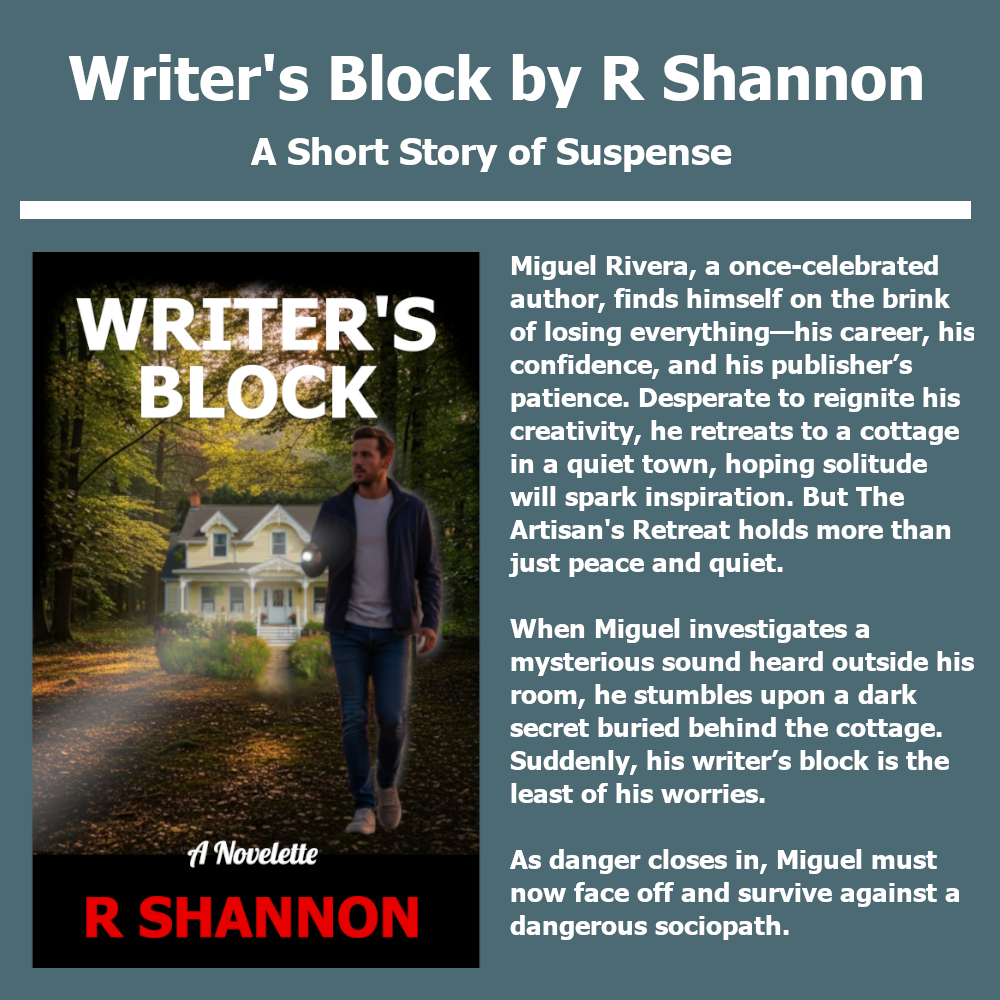

Click on the graphic to have a peek behind a real novel.
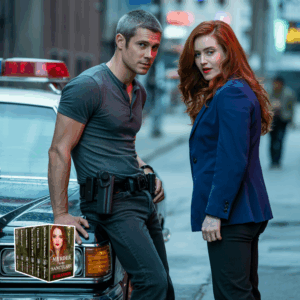
Formatting a Book Series Bundle
CREATING YOUR FIRST BOOK SERIES BUNDLE:
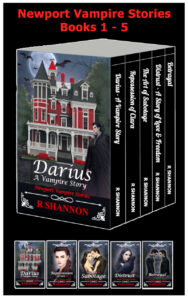 How exciting! I just recently put together my first book bundle for my Newport Vampire Series and decided to put together a how-to blog and video for anyone else who wants to learn how to do it. I've organized the process and I've posted it below and will have a video to accompany it. I hope it saves you several hours of research!
It turned out to be easy enough, but when I first set out to figure out how to do it, it was nerve wracking! I think I figured out an easy way to do it for next time, and I off that to you now with this blog post. Below I have organized how to put it together easily without the worry of ruining your original manuscripts.
HOW TO SET UP EACH OF THE BOOKS:
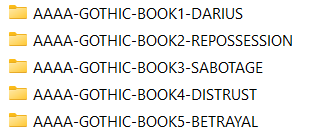 You will be stripping out front matters and back matters from all the middle books, but leaving the front matters, with a few changes, on the first book, and keeping the back matters on the last book. I'll go into a little more detail below.
The biggest tip I can give you is to make a "bundle-copy" of each of your final eBook manuscripts so that when you alter them, you are not ruining your original manuscript. This is a little bit of a tedious process and the more organized you are from the beginning, the smoother it will go.
THE FIRST BOOK:
- Using the new bundle copy you have saved, go into the eBook and change
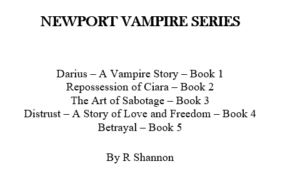 the title of the book to the title of your series. For example: My book was called Darius - A Vampire Story so I changed it to Newport Vampire Stories Series, and listed all five books followed by my author name. I was happy with the way it looked in the final manuscript. If your books have subtitles, I would just put them under the title of the books.
 - If you want to have a Title, Subtitle, and then add language about the bundle, you will make this change on the two title pages.
- Leave the copyright page and change any language about the book to the book series.
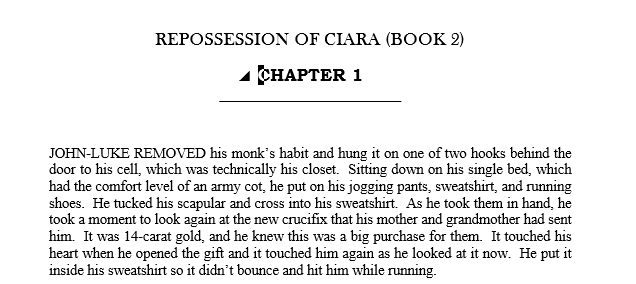
- On the line above Chapter one, add in the Name of the book and give it a style -- from the style gallery -- of H1. (See graphic below)
- Then change all of the Chapter names to H2s.
- Strip out all of the back pages. The last page should be the last page of your first ebook.
THE MIDDLE BOOKS:
- Strip out all front matters and back matters.
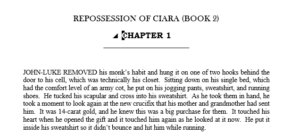
- Add the name of the book above Chapter 1. Give the book name an H1 Style. See graphic below.
- Go through the document and change all chapter headers from H1 to H2.
- These books should begin with the Title of the book, Chapter 1 through the last chapter and end after the last word in the last chapter.
THE LAST BOOK:
- Strip out all front matters but leave the back matter, the acknowledgement page, the thank you for reading my book page, the other books by page.
- Add the Name of this last book right above Chapter 1 and give it the H1 style.
- Then change all of the chapter headers from H1 to H2.
ASSEMBLING THE BOOK:
- Open up Bundle Book 1 document. This will be the ultimate final manuscript, so save this now with the series name. For example: NVS-Bundle-Manuscript.
- Add a page break after the last word in the last chapter.
- Open the second book document and copy everything. Paste as the next book in the Bundle-Manuscript document.
- Copy and past the next books in line, ending with the last book that has all of the final pages still in it.
- Go back to the top of the document and check for any and all extra spaces or other errors.
- Save as the Bundle Document.
RUN THE TABLE OF CONTENTS:
Run the table of contents and check it. Check and make sure all of the chapters are accounted for. If any of them are missing, it means you didn't add the H2 to the Chapter name.
If you find that not all of the chapters are underneath the Book Name, this means you didn't change a chapter name from H1 to H2.
SAVE AND PREVIEW IN KDP PREVIEW WINDOW:
Once it is finished, be sure to check the book page by page in the KDP Preview window.
VIDEO OF PROCESS BELOW:
I will post the video of this process below so you can see the Table of Contents being created. I have other videos on creating the Table of Contents, but I find it less nerve wracking when I can see the process done in real life.
I'm planning to do a video on how to create a 3-D version of the series for Amazon, so be sure to check out my blog and/or my YouTube Channel.
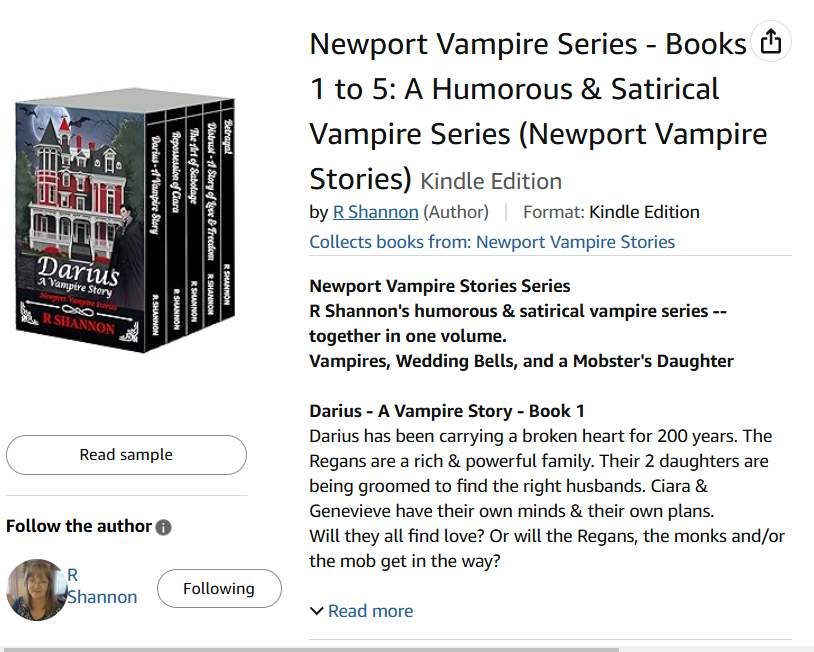
The video will be posted below when it is available!
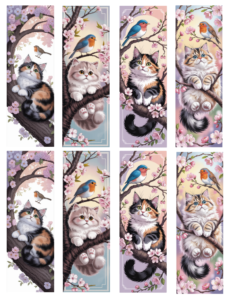
Free Printable Bookmarks
Mystery Romance Private Investigator Series

Police Procedure Enemies to Lovers Series
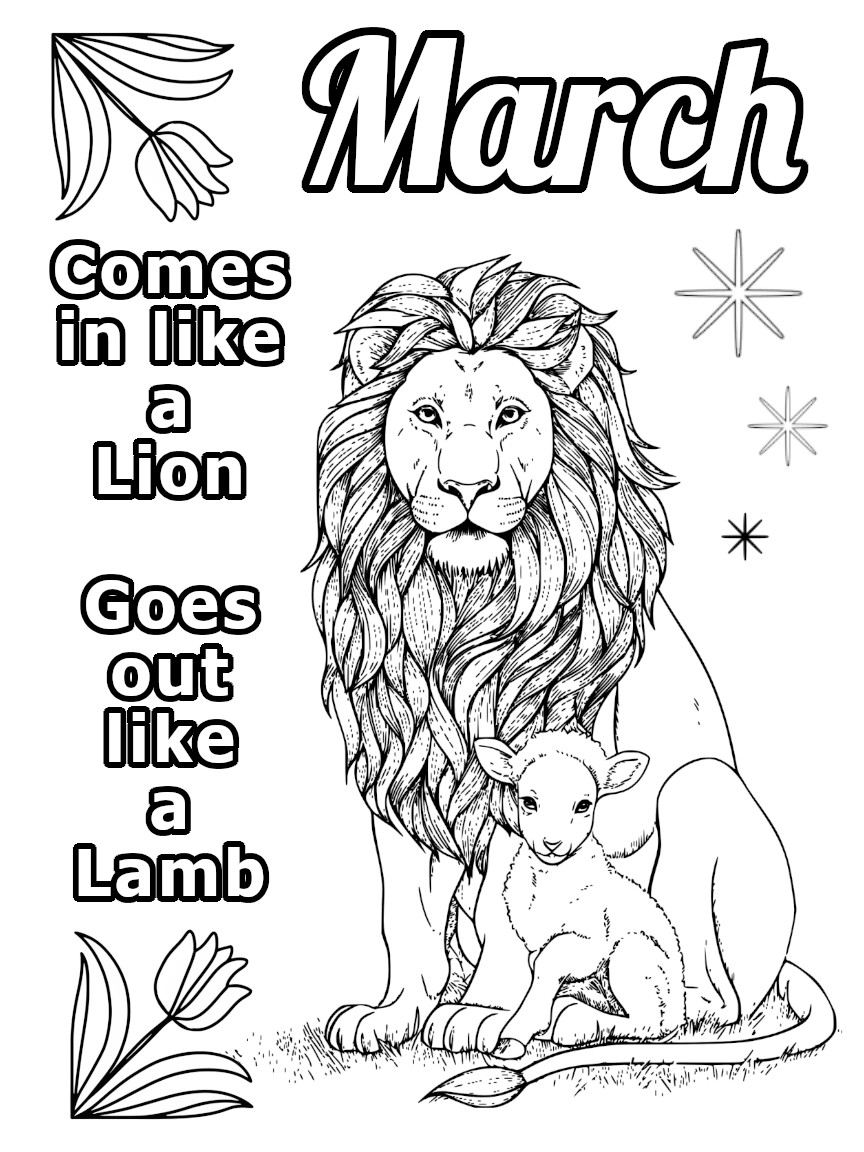
Coloring Page – March Lion and lamb
Check out my Book Series!
All my books have a thread of Catholicism running through them.
Ryan Mallardi Private Investigations
Jack Nolan Detective Series
Newport Vampire Stories Series