LAYER 1 - Putting Together the Skeleton of the Mystery or Crime
 In a mystery, crime novel, or thriller, the clues and their revelations need to be planned so the story clues can remain disjointed in the beginning, but then slowly come together like a jigsaw puzzle. This keeps the reader guessing -- which is part of the mystery readers' enjoyment.
Layer 1 requires the skill of story engineer, not so much an author. In my humble opinion, trying to write around this initial phase of story scaffolding is is one reason why novels can take authors years to finish. Scaffolding-panel.png
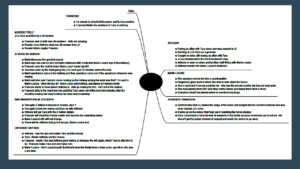
So the first layer is to storyboard only the crime or the mystery of your novel. This layer can look like a long list of crimes and clue elements,
or it can look like a mind map sketched in pencil on the back of a large piece of wrapping paper, or it can be done in a mind-mapping software.
But there will need to be initial planning of where the mystery begins, where it leads, and how it ends. That's what goes on in this layer.
WHAT TO FOCUS ON IN LAYER 1:
An example for a Layer 1 crime mystery would be the following:
1. Lay out the chronology of the crime.
2. Who is or are the Victims?
3. What is a list of clues that could lead to the solving of this mystery?
4. Determine what the final clue will be that reveals the true culprit and think about how you can hide this clue in plain sight. This will be the clue that solves the mystery.
5. Determine what the first three or four clues will be that will bring in multiple suspects. Give each suspect a motive for the crime and decide how and when you will reveal this motive
6. Choose an unlikely suspect and give this person a good cover story.
7. Even at this early stage, figure out how the mystery or story will end. This can be changed during the creative process, but knowing where your story will end, will give you a writing destination. This will prevent you from winding up writing yourself into a corner somewhere or writing yourself into a tangent that will have to be nixed anyway.
WHAT ABOUT OTHER GENRES?
Now, sometimes you will be writing a story that has a mystery ribboning through it but it's not as organized or as detailed as an actual crime mystery. Your outline will be shorter but will contain a skeleton of all the action. Below are two examples of writing a ghost story and writing a Gothic scary-house story.
LAYER 1 IN A GHOST STORY:
 1. Who is the Ghost? Why has the Ghost arisen? Why is the Person not Resting in Peace? What is the Ghost's purpose for appearing? This is the backstory that will be dropped like breadcrumbs throughout the storyline. (Ghost-Story.png)
2. How can the Ghost first appear that will raise the question that maybe the viewer is just crazy? Or maybe the viewer is just paranoid? Give them a reason for this paranoia.
3. How will the Ghost appear and what clues will the ghost drop in order to trigger more of the mystery behind the Ghost's restlessness to play out?
4. Choose how the story will end and if the Ghost will achieve its goal and whether the ghost will now rest in peace or will the Ghost be back for another book in the series?
LAYER 1 IN A SCARY-HOUSE STORY:
 1. What is it about the house that's creepy?
2. What is the House hiding? Is there a secret room? Is there a hidden person?
3. What happened in the house to make the house haunted or unsettled?
4. How will the mystery of the house play out? What is the chronology of the clues about the history of the house and why it is haunted? These are the breadcrumbs in this kind of a storyline.
5. Choose how the story will end and if the house is destroyed or if the house destroys someone, etc.
FORMAT OF LAYER 1:
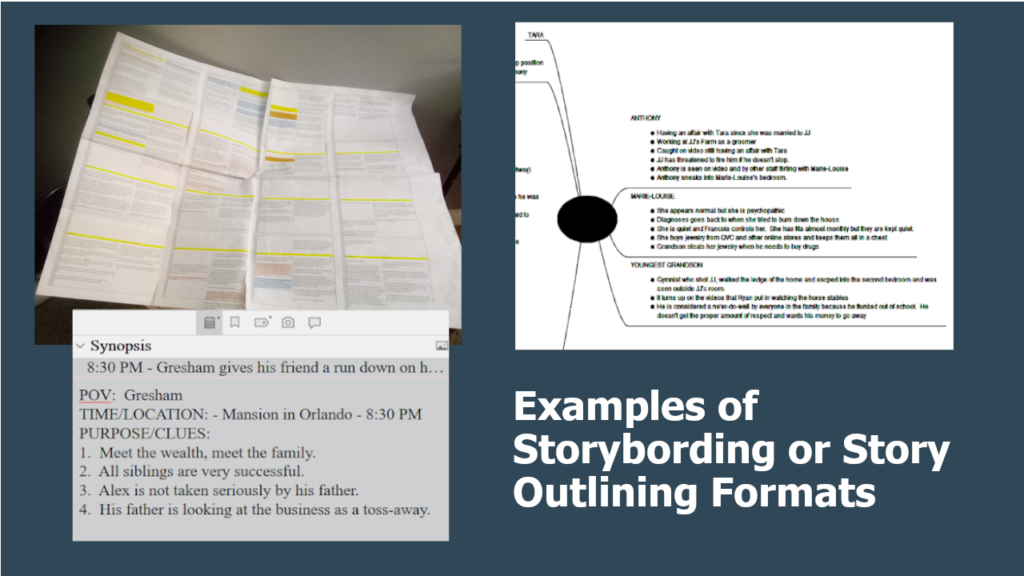
Layer one can be done in a list format or with a mind-mapping software, or even with a pencil drawing your own game board or storyboard on the back of a large piece of wrapping paper. Choose whatever format helps you the most. If you're new, try each one. Finding the right tools for the right job is very helpful.
If your Level 1 looks like any of these, you get A+ Layer 1.
LAYER 2 - Break up the Story into a four-part structure or 3-act structure.
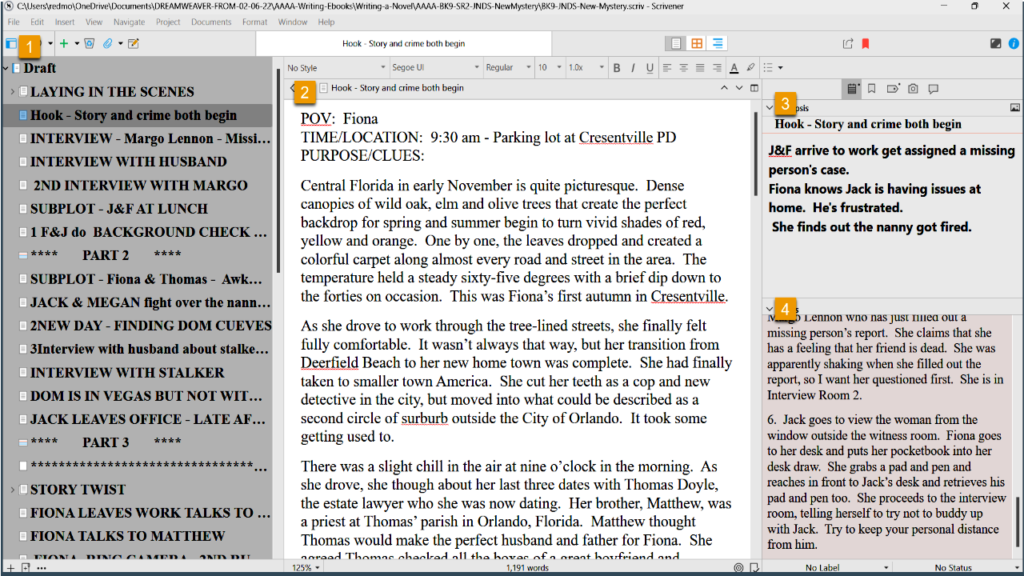
Open up a fresh manuscript document and split the clues and events into a four-part novel structure or a 3-act-story structure, whichever one you prefer. So this layer is easy and takes about five minutes.
LAYER 3 - Writing the Scene Outlines (Scaffolding & Storyboarding)
In Layer 3, you will refer to the Skeleton of the crime outline you already created. Following the chronology of the crime and the clue drops, write an outline of each scene. This is nothing more than another list of what needs to happen in each scene. You are not the writer yet. You are still the story engineer or the storyboard creator. This is the second phase of scaffolding that is setting the story up for when the writer comes in. The list should be concise, more like a list than big paragraph chunks.
Below is a Scene Template I use. I don't worry about the Point of View in this layer because you can wait to choose it. I wait to see who "steals the scene" when I'm actually writing. But I include it in a Scene Template.
POV:
TIME/LOCATION:
PURPOSE/CLUES:
CHOOSE A TIME AND LOCATION:
Choose a time and location, but don't describe any locations or characters yet. Purpose and Clues is a reminder that everything written has to have a purpose and every scene in a mystery should have some clues or a crime.
In the video on this subject matter below, I go into a few extra tips on using the scene template to help you in other ways.
LAYER 4: DOWN-AND-DIRTY FIRST DRAFT - NOW YOU'RE THE WRITER!
In Layer 4, you are finally the writer. The scaffolding is in place and now it's time to start writing the story. The first draft is the hardest layer of writing.
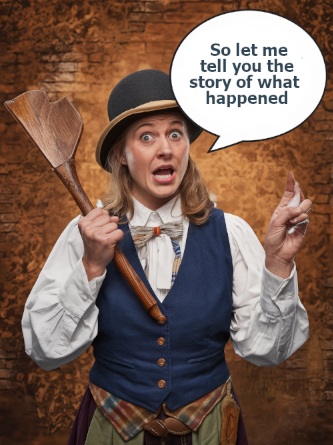 It may help to think of yourself as more of a Town Crier.
Your job in this layer is to blurt out the entire story. Just get it down in paper. Don't worry about spelling, grammar, descriptions of people. Like the cops say -- Just the facts. Write out the story and don't look back. Don't re-read anything. Don't get lost in verb tenses. Write and don't look back. Only look at your scene outline to make sure you have covered everything. That's the only concern.
THINGS TO WORRY ABOUT IN THE FIRST DRAFT:
Choose a location for the scene and a time. (Nothing is written in cement)
Make sure all of the clues and anything else from your scene outline gets into the scenes.
THINGS THAT DON'T MATTER IN THE FIRST DRAFT:
Spelling, grammar, sentence structure, too many adverbs, scene or character descriptions, foreshadowing, cliffhangers, quote marks, etc.
Just write what happens in each scene with whatever dialogue comes to you.
In the video below, I go into some detail about why this is important and how it can save you time in the end.
LAYER 5: 1st Proofread (The Read-through)
I call this the first proofread but it's really the first readthrough. Run a grammar and spell check in the beginning. This will clean up some of the down and dirty mistakes.
Begin to read through the novel as a writer. This is the layer that you will put in the descriptions of your main characters and the scene descriptions. You are not line-editing in this layer. You are reading for context and to make sure that your sentences flow one to the other and that the chapters flow from one to the other.
LAYER 5 CHECKLIST:
1. Are there any descriptions you need to add to this scene?
2. Is there any surprise in this scene? If so, can you rewrite it to make the surprise be a cliffhanger at the end of the chapter?
3. Has the POV been established?
4. Check on head-hopping.
SCRIVENER TIPS FOR LAYER 5:
Using Scrivener Find and Replace feature, set things up where you will automatically focus on your weak points. For example: I make all "ing" endings capitalized. I also capitalize the words BEGIN and BEGAN as well as the phrase IN ORDER TO. This way, I can't just scan over them without noticing them. It forces me to check whether I can change the format of the verbs or the sentence structures to past tense, etc.
Then I proofread the entire novel and focus on these changes. Here is a checklist for the scenes in this layer:
LAYER 6: The 2nd PROOFREAD
This is the layer you start polishing your prose in. Spellcheck and grammar check again before you begin. Then read through the entire novel for context and this time look at your sentence structure and verb choice.
SCRIVENER TIP: USING KEYWORDS FOR A CONTEXT CHECK:
Layer 6 is where I add the keywords in Scrivener. By using keywords, you can isolate certain scenes and then see them isolated from the rest of the novel. This is a great way to check on certain things in any story. Examples: Romantic Subplot, wedding talk, vampire events, interviews, clues dropped, etc.
Layer 7 - The Hardcore Proofread
Below is a list of things I do in Layer 7:
1. List Troublesome words - Just, like, adverbs. Compile a list of your favorites. I have compiled a long list of words that trip me up and I go over them in this layer.
2. Check your chapters in Grammerly for grammar verb tense.
3. Then I compile from Scrivener to a Word .docs file and paste it into an eBook template and save it as a Manuscript. I file it in a folder called Pre-Publication. Then I open it in Word and run Word's spell check and grammar check on it again.
4. Then I read it as a final proofread (even though it's not the final proofread!)
5. Check all Chapter Names are in Heading 1's for the Table of Contents
6. Fill in the Other pages: Title Page, Other Books By Page, Title and Author Page, Copyright, Table of Contents, Note to Reader, Acknowledgements, About the Author, Other Books By Page)
6. Find and check all quotes to make sure your quotes are in sets.
LEVEL 8: - FINAL PROOFREAD AND NARRATION
 1. Using the read aloud feature in Microsoft Word, I read the book aloud as I read along with it. This gives you an idea of how the book will sound in the reader's mind.
2. I make any final corrections in this last proofread.
3. From here the manuscript goes to an Editor.
4. Then I forward it to myself as an ePub and while it's being edited, I read it again on my Kindle to see how it looks and feels from the reader's perspective.
VIDEO ON WRITING IN 8 LAYERS IS BELOW:
