THREE: YOU CAN DO RESEARCH NOW ON THE FLY
 With bard.google.com, now it's possible to do research on the fly when writing fiction. Simply open a browser window, type in bard.google.com and start asking it questions.
Unlike ChatGPT, Bard is a Google AI product supposedly still in beta form, but it works like a charm. Unlike ChatGPT, it can research using the internet. ChatGPT is limited by time; the cutoff for ChatGPT the last time I checked was sometime in September of 2021 I believe. The cut off of what it can access is now way over a year ago. So I find that Bard is a better option for book research so you can get the latest.
FOUR: USE THE SCRIVENER HIGHLIGHTER AS A REMINDER:
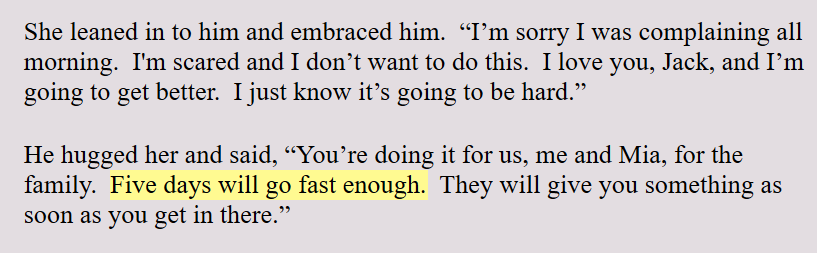 Scrivener allows you to highlight text in any color you want. I use this highlighter in the Level 4 Draft to make a mental note to myself to check on things. For example: If I say that someone is coming home from a hospital in four days, I highlight this. This makes sure that this lines up with the plotline, or the crime line, or the subplot lines.
As an author, I will often tweak the script, especially as I'm writing. It's too easy to forget this early reference to five days. By highlighting it, it's a reminder that this timing needs to line up with something later on in the story. I find this highlighter a great author tool.
FIVE: LEAVE THE POV | TIME | LOCATION HEADERS IN THE DRAFT:
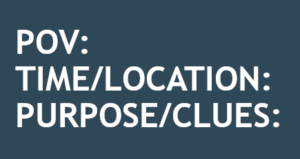 Like I mentioned earlier, I'm in the first draft of my novel and each scene begins with the same Scene Template as seen to the left.
I leave the POV, which stands for Point of View at the top of each scene during the first draft. I don't choose the POV before I write the scene. I write the scene and see which character claims the scene. Then I assign that one character to the scene.
POINT OF VIEW: By keeping the POV at the top of the scene, it's a reminder to me to make sure the entire scene is in this one point of view. I admit that I allow myself one small head jump at the end of a scene. I'm a self-published author, so I can indulge myself and get away with this. I believe a reader can handle one head jump at the end of a scene for the purpose of informing them of what the other character thinks at one time. I don't believe one head jump creates that big of a problem.
TIME AND LOCATION: By leaving the Time and Location information at the top of each scene, it is a reminder to make sure I describe the scene and whoever else may need a description in that scene. In Layer 5 of my writing system, I go through all the scenes and add descriptions of the locations and people. So this information makes that level of writing easier.

 We compiled the novel into a Word document and named it "Manuscript from Scrivener". That's where we now pick up with Layer 7.
 Turn these Scrivener features off, especially if you plan to move your finished novel draft into Microsoft Word for final formatting. Because I self-publish and I need to upload in ePub and PDF manuscript, I use Word for a final proofread and formatting. I find Word is the best choice for me. The smart quotes do not translate well between Scrivener and Word. If you turn off the smart quotes, Scrivener will replace them with straight quotes and these translate better.
 I'm writing my fourth novel in the Jack Nolan Detective Series. The book is still unnamed. This is Level 4 in my Eight Levels of Writing a Novel series. This first draft is down and dirty. It is the hardest lift of the entire project. At least for me, the first draft is the hardest. The characters all seem like stick figures. I find them unlikeable -- even if I liked them in the last book! Any humor doesn't seem to work. Everything just seems awkward. I have to literally force myself to keep typing. So this tip is to just keep writing. Don't check on any spellings or grammar. Don't even look back. Just keep going until you have the crime down, the main plotline down and the subplots at least in place. That will complete the first down-and-dirty draft. Every other layer will be easy compared to this one.
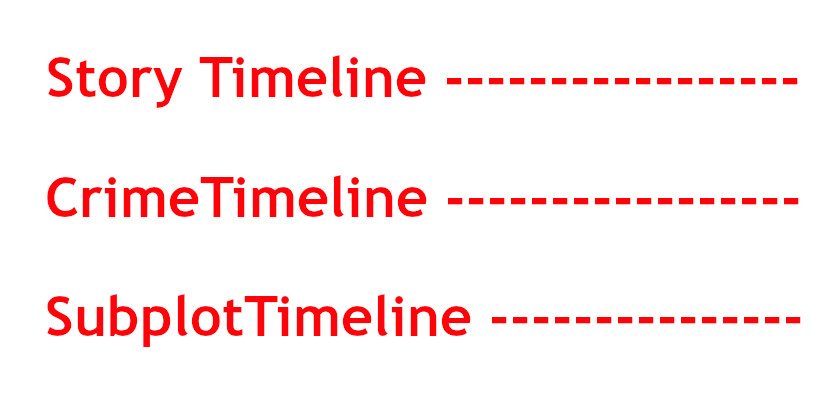
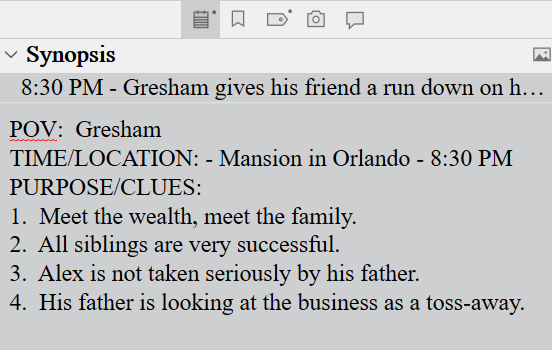 When writing the first draft, I use the Scrivener Synopsis section in the Inspector Pane to list the clues I have dropped in that scene. Once I've finished the first draft, I can open the project in Outline View and this will give me a bird's eye view and chronology of the clues that have been dropped.