
ROSEMARY'S BABY MOVIE REVIEW FOR AUTHORS
** SPOILER ALERT ** - QUICK SUMMARY OF THE MOVIE:
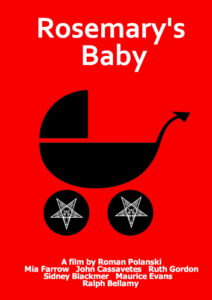 Rosemary and her husband move into an apartment in NYC next to an eccentric but interesting old couple who are a big pushy. They are friendly enough and Rosemary agrees to meet them for dinner with her husband Guy. Guy is an actor and he is struggling. He lost a part to another actor and is disappointed but tries to remain upbeat.
After Rosemary agrees to have dinner with the elderly neighbors, Guy is reluctant to go because they are an old couple. They go out of politeness. After their visit, Guy is enamored with the couple and becomes best friends with them.
Guy decides it's time to have a baby and she is thrilled. Guy gets a phone call that the actor who got the last part has gone blind and now he has the part. He is sorry he had to get the part in such a way, but he is happy to be working.
The neighbors, now being so close with Guy, begin to take over Rosemary's life in what appears to be a caring parental way. They insist she got to the best obstetrician in NYC, a friend of theirs and Minnie makes a call to set an appointment.
THE PREGNANCY:
 Minnie makes a fresh vitamin filled drink for Rosemary to consume everyday. Instead of gaining weight, she loses weight. Sapirstein tells her it's normal. Just keep drinking the herb drinks and things will be fine.
Strange things keep happening throughout her pregnancy and a friend Hutch has a book sent to her about witches. He has done background research on her neighbors and finds out that Minnie's husband is a descendant of a famous satanist. Rosemary is now scared that they want her baby for rituals.
There is a chase as Rosemary now tries to save herself and her baby but in the end the coven of satanists capture her. She gives birth and is told the baby was stillborn.
 She hears a crying baby through the paper-thin walls in the apartment and even though she is told it's a new tenant who has a baby, she believes it is her baby. She enters Minni's apartment and sees the whole coven of satanists around a bassinette. THereis an upside down cross hanging off the front of it. She peaks inside and is horrified by what she sees.
She asks what happened to his eyes and is told he has his father's eyes, his father is Satan. She is scared and wants out of there. The leader asks her to consider mothering the child even if she doesn't want to join. She is reluctant but when she sees another woman rocking the bassinette too hard, she responds to her motherly instincts and approaches and rocks the bassinette.
WHAT I LEARNED AS AN AUTHOR:
This is a great movie to see foreshadowing in play. There is a huge dresser and a closet that seem unimportant. Rosemary has an older man who is a friend, I believe, who turns out to play more of a role in things. The lucky charm necklace, the scrabble board, etc. If you want to see examples of foreshadowing, this is a great move to watch.
Motif: The locket with the fowl-smelling herbs (tannis root) kept showing up, first with the neighbor who jumped or was pushed out the window, then it was given to Rosemary as a gift, then later on, Dr. Sapirstein's nurse secretary said he had the same smell of tannis root on him.
The mention of tannis root occurred several times and each time only a tiny bit of information was given about it. It kept the viewer guessing. I learned about how to break down the significance of an item and only reveal one tiny puzzle piece. It allows you to keep the thread of mystery going.

CHARACTER ARCS:
The character arcs were very subtle and well-orchestrated. The acting was fantastic and this added to the character arc. An example: First the husband is turned off by being around a bunch of elderly neighbors. Then he wants to go back the next day and he is suddenly best friends with them. Not much is said about it and it was believable that they were just interesting people.
Guy didn't present as a religious person at all, nor did Rosemary, but they appeared to be "normal" in that Guy did not seem at all the kind that would get into satanism. He was interested in success but not spirituality. This character description helped to hide his participation in anything untoward until the last 25% of the movie.
RUTH GORDON:
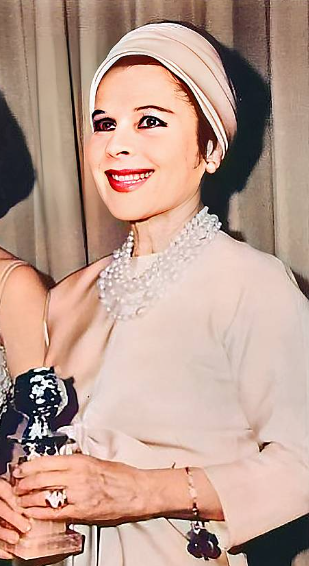 Ruth Gordon plays Minnie, the neighbor, and as usual, her character is hysterical. She appeared funny, quirky and harmless in the beginning of the movie. This added to hiding what was really going on.
SPOILER: It turns out her husband sold their baby for fame. He met with the other actor, did a tie swap so the witches could have an article that belonged to the victim and that's why he is now blind. This came much later in the plot where it had a much greater terror impact. When this was revealed gave it it's best horror value.
The rest of the group of weirdo characters were all great. This same group of characters could have been an ensemble in a romantic comedy with a different script. Ruth Gordon was her eccentric self. She was as funny as she was weird. Her husband appeared normal but there was something a little off about him. He stood too close and seemed to have that same pushy personality as his wife. The actors had the fake smiles and pretentiousness down pat.
GUY THE HUSBAND:
Her husband Guy admitted to being selfish but he loveable for 3/4 of the movie because he was always so apologetic and caring towards Rosemary about his selfishness. He was always committing to being better. He came across as wanting to be a good husband, wanting to start a family together, and maybe he had a little selfishness that went along with it. It didn't take away from his likeability.
ROSEMARY'S FRIEND HUTCH:
Hutch was an older man, about the age of the neighbors, and he was a friend to Rosemary. He warned Rosemary of a dark past for the Bramford building where this apartment was. But Rosemary and Guy blew it off as suspiciousness over nothing.
Hutch seemed to be a father figure to Rosemary in the beginning of the story probably because of his age. He seemed to be finished with his part when he warned them about the building and they blew him off. Then he made another appearance to acknowledge that Rosemary looked horrid during her pregnancy. Again, as a viewer, I figured he was done.
But he went on to call Rosemary and want to meet to tell her something, but he fell ill and then went into a coma. The next few scenes were not about Hutch, so again, I thought he was really done. But no, Rosemary meets a friend of his who passes on the book and the cryptic message that helps to enlighten Rosemary to what is really going on.
This was a great lesson is showing how a character starts out with a definitive character portrayal (fatherly friend) and later one he is revealed as the one who has the biggest clue to drop in terms of moving the story into the chase and the ending.

THE BIG CLUE DROP:
Hutch wanted to meet with Rosemary at 11 AM at a spot in NYC. He never showed up. She called and found out that he got sick and slipped into a coma. No one on the other end gave her any messages about anything further. As a viewer, I felt that that whole line of help was now a dead end. However, later on at the funeral, a woman handed Rosemary a book from Hutch and a statement that the name was an anagram.
Rosemary, with her scrabble tiles, found out the author of the witches' book was none other than her neighbor by another name. This confirmed in her mind that this was a group and they were all in it together.
FROM PSYCHOLOGICAL THRILLER TO THE CHASE:
The last quarter of the movie takes place when Rosemary is two days from her delivery date. She knows that Dr. Sapirstein is involved with the witch's coven, so she no longer wants him to treat her baby. She figures out from reading the book she was left and another book she got on witches that they make sacrifices with children. They use the blood and even the flesh. She believes this is the fate of her baby.
She tries to get away and go back to her original doctor, but he thwarts her plans. I won't reveal how he does it, so as not to spoil the ending.
She is told by Sapirstein and her own husband that her baby died and they will just try to have another one. She doesn't believe he's dead but they insist. She then hears a baby crying through the walls and she goes into the closet and looks through a keyhole and can tell the group is all together. She knows the baby crying is coming from this apartment.
She enters the apartment with a knife and sees the baby and is horrified. She is told the baby's father is Satan and she was chosen to be his mother. She is horrified and wants nothing to do with it. Her final word to her husband as he tries to gloss over the whole thing (as he is enjoying his new found fame and success) is to spit in his face.
The head witch, her neighbor, tries to get her to consider being the child's real mother as the other women are too old. She refuses. But one of the older women is rocking the cradle too hard and the baby is crying. Rosemary tries to tell her she is rocking too hard, but the lady won't listen. The head witch dismisses the other woman and Rosemary approaches the bassinet. Although she is horrified, it is the cry of her own flesh and blood that is calling to her. The movie ends with her approaching the baby carriage.

WHAT CAN AN AUTHOR LEARN:
Plot development, especially in terms of creating a character that will morph into someone else in the storyline like Hutch and even the neighbors. I plan to watch again to see the subtleties in how this actual transformation took place.
With free streaming and books on eReaders, viewers are quicker to bore and it's too tempting to skip to the next movie on the streaming service or click to another book on the eReader. I think all scenes have to be tight.

Foreshadowing is done extremely well in this movie and can teach a writer a lot about presenting clues as 'little nothings' and even wrapping them up in romance or marital domestic stuff.
Psychological horror - The entire story is based in psychological horror. There's no dark rooms, jump scares, or footsteps in the dark. This entire story was about pure psychological horror. So if you are focusing or studying psychological horror, this is a good movie to watch and analyze.

MY ONLY COMPLAINT:
The movie was a little long and there were scenes that went on too long by today's standards. In the 1960s, people probably had an attention span of 3 minutes. Today, it's down to about 30 seconds, so as an author, I would tighten all the scenes, especially those that are just showing domestic bliss or Mia's emotions.
 All book authors want readers! Many readers are curious -- either before reading your book or after -- about who wrote the book. Many of them only want to see what you look like or where you live.
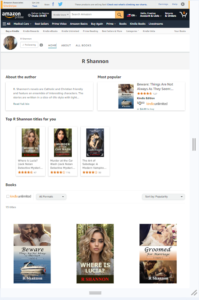 You will need a bio with a picture. The picture will be reduced to an icon or avatar size, so be sure to have one that is crisp and clear and mainly of your face and shoulders. Otherwise, it won't look professional.
 If you only have one or two books and aren't ready to build a full website, think of the Amazon Central Author page as a website. Besides adding your avatar picture, Amazon will pull in all of your books onto the one page. Each viewer is given an opportunity to click on the FOLLOW button. So if they really like your work, they can sign up to follow you and then will get notice of any new books released by you. So there is this little bit of marketing built into the Author Central page.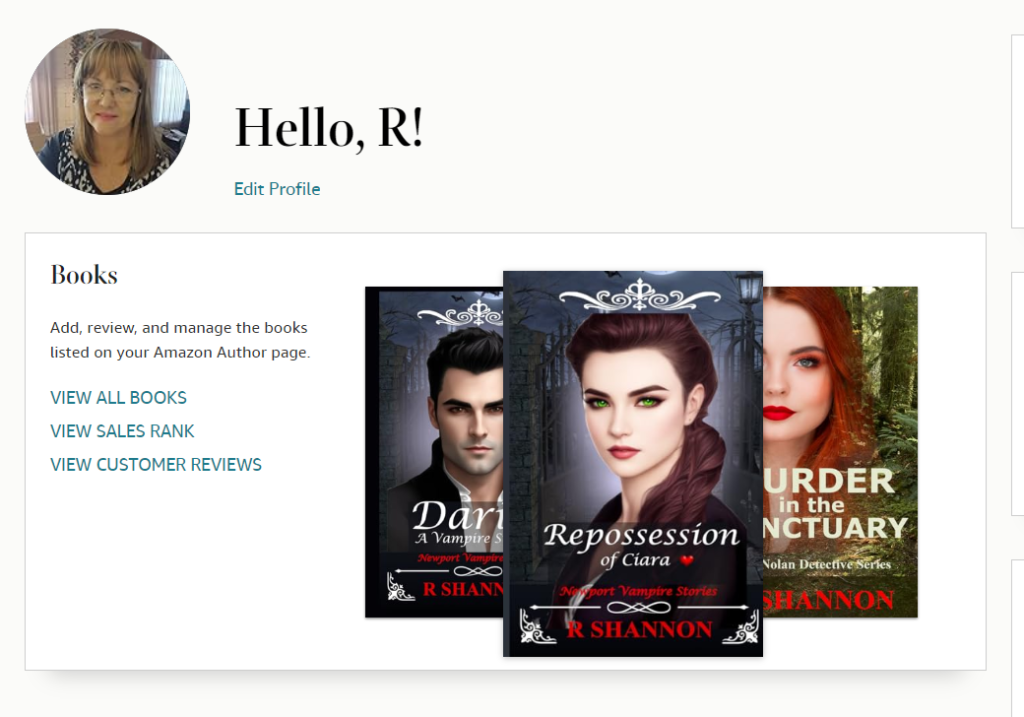

 Turning the viewing of a movie into a writing exercise will change the way in which you watch the movie. For your spouse, it won't change anything. Most people love to go into the story not knowing anything. There are some who any hint of a spoiler will ruin the movie for them. You may be one of them now!
 Find a summary of the movie on Wikipedia. Most movies have a page about them and it gives all the technical information about who wrote the original story, the producer, director, stars, etc. But there is a section entitled PLOT. This is where the plot is laid out for you.
 To be honest, most plots are too long to even remember or put together with one reading. I can usually follow the plotline for about the first four paragraphs. After that, I can't remember who is who but it doesn't matter. As long as you have a gist of an idea of what will take place, it allows you to watch for it.
 WRITING EXERCISE: Next time you are sitting down to write, pull up the picture and create a scene in your head -- not from the movie, but from your own imagination. Using this setting as inspiration, think of something that is about to happen in the room or what just happened in the room. Be sure to include a description of the room and/or the main elements in the room. This exercise alone will improve your descriptive writing and could even lead to a short story! You never know.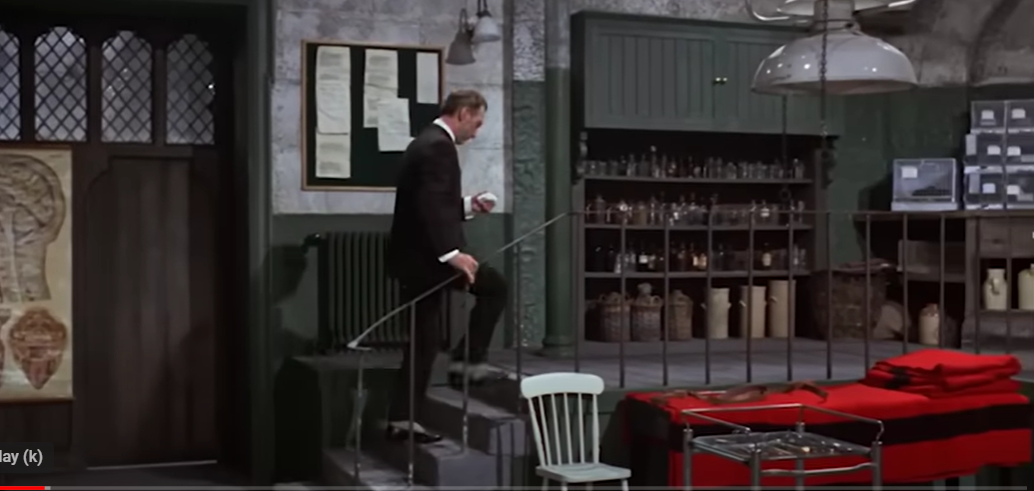
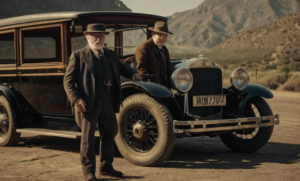
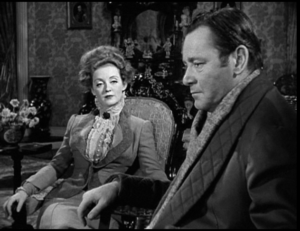 THIRD: Classic films relied more on dialogue, staging and backdrops to tell the story. This is the richness that I find most helpful to see and learn from as an author. Modern storytelling is worried about the 3-second attention span. Older movies assumed the audience was grown up and could sit still and pay attention for a few minutes without intense stimulation.
 FIFTH: Newer movies have upgraded post production technology and CGI, so they are now focused on movie effects, jump scares and gore shocks. Although many of you may enjoy this type of thing, it really doesn't have much to teach a new author.
 Everyone has to find their own subgenres whether it be old gothic movies or old mystery movies. But a good place to start is at Wikipedia. Below are two links to the 1960s and 1970s in film. Movies made in these years would fall into the categories I mentioned above.
 If you are watching the movie on a computer, take a screen shot of a scene and then set up an imaginary happenstance that occurs in this setting. Describe the setting in words, attempting to capture the essence of what you saw on film. Doing this a few times will help you get better and better in describing backgrounds and scene settings.

 In this blog post and video, which I will post below, I'm going to go over all the steps you should take in preparing to contact an artist at Fiverr to purchase an eBook cover. These tips will be helpful to both those who have money to publish but no time and also those on a shoestring budget.
 I'll use my own book entitled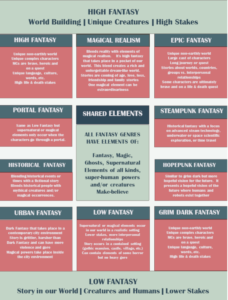
 Another tip I can pass on is that if you choose a classic as a guiding light book, or a popular book that has been professionally published, by analyzing those books and seeing where they are positioned, in a way you are getting the advantage of the marketing department that is behind this bestseller. The publishing companies have a marketing department and they work all day positioning books. By watching those bestsellers, you can profit, so to speak, from all of their education and know-how.

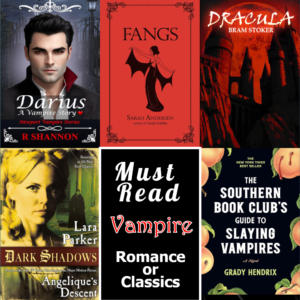 Try to put all the pictures of the books on one page. You can do this in Word. If this seems like too much work, you can save the inspirational covers and keep them all in a folder so you can upload them to your fiverr Request.
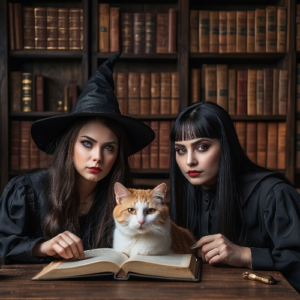
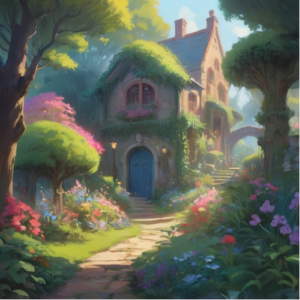
 Magical Realism is a newer subgenre too. Magical realism are low fantasy stories as they are rooted in our own world with only one or two fantastical elements -- usually at least one form of magic. They take place in an often-recognizable place and the contemporary world.
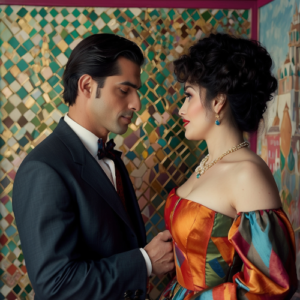

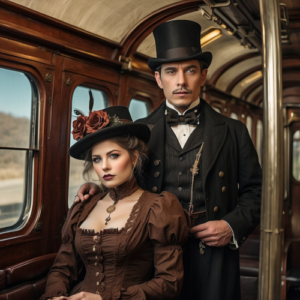
 A new subgenre for those who like the steampunk aesthetic and/or urban fantasy, Hope Punk Fantasy contains these elements but without all the hopelessness or grim outlook. The story is more hope and/or happiness based.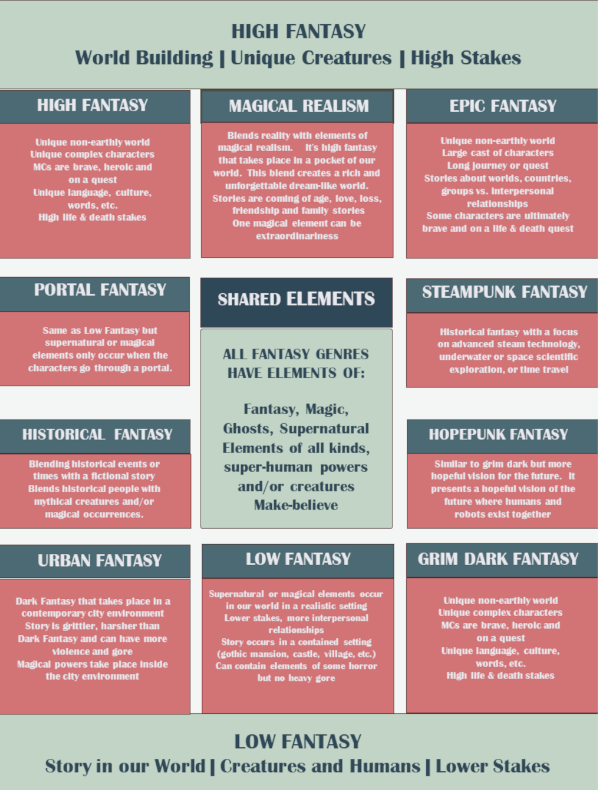

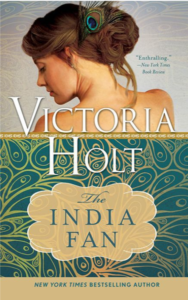
 I purchased this book based on reading another of Victoria Holt’s books. I wasn’t instantly in love with this book but the author’s writing style is so beautiful, that alone kept me going. However, I slowly fell in love with the characters — but not because they were great people, most of them were flawed in one way or another. I fell in love with the story itself and how it all unfolded to the main character, Drusilla.
 MY FAVORITE TURN OF PHRASES:
 In our last installment, we covered the top three book genres: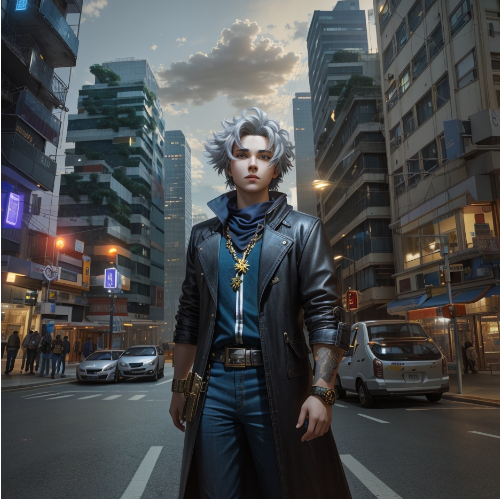
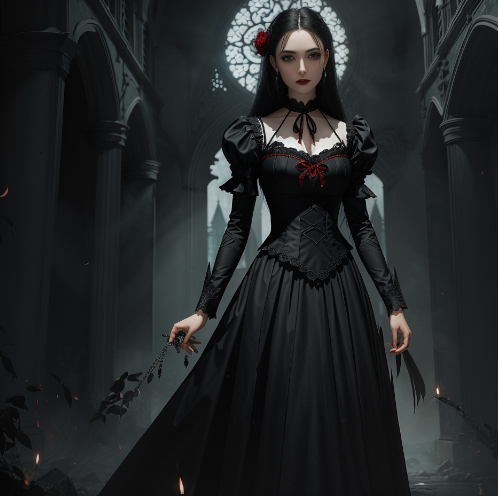
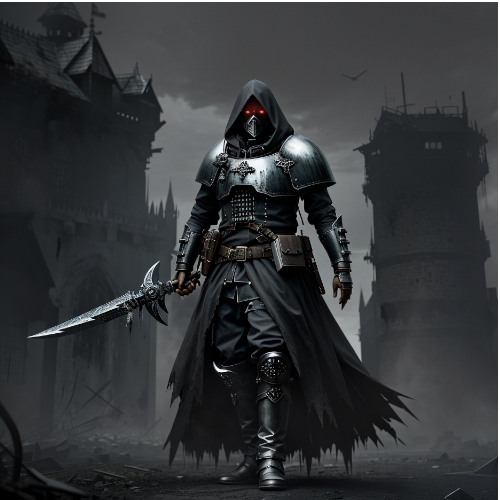
 Before Amazon.com became a behemoth online bookseller, there may have been 20 genres in all of Bookdom. It was all based ono the space available, book cases available and how large he bookstore or library was. All fantasy books were in one section of the store. From there, you needed to come through the author names alphabetically or ask a store clerk if they remembered seeing the book. KDP Publishing and the Website whiz kids at Amazon put an end to that over the last decade or two.Now there are multiple genres of Fantasy and each one can be differentiated by a slight difference. Let's take a look at them starting with the three largest categories: High Fantasy, Epic Fantasy and Low Fantasy.
 This genre is made up of stories that open up a whole new world, with its own geography, culture and even people -- there could be creatures of any and all kinds. These stories are alive with lots of magic, mythology, legends and folklore. High fantasy usually deals with large-scale problems and conflicts. There are life and death stakes and the main characters are heroes, heroines and most are destined for greatness. Their journey is about fulfilling their destiny and/or saving their world from disaster. High fantasy can be more personal than Epic fantasy. High fantasy can be about personal drama, relationships while Epic Fantasy is usually bigger and more about saving the Kingdoms or a whole group of people.
 Epic fantasy is very similar to High Fantasy in that it introduces the reader to a whole world conjured up by the author, with a unique geography, weather, history and creatures. Epic fantasy also has lots of magic and other worldly powers, all of which have rules and boundaries that are followed. Epic fantasy can have folklore, but there is more of an emphasis on myths and legends that are weaved in and out of the story.
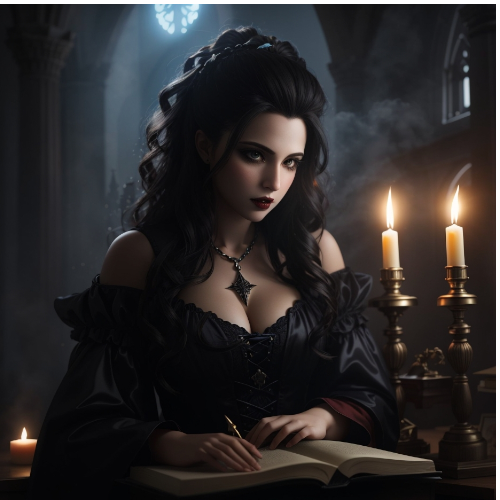 When I first heard of this genre and found out that many vampire books fit into this category, I wasn't happy. It sounds awful -- 'low fantasy'. What kind of a name is that? However, the low fantasy refers to the level of magic and world-building that takes place in a low fantasy book.