
I ACCIDENTALLY WROTE MY FIRST BOOK SERIES:
 I didn’t set off to write a book series. How did it happen? My first novel turned out to be way too long and there was way too much going on. So I broke it down and wrote two separate stories.
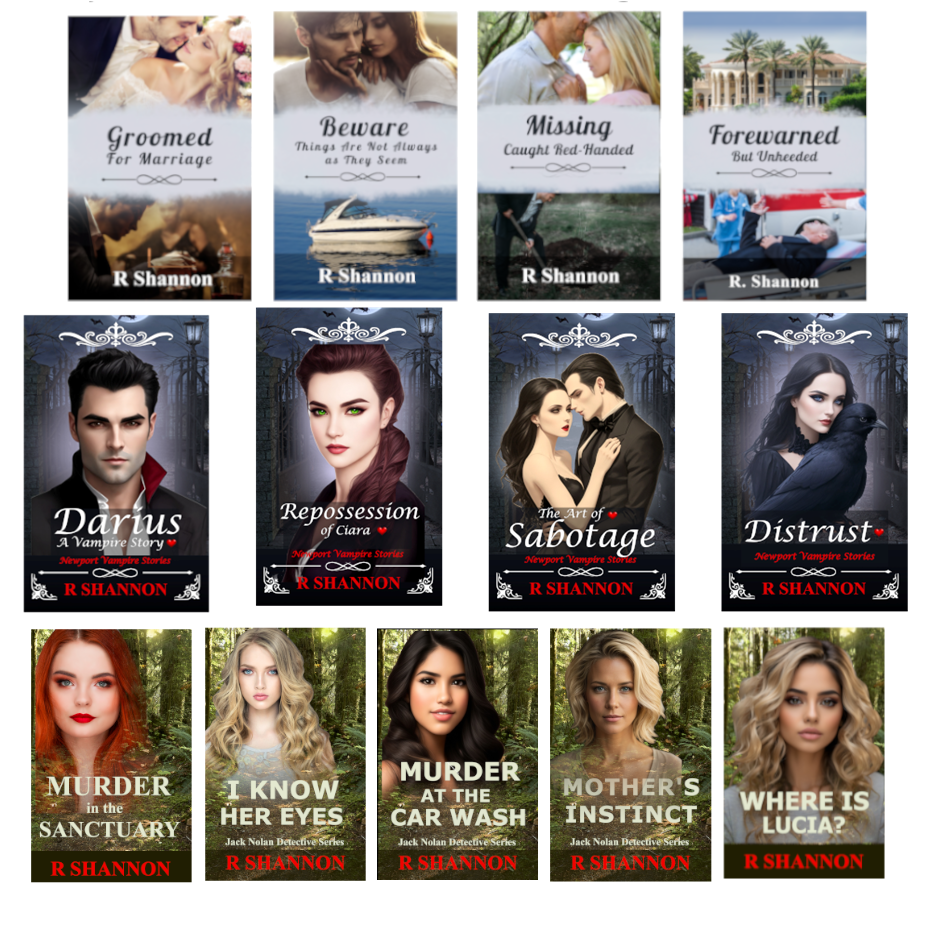
Once I finished the first two novels, I realized that because my main character was a private investigator, it was possible to continue to solve crimes in new books, so that's what I did. The series is now four books, but I could easily add more in the future.
During the process of writing my first, second and third series, I learned a lot of tips to make it easier. There were so many things I didn't know I didn't know in the beginning. My purpose in this blog post is to pass on my best tips in writing a book series.
 I found out later that more experienced authors even suggested that newer authors consider writing in series because it's easier to market the books. But my venture into writing book series was a happy accident.
TIP NUMBER 1: KEEP A LONG RUNNING INFORMATION LIST
Keep a long running names list. I call mine an Information Sheet. I put down every character I ever name. I learned the hard way to only trust my memory. It doesn't work!
By having a long list of every character, street names, crime locations, neighbor names, job titles, etc., you will have all of this information at your fingertips.
Example Number 1: In my first novel in the Jack Nolan Detective Series, I needed an immediate boss' name. So I chose Lieutenant Duane White. But then when I needed to refer to him in Book 3 but I forgot what I named him! I had to hunt him down in the manuscript of the first book. This can take hours, especially if you don't have any clue what you may have called him.
Now I keep the all proper names and other information that I may need again on a long list that travels with me through each book. No matter how insignificant the character seems, I write it down on my information list.

Example Number 2: I referred to Jack Nolan's wife, one of the characters, as having left him eight month's previous to the start of the series. By having this information recorded, I was able to track how many months passed and how this time increased over the time of the series.
Example Number 3: Town names, Plaza names, Mall names, etc. All of these seem insignificant when you are pulling the names out of the air during the drafting of the book. But with cops working in the same town, you may need to reference that same mall again.
Special Note to Fantasy Writers: They use what they sometimes call a World Bible, and this is a more extended information list. It's important to keep track of everything I've just mentioned, as well as the world rules and the rules regarding whatever supernatural power you may write about.
TIP NUMBER 2: KEEP A SHARED MARKETING LIST FOR THE ENTIRE SERIES:
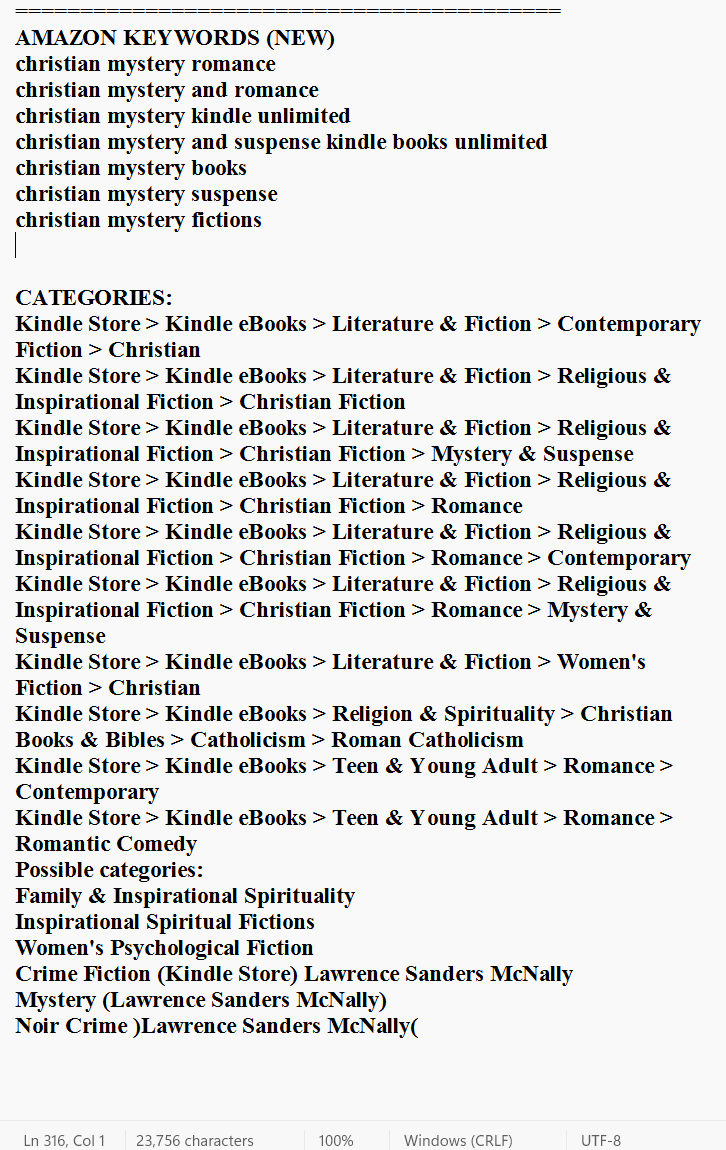
Keep all of information about the books on one shared marketing sheet. I keep the names, publication dates, book links, categories, and keywords for the books all on one page.
Once you begin to market the books, you will need to use this information over and over again.
You may also want to keep a few short blurbs because when uploading to advertise on Bookfunnel, Bookbub, FussyLibrarian, or Freebooksy, you will need all of this information handy.
At the time of the writing of this blog post, Amazon only allow an author to put their book in 3 genres. If you have 4 books in a series, you can put the last three books in different genres thereby extending your marketing reach.
It goes without saying that you should have a link in the back of each eBook so the reader can click on the link and go to purchase the next book inthe series.
Amazon only allows seven keywords for each book. Use the best keywords for the first book or two. Then use longer-tail keywords and different keywords to broaden your reach for new readers. By having them handy, especially if you do keyword research, it will make all of this much easier.
Let me give you an example: In my Jack Nolan Detective Series, I put the first book into Police Procedurals, Mystery Romance, and Mystery Suspense. But Books 2 to 5, I can add into general mystery categories and women's fiction, literature and fiction, etc. You can imagine how much broader your reach for new readers will be.
TIP NUMBER 3: USE A BROAD STROKE CHARACTER ARC OVER THE ENTIRE SERIES:
 I use broad-stroke character arc for the main characters that extends over all the books in the series. Each individual book, however, the character grows and changes a little bit. So each book contains its own arc, but there is a longer series arc for the main characters. It helps to know this before you start writing the series.
Each book has a crime or mystery that plays out and is solved. The characters grow during the subplot of each book. Once the mystery is solved, a new normal is shown with the characters embracing their new-found growth. In the next book, the same template will be followed. The mystery or crime will play out or be solved, and characters will grow, and there will be a new normal that reflects that growth.
TIP NUMBER 4: I WRITE THE BOOKS AS STAND-ALONE BOOKS
This tip is about writing the books in the series as 'stand-alone books'. This allows me to market the books as a series, but also as stand-alone books. As stated above, each book has a full plot that completes but I put in enough background information in order to fill in stand-alone readers on what is going on with the characters in case they haven't read the initial books.
I write in Scrivener and I set up a meta tag so I can keep track of what background information I need to drop into the story for those stand-alone readers. This makes marketing the books much easier.
Like to Read and Listen?

Short on time? How about a Novelette?

John Walsh is a successful funeral director with a loving family but he has a weakness for other women. The modern world thinks cheating is a victimless crime, but is it?


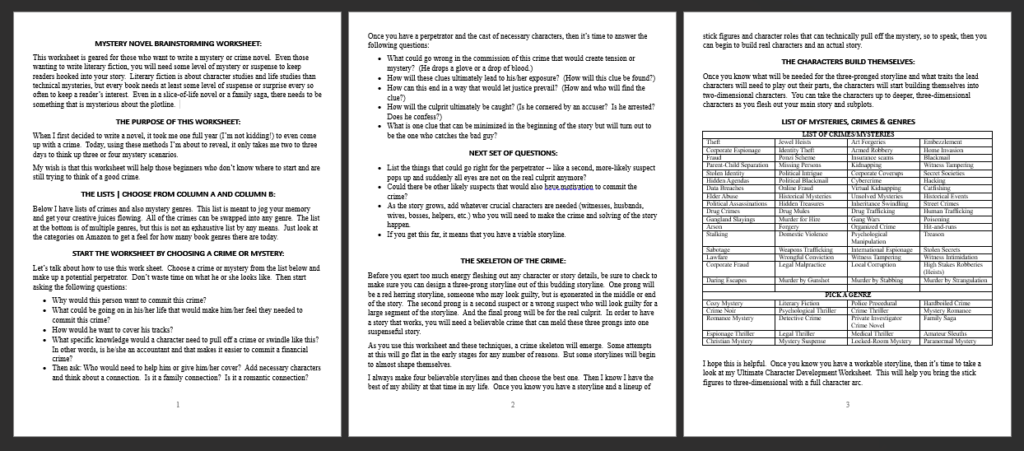
 When I first decided to write a novel, it took me one full year (I’m not kidding!) to even come up with a crime. Today, using these methods I’m about to reveal, it only takes me two to three days to think up three or four mystery scenarios.
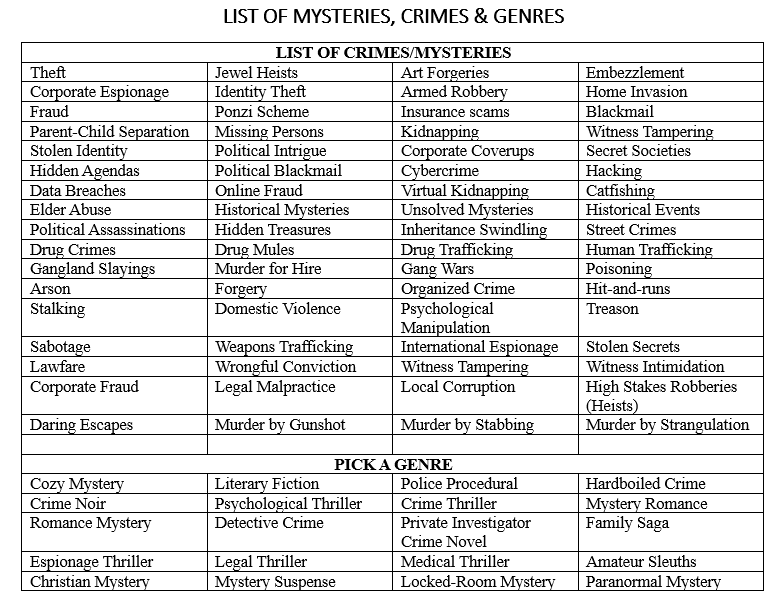
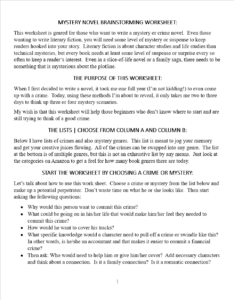 Let’s talk about how to use this work sheet. Choose a crime or mystery from the list below and make up a potential perpetrator. Don’t waste time on what he or she looks like. Then start asking the following questions:
 Once you have a perpetrator and the cast of necessary characters, then it’s time to answer the following questions:
 Before you exert too much energy fleshing out any character or story details, be sure to check to make sure you can design a three-prong storyline out of this budding storyline. One prong will be a red herring storyline, someone who may look guilty, but is exonerated in the middle or end of the story. The second prong is a second suspect or a wrong suspect who will look guilty for a large segment of the storyline. And the final prong will be for the real culprit. In order to have a story that works, you will need a believable crime that can meld these three prongs into one suspenseful story.

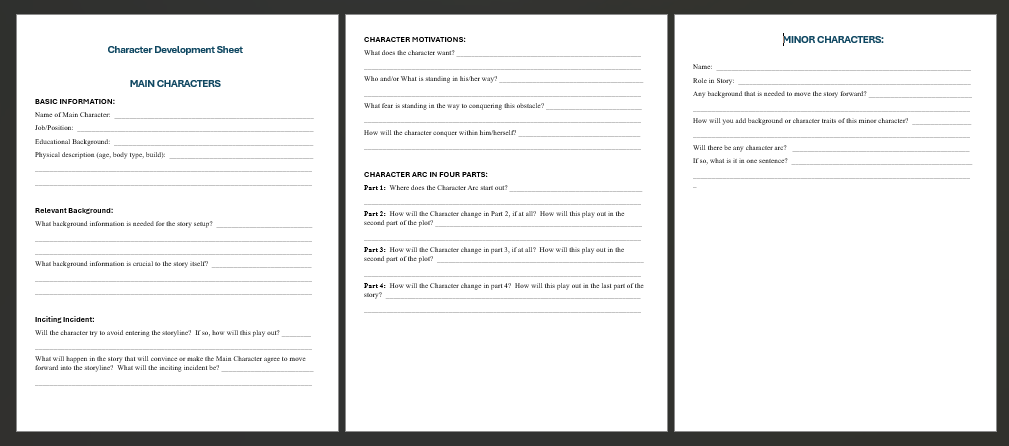
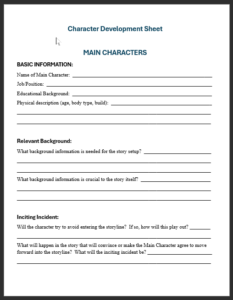 When I started writing several years ago, I came across the standard character worksheet and it focused mostly on physical attributes, occupation but there was a disconnect regarding their role in the storyline, which is the most important part.
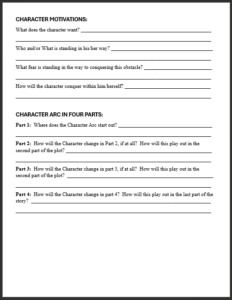 As a newbie, it took me awhile to remember that a character needs to have an arc over the storyline. So it's important -- and time saving -- to know what that arc will be before you even begin the draft. This character sheet can help you find this so you know where you are starting from and where you want to end up. The following questions should help you focus on what this character arc will be:
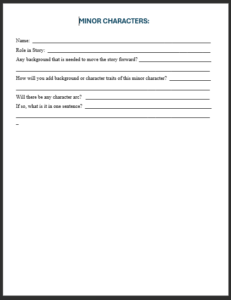 For minor characters, you only need to answer a few questions. It helps to know what role these minor characters will play and what, if any, background information is needed to support them in the storyline:


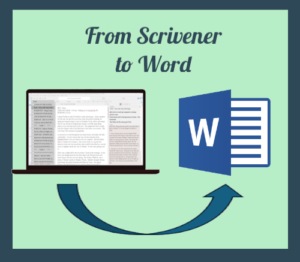
 We compiled the novel into a Word document and named it "Manuscript from Scrivener". That's where we now pick up with Layer 7.
 Layer 6 is the first true proofreading. In Layer 5, I proofread to make sure the story flowed without interruption from scene to scene. My focus was on making sure the story flowed from scene to scene, without any big unexplained time gaps, or location mistakes, etc.
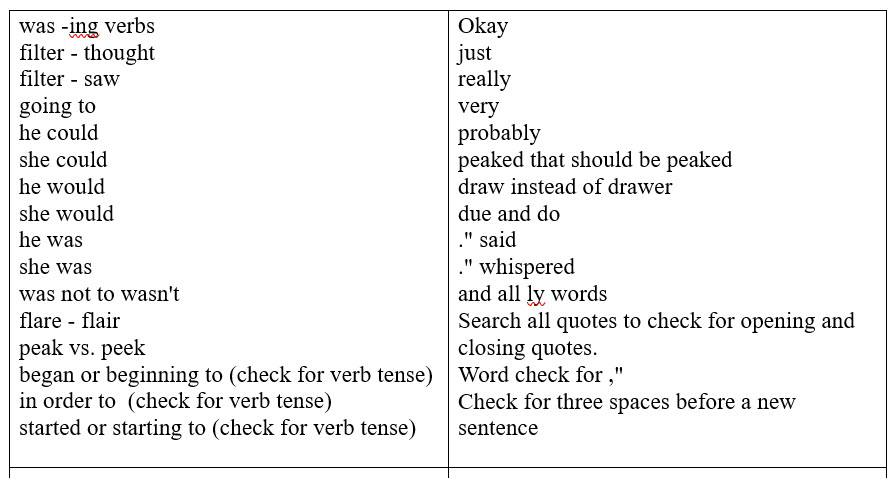
 Once you are finished with Layer 6, Click on File => Compile
 Yes, a tax lien on a company is a public record. This means that anyone can search for and view the lien, including potential creditors, investors, and the general public. The lien will typically be filed with the county recorder's office in the county where the company is located.
 The purpose of a tax lien is to give the government a legal claim on the company's assets if the company fails to pay its taxes. The lien will remain in effect until the taxes are paid in full.
 If you are interested in finding out if a company has a tax lien, you can search the public records for the county where the company is located. You can also contact the Internal Revenue Service (IRS) to see if they have a lien on the company.
 Here are some of the reasons why someone (or a detective) might want to know if a company has a tax lien:
 Sometimes just having an overview of how things work can help you thicken the plot or add some details that will enrich the story. Below are some words and definitions that surround the subject of Tax Liens:
 A gun silencer, also known as a suppressor, is a muzzle device that reduces the sound of a gunshot. It does this by slowing down and cooling the expanding gases that are released from the barrel when the gun is fired. Silencers do not completely silence a gunshot, but they can reduce the sound level by 20 to 30 decibels. This can make a significant difference in the loudness of the gunshot, making it much less noticeable to people nearby.
 A ballistic report is a record of the characteristics of a bullet, such as its caliber, weight, and velocity. Ballistic reports are used by law enforcement to identify the type of gun that was used in a crime. They can also be used to determine the range from which a shot was fired.
 Here are some of the terms that are commonly used in the field of gun silencers and ballistics:
 A silencer can leave markings on a bullet. These markings are called "tool marks" and they are caused by the rough interior surface of the silencer rubbing against the bullet as it passes through. The tool marks can be microscopic or macroscopic, depending on the type of silencer and the type of bullet.
 Ballistics experts can use these tool marks to identify the silencer that was used in a shooting. They can also use the tool marks to determine the distance from which the shot was fired.
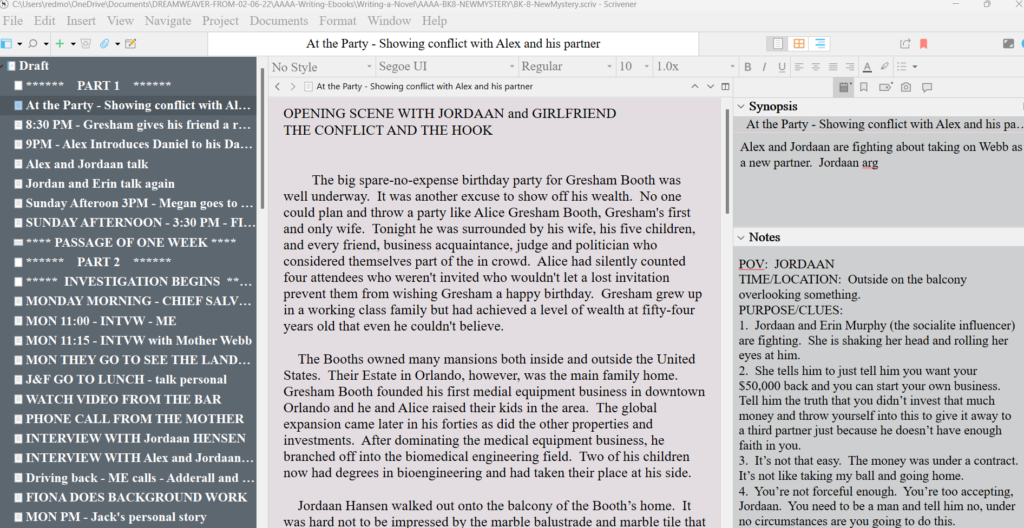 I am knee-deep in Level 4 of writing the next book in the Jack Nolan Detective Series. I thought this would be a good time for me to take a break and reflect on what happens when I'm 'in the weeds' writing a novel.
 When you first sit down to write a novel, everyone is filled with enthusiasm and creative energy. It's exciting. It's new. But as the manuscript begins to grow, before it feels finished -- or even ready to be polished, it feels cumbersome, heavy, and overwhelming. At least for me it does.
 It's possible to get paralyzed by a fear of failure at any point during the writing of a novel. It's not a one-and-done operation. No one sits down, starts writing, finishes writing and ta-da, there's a book. Writing a novel doesn't work that way. It's a long process. It's a multi-layer process.
 Writers block is another common problem among authors. This often sets in after that initial period of excitement about the novel wears off. At some point the writing of the novel shifts into a project requiring some heavy lifting. There's always a phase or two where the author has to tough it out. We have to keep at it.
 Will my readers like the book? Will the book be good enough to get a literary agent? What happens if my book gets bad reviews? There are any number of fears of rejection that can cause us to stop writing. Decide ahead of time you won't allow these fears to stop you. Like I said earlier, think of your writing as a mission God has given you. This is your life's work, along with your other worldly responsibilities. Your writing could be an opportunity to pass on things you have come to learn in your life. That's a purpose. Or maybe writing is a way for you to share the gift of storytelling that you know you were born with. That's a God-given purpose. Whatever the reason, it's important to not allow fear of rejection to get in the way.
 Distractions are one of the biggest obstacles to completing a novel. One reason is because life does serve up constant small and big emergencies that have to take first priorities in our lives. So an emergency distraction can throw a whole well-planned writing schedule up into the air in a heartbeat.
 Most novels require at least some research. The internet can be a blessing with research but it can also be a curse. It's a blessing because the days of having to travel to a public library are over. It can be a curse because the research can suck you in and you can use up all your valuable writing time doing too much research.
 Another trap to finishing a novel is to get caught up in a never-ending edit of the book. This usually hooks in with perfectionism problem in some way.
 Once you complete a novel, there is a little sadness that sets in. This book is no longer your baby. It's no longer your little pet project. Once you hand it off to an editor, it becomes a shared work, so to speak.
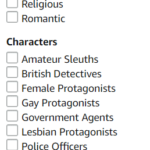 In my last blog post, I went over how to find the right genre for your ebook. I also suggested you choose one or two book cover 'templates' from the ebooks you see during this journey. That's our starting point for this blog post. Now that you know where you want to go, it's time to learn about the technicalities: the sizes, resolutions, etc. It's all here on one page.
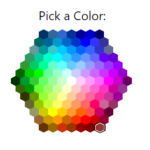 Often the ultimate colors of your cover will come from the pictures you choose. But there are techniques to wash a scene in a very subtle color in order to cast a certain mood into an image. You may want to take a look at a website or two where you can find some great colors. Here are two:
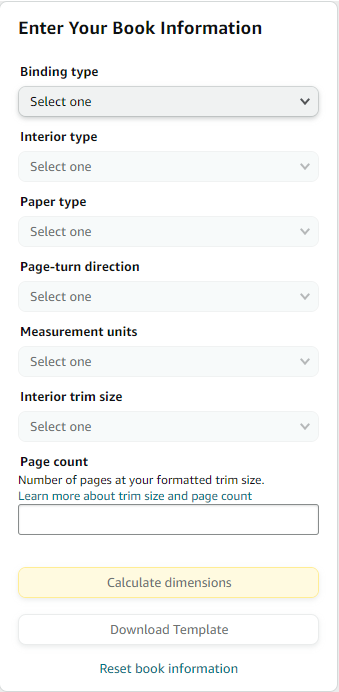
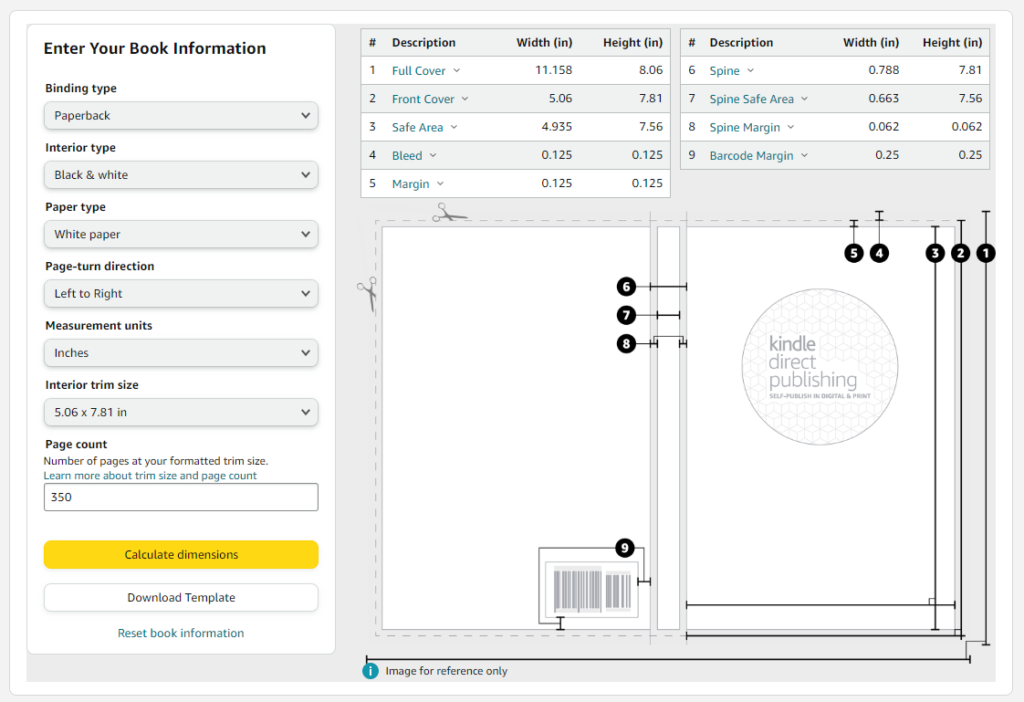
 When you create the eBook front cover, you can design the back cover at the same time. I suggest this because when your manuscript goes out to the editor, there will be about a month of 'free time' and if you want to get a jump on getting your back cover done, this is a good time but it is before you will know the exact page count.