How to Kick-start Your Writing Career After Graduation
Freelance writing is a viable career, and there are no hard-and-fast rules when getting started. You get to experiment to find out what works for you and what doesn’t. Read this helpful guide if you want to write for a living after graduation.
Mindset First
Fear is one thing that stops aspiring freelance writers from growing their businesses. First, you’ll have to build confidence and just start taking action. Don’t be afraid to make a mistake or become upset if you get rejected by a client as that’s part of the growth process.
The next step is to identify your writing niche. After all, clients don’t usually look for generic solutions for specific problems. If clients want content for real estate or finance, they most likely will hire a real estate writer or a finance writer. Focus on at least three niches to help you find good clients.
Lastly, commit to your writing goals. Do you want to be a six-figure writer this year? Reach out to clients and create an online presence. Most importantly, find ways to improve your writing skills by enrolling in online courses and reading books on writing.
Choose a Business Structure
An LLC, or limited liability company, offers personal liability protection for your writing business, more flexibility, less paperwork, and tax advantages. Each state has different regulations on forming an LLC, so check the rules first before moving forward. When establishing your LLC, avoid huge lawyer fees by using a formation service or handling the process yourself.
Set Up a Process for Invoicing
Next, set up invoicing for clients, so you receive payment promptly. An invoice helps your clients understand the breakdown of the services they’re paying for, how much is due, and when they’re expected to pay. Use an invoice generator to quickly create and download customized invoices for your clients. You can also include your business logo, text, and photos in your invoice.
Launch a Writer Website
A good website lets you show off your writing portfolio, generate leads, grow your network, and stand out from the competition. Show off your personality and leverage your experience to help you land clients. If you want your website to rank better, optimize with the right keywords. Most importantly, start a blog and promote it on social media.
How to Land Writing Gigs
Before sending out applications, ensure you have a well-written writing sample. Consider applying to content writing agencies or pitching to magazines and businesses. Some writers do cold calling and cold emailing to get clients. LinkedIn is also a good place to find prospects, but ensure your profile is highly optimized and you have good writing samples to show clients.
The secret to a successful writing business is consistency. You can attract and retain more clients if you deliver high-quality work every time. If you can afford it, consider getting an editor to help you better polish your writing before submission. Additionally, ensure you meet client deadlines so that you’re more likely to get repeat work.
Freelance Writing Is Real
You can start your freelance writing business and earn a decent income when you follow the guide above. Choose a business structure, set up your invoicing process, design your own website, and start landing jobs. Stay consistent, confident, and committed to your goals to ensure freelance success. For writing tips and helpful resources, visit Read First Chapter.


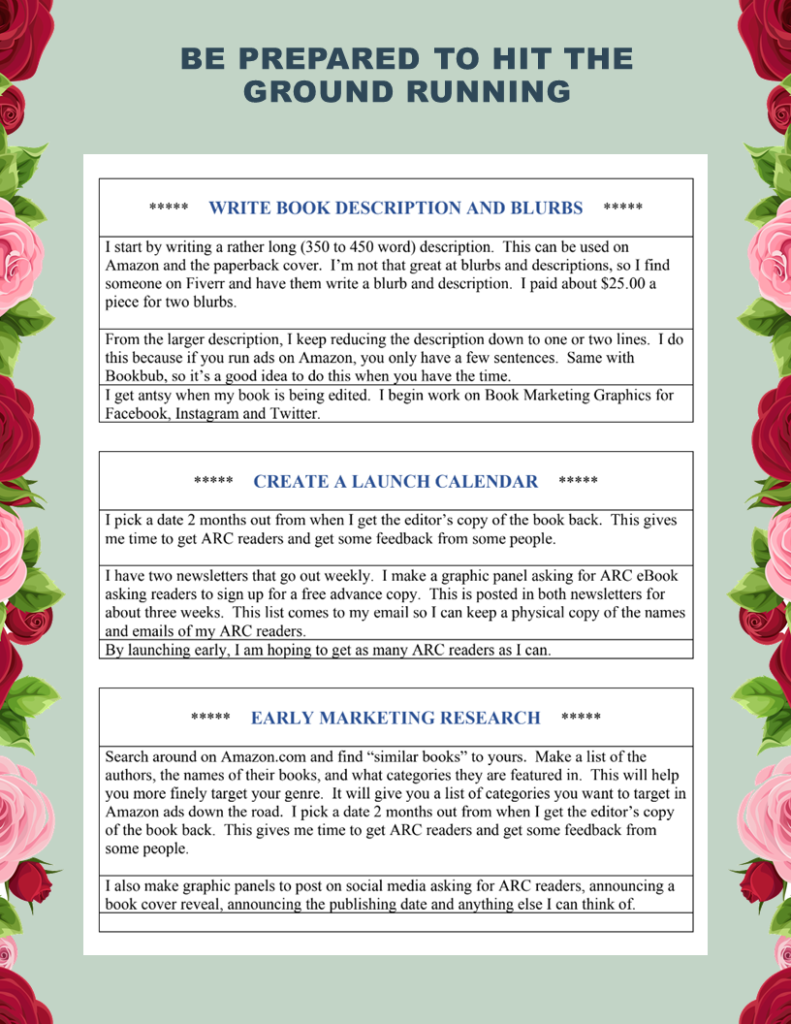
 I start by writing a rather long (350 to 450 word) description. This is good for Amazon and the paperback cover. To be honest, I’m not that great at blurbs and descriptions, so I find someone on Fiverr and have them write a blurb and description. I paid about $25.00 a piece for two blurbs.


