 I am in the process of writing the fourth book in the Jack Nolan Detective Series. I had to do some research about cell phone and how the cops trace cellphones, but this is some other research about disposable phones. These are referred to by criminals and cops as burner phones.
They are purchased in a box at Walmart or Walgreens, places like this. Normal people use them to protect their identifies. For example, if you are having a garage sale and you don't want to use your regular phone number, you can purchase a throw away phone for $15 to $45 dollars and it will protect your real phone number from getting out there.
 Husbands and wives who cheat also use burner phones that they hide from their spouses. They don't have to worry about getting caught texting to their lovers.
 Drug traffickers also use burner phones. They use them so they can't be traced by the cops. BUT, as you will read below, they are not foolproof. As a matter of fact, they are kind of easy to trace. If you watched the show, Better Call Saul, his system of selling the phones would work for the drug lords. It worked because Sol bought the phones in bulk in his name. He sold them to individuals for cash. So nothing would ever trace the phones to the people who bought them.
Knowing this is helpful to know what will work in a plotline and what won't work. Below is also more info about how the police can track most phones that are purchased by the person using them at a big box store.
 I'm writing Book 4 in the Jack Nolan Detective Series and there is the possibility of a financial crime. I did some research on how detectives can get financial records. I mean, do cops just call and ask nicely? No, there has to be a warrant.
 Yes, homicide detectives need to formally go before a judge to get a warrant to see financial records. They cannot ask a district attorney to get it informally. This is because financial records are protected by the Fourth Amendment of the U.S. Constitution, which protects against unreasonable searches and seizures. In order to get a warrant, the detectives must show the judge that they have probable cause to believe that the financial records contain evidence of a crime. They must also specify the records they are seeking and the financial institution where they are located.
 The common procedure for obtaining a warrant for financial records is as follows:
 The detectives can also ask the district attorney to help them obtain a warrant for financial records. The district attorney will review the affidavit from a legal perspective and decide whether to file it with the court. If the district attorney does file the affidavit, the judge will still need to review it and decide whether to issue a warrant.
 If the judge finds that there is probable cause, they will issue a warrant. The warrant will specify the records that the detectives are seeking and the financial institution where they are located. The warrant will also be valid for a certain period of time, and for a specific type or range of records. After the expiration date, the warrant is void.
 The warrant is served by a law enforcement officer, such as a police officer or a sheriff's deputy. The officer will present the warrant to the financial institution and demand that the records be produced. The financial institution is required to comply with the warrant, and they cannot refuse to produce the records.
 process server.
 In my last police procedural fiction book, I did some research on cell phones and the terminology used by police officers. I thought I would share it with other writers to save you the research time.
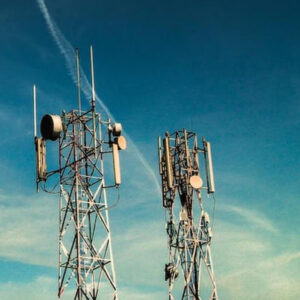 Cell towers, also known as cell phone towers or cellular towers, are tall structures that transmit and receive radio signals. These towers facilitate wireless communication between mobile devices and the network. Mobile phones connect to the nearest cell tower to send and receive voice, text messages, and data.
 When cops are researching where cell phones are pinging from, they typically use a process called cell site location information (CSLI). CSLI is data that records the location of a cell phone by tracking its connection to cell towers.
 Each cell tower has a unique identifier, which is called the International Mobile Station Equipment Identity (IMEI). The IMEI is a 15-digit number that is assigned to every cell phone when it is manufactured.
 The coverage radius of a cell tower depends on a number of factors, including the technology used, the height of the tower, and the terrain.
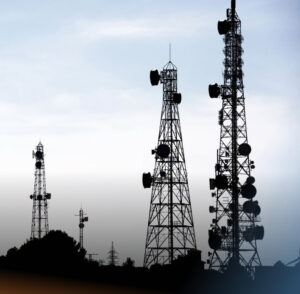 This information is about how a cellphone customer can find out about their own cellphone towers. This wouldn't be used by the police necessarily but it is information I came across during my own research.
 Is there anything worse than staring at an empty page and not knowing where to begin? I don't think so.
 Why eight weeks? You need to gather readers for at least two to three weeks to send them the book. They need at least two to three weeks to read the book. That takes you to 6 weeks. Now, if you are a beginner, I'm suggesting you plan your release eight weeks out.

 During the time you're waiting for your ARC readers to finish reading the book, find time to prepare your Paperback and Hardcover manuscripts. This way, you can upload them on the day after your eBook release.
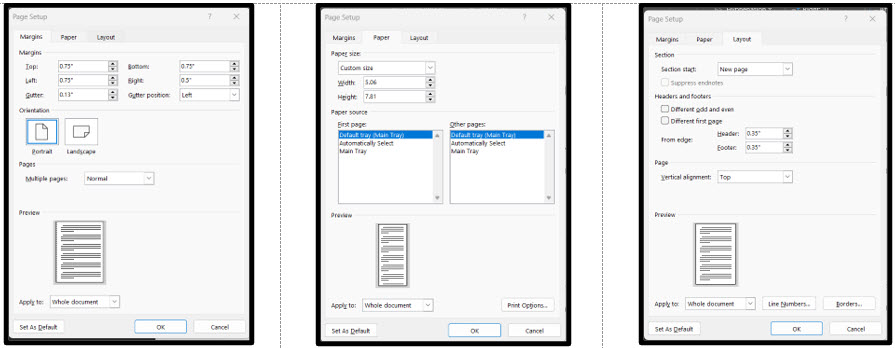

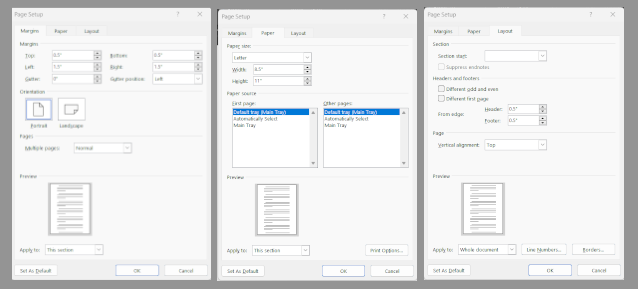

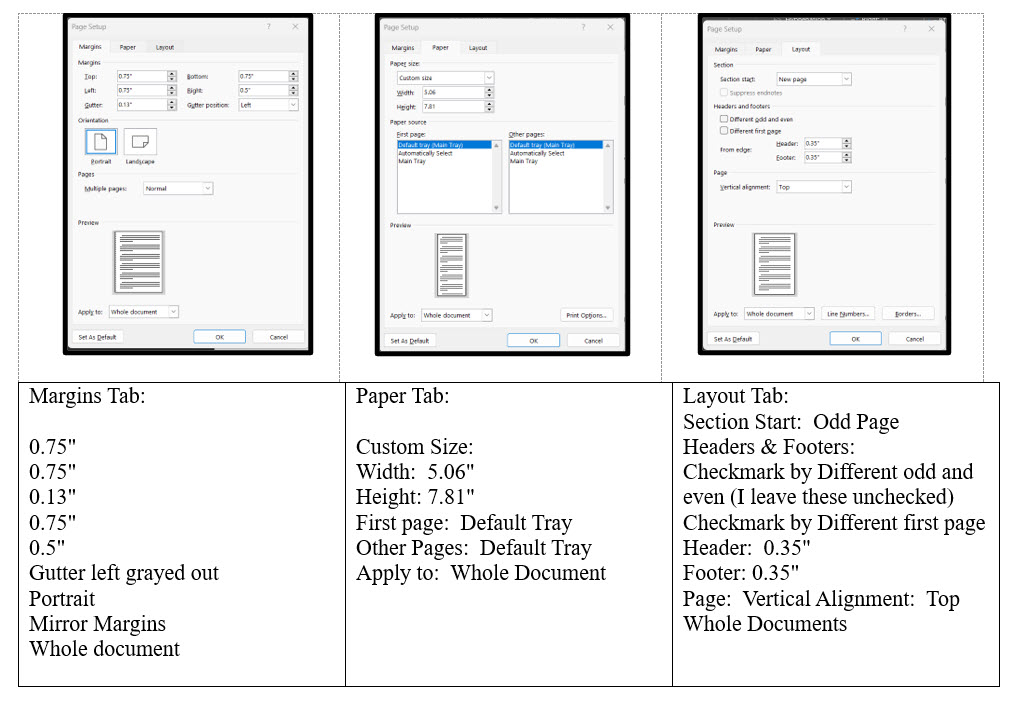
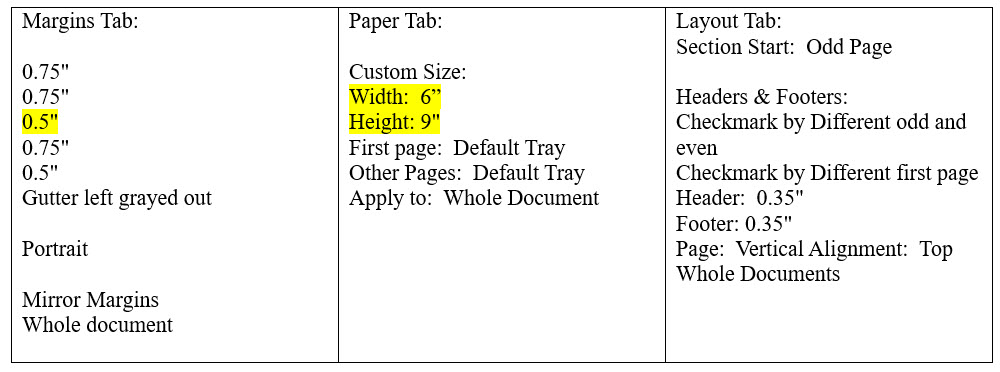
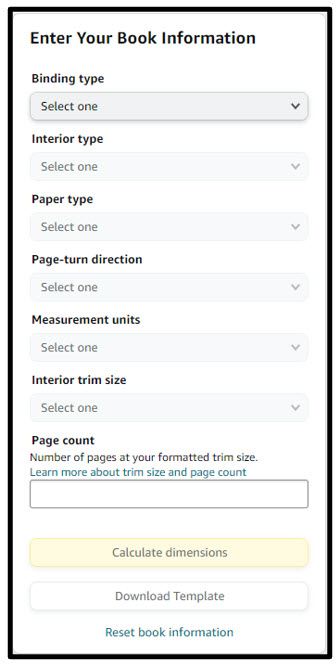
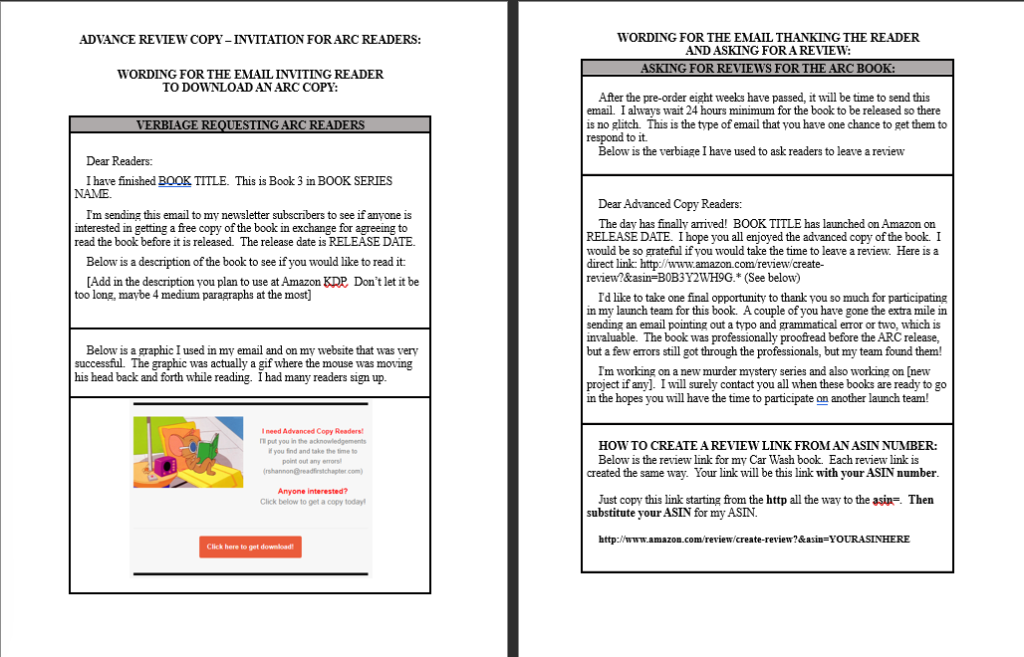
 This is a shortcut for self-published authors and writers who are creating their own book covers. This will save you at least two hours in design time and even more if you are a beginner.
 You need to get the proper hardcover template from KDP. There is a Paperback and Hardback calculator
 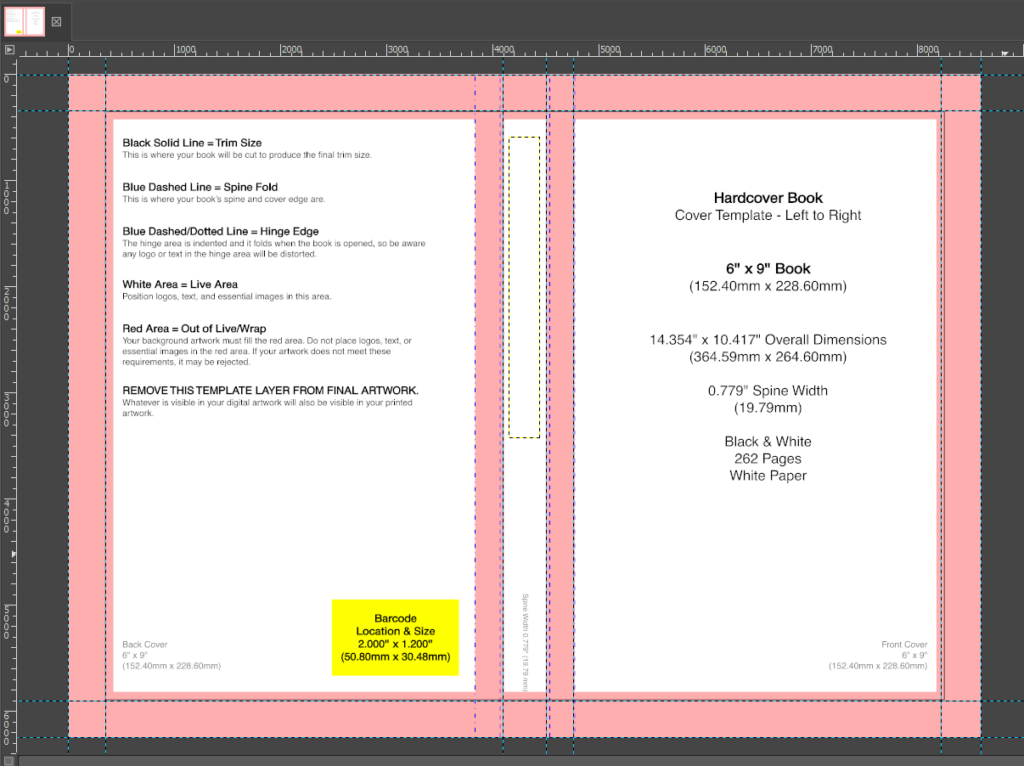 Open the hardback cover pgn document in Gimp. Everything in pink is margin. The spine text must fit into the white area in the center between the front and back.

 Once my background was in place. The only thing left was adding a new spine that fit exactly into place.
 St. Clare of Assissi: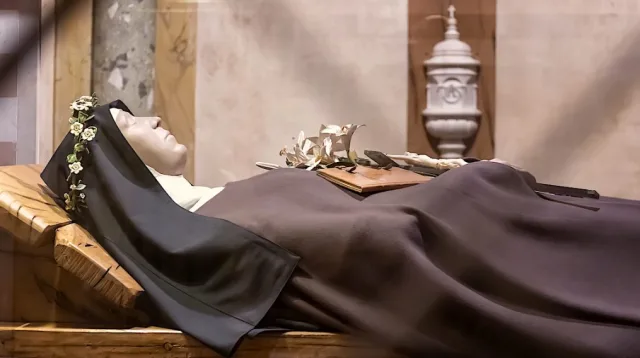
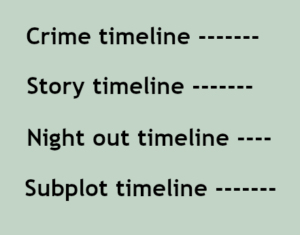 Although I follow a detailed outline of the story before I even start writing, each novel presents its own issues and/or problems. In this novel, I had several timelines I had to keep straight.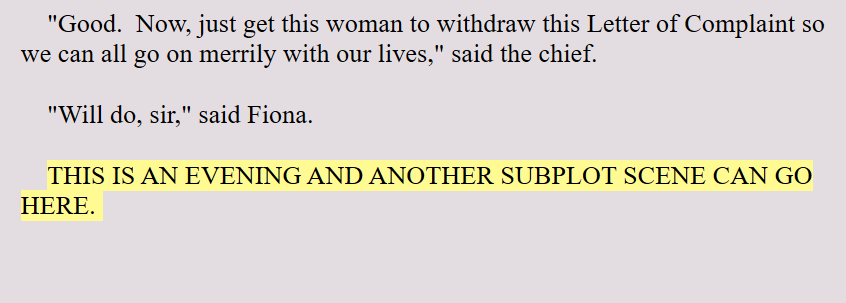
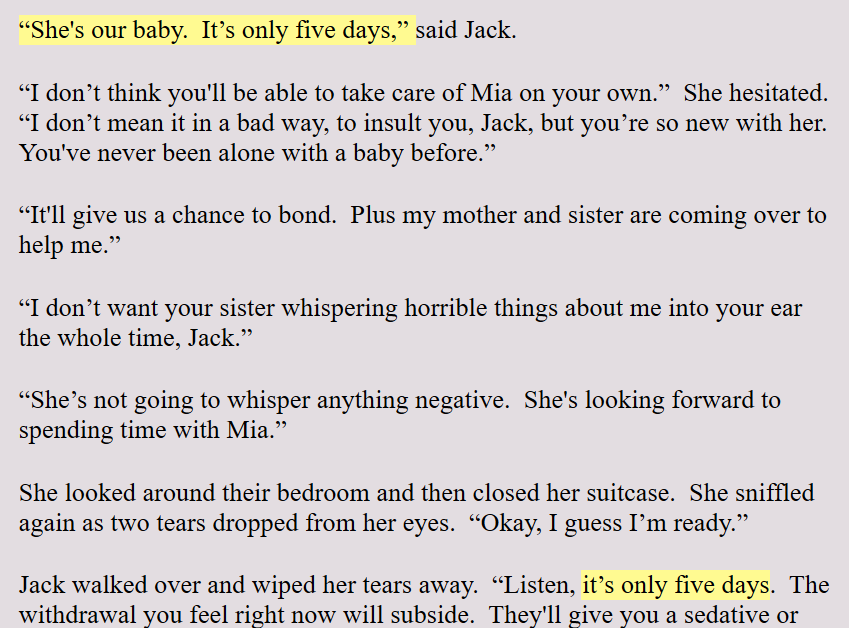

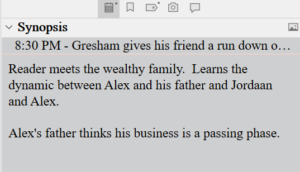 The second thing I do in Layer 5 is to fill out the Synopsis section. This section is in the upper right-hand side of the Scrivener platform.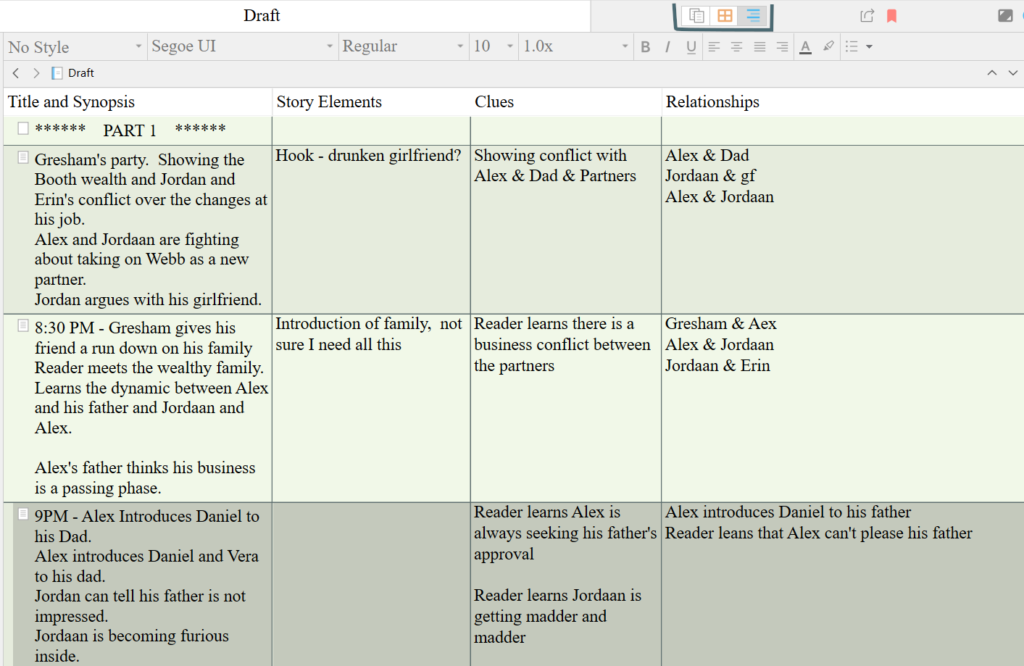
 Now, because I had to kind of abandon the full subplot in Layer 4, I will be finishing the subplot while I'm doing the descriptions and the synopsis box. Once I'm done with this layer, then I'll be back to discuss what happens in Layer 6!