
FOLLOWING MY SYSTEM OF FIVE TO SIX REVIEWS BEFORE SENDING:
 I am a diligent plotter and planner when I write. Starting in Scrivener, I construct the story and go over it from six or seven different angles before I even compile it to be worked on, massaged and proofread in Microsoft Word.
So after this process, the book never feels rushed to me. The last ten to twenty tweaks give me the feeling that I have finished.
IT FELT DONE - BUT WAS IT?
During the writing of my last book, Murder at the Car Wash, I had the same feeling -- that the book was done and ready to go to the editor.
I had checked it constantly to make sure there was enough background information for the book to be read alone, even though it was written as part of the Jack Nolan Detective Series. I went over the plotline, the sub-plotlines, the balance of the story -- everything, like I always do.
BUT MY MIND IS STILL PERCOLATING
However, once the book was gone to the editor, within a few days, I seemed to have a second wind of creative energy and had more ideas of deepening the intrigue or mystery 'popping' into my head.
I know when the book comes back that I will be adding to it with these ideas that have come to me over the month the book is being edited.
Looking back, I remember the same thing happened with my first few novels. I didn't notice it like I did this time. Luckily, with self-publishing, you can fix something or even add something and then re-upload it! These are the gifts of self-publishing.
WAITING 2 TO 3 WEEKS TO GIVE IT TO THE EDITOR NEXT TIME!
Thinking about this in terms of the future, I will add this 2 to 3 weeks period of allowing the book to rest unattended to see what else pops up when my mind turns to other things. I write fast enough where this will not create a problem.
I have a list of things I check in the novels to make sure I cover everything. I will add this "process" of waiting a few weeks to let my mind get busy with other things and then see what else my creative mind throws up as it is still percolating with the storyline.
Although this is my 1th book, I still consider myself a new author and am still learning my way through all this.
Has this ever happened to you?

 I keep my book covers in a separate folder. Inside the Book Cover folder are sub-folders named Ebook-Covers and Paperback-Covers folders. This seems like a lot more work, but believe me, you may have four copies of one cover before you finish making all tweaks or corrections.
 Using a Notebook document, I begin each new book with about four potential plotlines. Then I pick one and begin to outline. So I keep this document in it's own file.
 At some point, the book actually gets published! The Final Manuscript copies are kept in this folder and they are the only documents in this folder. I cannot tell you how many times between the editor and corrections and ARC changes, etc., that I lost sight of what my actual final copy was named and where it was! Keeping the final manuscript in a clearly-marked separate folder eliminates this problem.
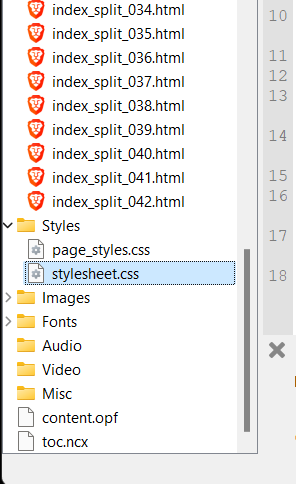
 As you go from first draft to second draft, to editors copy, to arc copies, to any rewrites, you will wind up with copy after copy after copy. I'm a bit paranoid about just deleting the copies I don't need anymore until the end of the project and the book is safely uploaded. So as I save corrected copies, I put the old ones in the TOBEDeleted folder. Then when the book is safely published on Amazon and wherever else I'm uploading, that's when I open this folder and delete everything.


 Once my novel is now in Chapters and I have proofread it while still in Scrivener, I mark each of the scenes that have exciting events, vampiric events, even humor, to make sure the story is balanced and has events and surprised all throughout the story. Some books I read sag in the middle as everything is gearing up for a big bang at the end.
 There are two levels of proofreading. The first level is proofreading for plot context to make sure the novel is complete. Before I leave Scrivener, I go over the different chapters and scenes and mark the following beats and make sure that everything is included.