proofreading tips for scrivener – Read First Chapter.com

Book Launch – From Proofreading to Editor – Part 1

***    FROM PROOFREADING TO EDITOR    ***

Book-Launch-Front-page

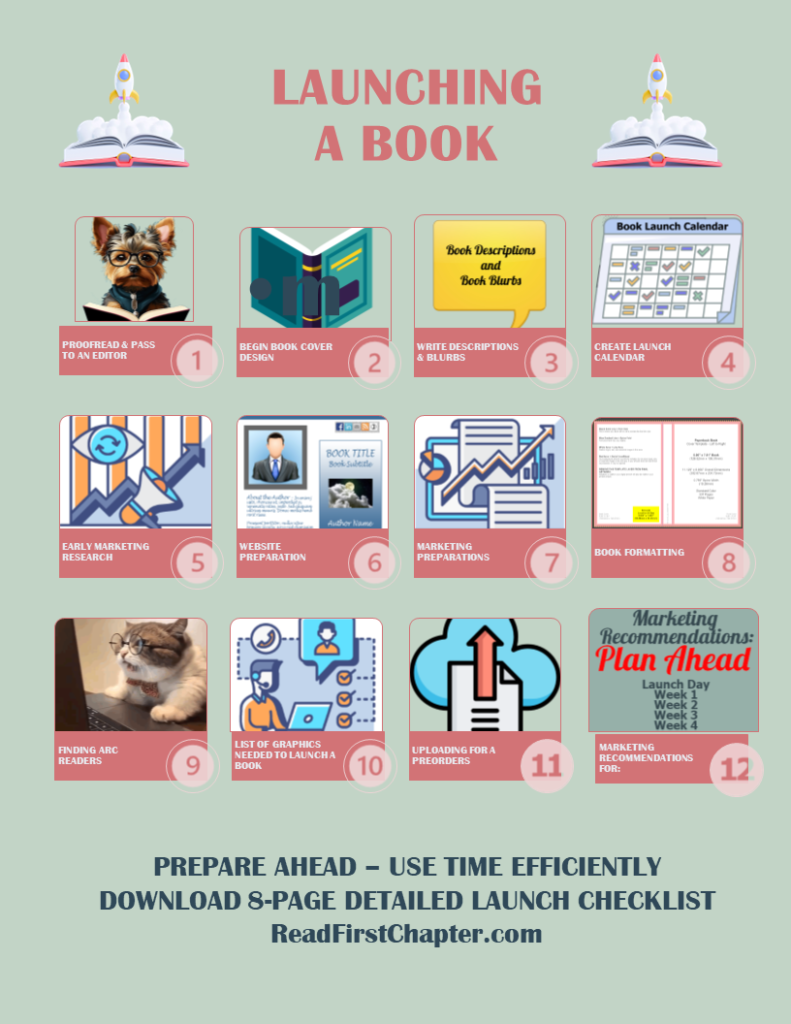
Go over your proofreading check list and make all the changes.  Read it on NaturalReader.com or use Microsoft Word to read it aloud to yourself.  Then hand it off to an Editor.   They will take a minimum of one month to do a line edit.

Once the Editor has the book, I usually rewrite the first chapter to see if I can improve upon it.  And often, I do the same for the last chapter.

***   BEGIN ON YOUR BOOKCOVERS   ***

If you do your own creative work, make at least one eBook cover.  The template for Amazon KDP is 1600 pixels wide x 2560 pixels tall.  Make the front cover using the template and a back cover using the same template.

If you do not do graphics, find a eBook cover maker on Fiverr or somewhere on YouTube.  Copy about 5 book covers from your genre to show to the eBook  creator.  Tell him/her that you want yours to “fit on the shelf with these”.

The Paperback cover will need to know the page count in order to get the proper template from KDP.  When you have a page number for the paperback, go to the KDP Paperback Calculator:  https://kdp.amazon.com/cover-calculator  Once you have your template, you can add the front eBook cover and the back eBook cover that you made and blend them.


Writers Tip – Initial Proofreading in Scrivener – Part 2

PROOFREADING WHILE STILL IN SCRIVENER - PART 2:

Once my novel is now in Chapters and I have proofread it while still in Scrivener, I mark each of the scenes that have exciting events, vampiric events, even humor, to make sure the story is balanced and has events and surprised all throughout the story.  Some books I read sag in the middle as everything is gearing up for a big bang at the end.

I like to sprinkle the books with enough to hold everyone's interest.  At least that's what I'm trying to do!

I will be starting  a new novel soon, and at that point, I will make a video showing this marking of the novel for a greater overview of all that is happening.

COMPILE IN SCRIVENER AND SAVE IN WORD – Name the Document "First Draft of BOOK TITLE".

PROOFREADING IS NOW DONE IN WORD:

  1. Do an initial spellcheck in word to eliminate any and all errors you may have missed in Scrivener.
  2. Search for your usual mistakes.  Below are an example of mine:
  • Awhile (a while)
  • going to (clean up verb tense)
  • it's (or its? - check)
  • draw (drawer)
  • beginning to (check for verb tense)
  • in order to (check for verb tense)
  • going to (check for verb tense)
  • starting (check for verb tense)
  • Okay (how many times it’s used)
  • Just (how many times it's used)
  • Really (How many times it's used)
  • Very (Find a better descriptive word)
  • ." said (check glitch from auto correct)
  • ." whispered (check glitch from auto correct)
  • and all ly words
  • Search all quotes to check for opening and closing quotes.
  • Word spell check and Word grammar check.


SEARCH OUT A PROFESSIONAL EDITOR:

The one thing I need to spend money on is a line editor.  I felt comfortable enough with the plot and character development in my own stories, so I limited myself to a line editor.  They go over your work looking for grammar mistakes, confusion in the story, plot holes, any glaring mistakes.

I did a hard proofread on my work before passing it off, so the editor didn't waste time correcting typos and things like this.  So the better your ebook is, the more real pointers they will do for you.

The hard proofread ends with having the eBook read back to me by the AI reader in Word (Review tab) or NaturalReader.com which is a text to voice online reader.  This is a great way to find mistakes you are reading over because you are too familiar with the work!

DURING THE EDITING PROCESS:

Put your eBook away for a week.  This will allow your mind to refresh for the work that's ahead.  If you will be doing Advance Review Copies for your launch, get prepared to find Review readers.

I found two professional Beta Readers and Proofreaders on Fiverr.  They read the book, found several typos and punctuation mistakes, and gave me amazing feedback.

Other Text to Voice tools:  Grammerly, Ginger, PaperRater, Reverso Speller, NounPlus, After the Deadline

CLICK HERE TO DOWNLOAD A CHEAT SHEET WITH THIS INFO:


Writers Tip – Initial Proofreading in Scrivener – Part 1

PROOFREADING WHILE STILL IN SCRIVENER:

There are two levels of proofreading.  The first level is proofreading for plot context to make sure the novel is complete.  Before I leave Scrivener, I go over the different chapters and scenes and mark the following beats and make sure that everything is included.

Before I post the checklist, I need to say that I did not invent these ideas below.  I have been listening to videos by other authors for several years now and I have taken copious notes and somewhere along the way I took a little from one author and a little from another.   I think them all for their generosity in sharing their experience and knowhow.

  1. Proofread and make sure you indicate where the following items are
    a. The Hook  - This is the thing or the event that will hook the reader's interest.
    b. The Setup - This includes the setting where the story will take place.  It also includes an introduction to the main protagonist/hero and what his or her wants or needs are in life, so to speak.  This is the starting point of the quest.  (The Quest)
    c. Identify the subplot.  Be clear on how the subplot affects the plot.
    d. Inciting incident - This is the point where the story has it's first twist or turn.  The Hero is pulled into a quest that he starts out not really wanting to go on.  This is going in a different direction than "the setting".
    e. Setback(s):  Depending upon what type of novel you are writing, you will have one or more setbacks that create conflict and drama that move the story forward.  You may want to clearly mark these as well.
    f.  Major setback:  about 75% of the way through the book, the big setback happens when things look like they are not going to work out.
    g. The final battle/The Climax - In high suspense novels, this can be a physical battle for life and death.  In a less dramatic story, this is where the hero has to conquer himself or herself in order to be able to pull off their quest.
    h. All is lost - Right before the Hero gets their second wind and has a breakthrough, they will have a moment of despair where all will seem lost.
    i. The glorious/surprise ending - Hero wins/gets what they want
    j. The aftermath - 99% point of the story - This is where the story wraps up and you see the "new normal" now that the hero has broken through their fears and saved things.
  2.  Check the following about the subplot:
    k. "Subplot Development" - any crisis, suspense, etc.
    l. Any plot twists or pathway turns for the subplot
    m. Point out where subplot reaches high tension
    n. Point out where the subplot is setback or fails, or feels at a standstill
    o. Scene that resolves the whole story
  3. Make a document to check your background and descriptions
    p. Make sure you don't repeat information in multiple places.  Make a separate sheet and record which chapters your descriptions and background info is at.  This way you can make sure you have included everything and also make sure you haven't repeated anything.
    q. For the series books, make sure you include enough background
    for it to be a stand-alone book.

CLICK HERE TO DOWNLOAD A CHEAT SHEET WITH THIS INFO: