SELF-PUBLISHERS NEED AN AUTHOR PAGE ON AMAZON.COM
 All book authors want readers! Many readers are curious -- either before reading your book or after -- about who wrote the book. Many of them only want to see what you look like or where you live.
An Author Page on AuthorCentral.amazon.com is the equivalent of a mini website right inside the Amazon bookstore. Think of it as a corner display in the section of genre you write in. You want it to be as professional and interesting as possible.
It's easy enough to put one together and I'll go into what snippets of information and other items you will need to put together a professional author page.
WRITING A NEW AUTHOR BIO:
 You will need a bio with a picture. The picture will be reduced to an icon or avatar size, so be sure to have one that is crisp and clear and mainly of your face and shoulders. Otherwise, it won't look professional.
Besides your name and avatar, feel free to add a bit about what you write, why you write or anything else that might be of interest to the readers. Besides the basics, they like to know if you were a life-long teacher or an ex-cop or ex-lawyer; things like this. Or if you have an interesting hobby or two.
If you are not a famous author, I would suggest keeping the bio short, maybe two to three short paragraphs -- or thereabouts. Once the reader has seen you and knows a little about you, you're no longer a stranger to them. You are officially an author that they know and would recognize. Feel free to ask them to follow you.
Let's look next at the actual Amazon Author Central Page setup.
THE POWER OF AMAZON AUTHOR CENTRAL:
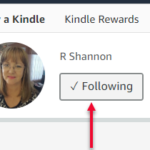 If you only have one or two books and aren't ready to build a full website, think of the Amazon Central Author page as a website. Besides adding your avatar picture, Amazon will pull in all of your books onto the one page. Each viewer is given an opportunity to click on the FOLLOW button. So if they really like your work, they can sign up to follow you and then will get notice of any new books released by you. So there is this little bit of marketing built into the Author Central page.
BOOK MARKETING 101:
If you are self-publishing a book, setting up an Author Central page is first and foremost. This is the first step in building your own personal readership and brand. Establishing a presence at Amazon and using the Author Central page as a mini website is the best marketing you can do until you're ready to put up a dedicated website and really start marketing.
AMAZON CENTRAL AUTHOR HOME PAGE:
An Amazon Central Author page is created automatically behind the scenes when you upload a book. To find your actual page and the link to it, after uploading the book at KDP, go to authorcentral.amazon.com. You may be asked to log in or you may go to the page automatically. Record the link in the address bar because this will be the same as a website link if you're a new author.
I have a video posted below where I go into this in a little more detail, but if you are the type that wants to see the steps written out, this section is for you:
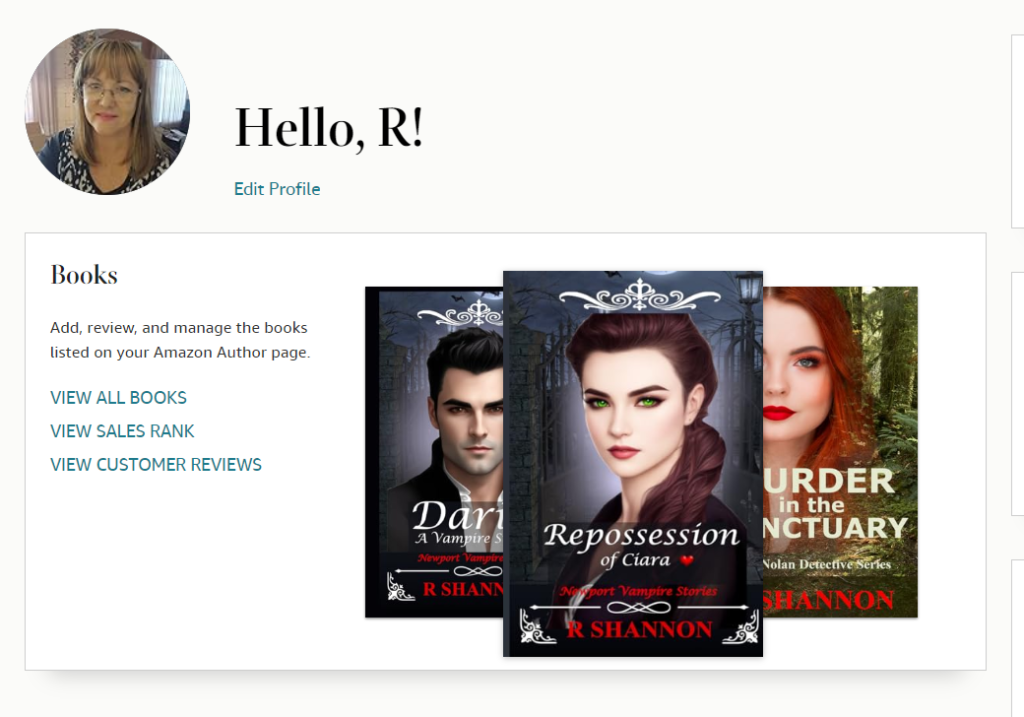
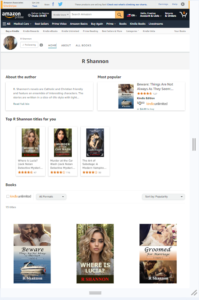
When you log into the page, it will show you the books that are getting the most action. These will change from time to time, especially if you do Kindle Countdowns or give them away for free a few times.
The screen shot above is what the page looks like when you open it. This is the left side of the page . It has the books that are doing the best and there are three links to the left of the best sellers. The top link is to see all of your books.
VIEW SALES RANK:
The View Sales Rank link brings you to a section where you can track the ranking of your books at Amazon. These numbers can be very discouraging at first, so don't take them to heart when you are brand new. It takes time to get soaked up by the algorithms and start climbing the ranks at Amazon. These numbers don't really tell you anything that can be easily tracked. In another blog post, I will show you how to keep track of your reviews, if you want to do that.
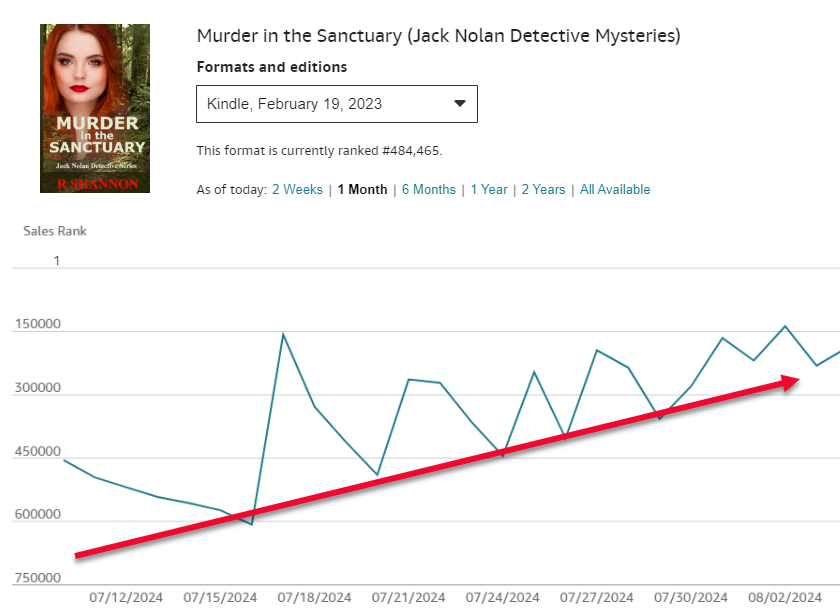
If you click into the rankings page, you can at least see if your book is trending up or down. They all tend to go up and down so don't take anything to heart as a beginner. Your books will begin to go up when you start marketing them, promoting them or giving them away.
VIEW CUSTOMER REVIEWS:
The customer reviews link goes to your written reviews. That means if someone takes the time to go to Amazon and write a full review, it will appear here. However, many people read on tablets or eReaders and Amazon doesn't make it easy for them to leave reviews, so you may just get 5-Stars but no words. That is considered a rating but not a review. That's why it's important to know a different way to keep track of actual ratings and reviews. That will be for the next blog post.
AUTOMATIC UPDATE AT AMAZON:
As state above, the Author Central page is created automatically by uploading a book. The page is associated with the author or pen name who uploaded the book. This page has three links to follow your Sales Rank and Reviews. It shows you what your most popular book is. It also presents visitors with all of your books, with links to purchase.
TO CHANGE YOUR AUTHOR PAGE NAME:
In case you choose to write under a pen name or want to update your page name in any way, here is a link with information on how to do that: https://author.amazon.com/help/GRGZ458YRBZBYBDH
Below is the video where I go into all of this information and a little more. I hope you enjoy it.

 Turning the viewing of a movie into a writing exercise will change the way in which you watch the movie. For your spouse, it won't change anything. Most people love to go into the story not knowing anything. There are some who any hint of a spoiler will ruin the movie for them. You may be one of them now!
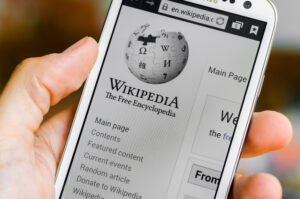 Find a summary of the movie on Wikipedia. Most movies have a page about them and it gives all the technical information about who wrote the original story, the producer, director, stars, etc. But there is a section entitled PLOT. This is where the plot is laid out for you.
 To be honest, most plots are too long to even remember or put together with one reading. I can usually follow the plotline for about the first four paragraphs. After that, I can't remember who is who but it doesn't matter. As long as you have a gist of an idea of what will take place, it allows you to watch for it.
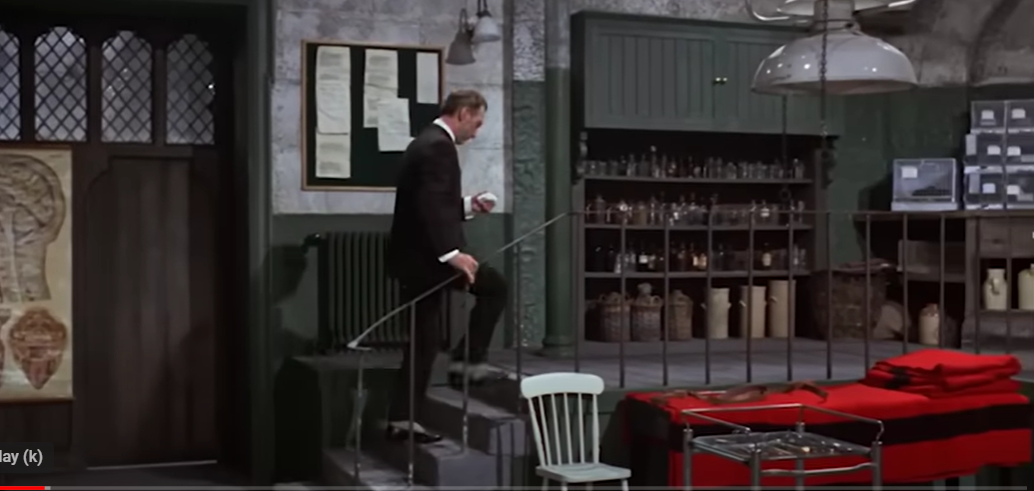
 THIRD: Classic films relied more on dialogue, staging and backdrops to tell the story. This is the richness that I find most helpful to see and learn from as an author. Modern storytelling is worried about the 3-second attention span. Older movies assumed the audience was grown up and could sit still and pay attention for a few minutes without intense stimulation.
 FIFTH: Newer movies have upgraded post production technology and CGI, so they are now focused on movie effects, jump scares and gore shocks. Although many of you may enjoy this type of thing, it really doesn't have much to teach a new author.
 Everyone has to find their own subgenres whether it be old gothic movies or old mystery movies. But a good place to start is at Wikipedia. Below are two links to the 1960s and 1970s in film. Movies made in these years would fall into the categories I mentioned above.
 If you are watching the movie on a computer, take a screen shot of a scene and then set up an imaginary happenstance that occurs in this setting. Describe the setting in words, attempting to capture the essence of what you saw on film. Doing this a few times will help you get better and better in describing backgrounds and scene settings.

 In this blog post and video, which I will post below, I'm going to go over all the steps you should take in preparing to contact an artist at Fiverr to purchase an eBook cover. These tips will be helpful to both those who have money to publish but no time and also those on a shoestring budget.
 I'll use my own book entitled
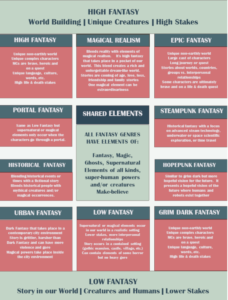
 Another tip I can pass on is that if you choose a classic as a guiding light book, or a popular book that has been professionally published, by analyzing those books and seeing where they are positioned, in a way you are getting the advantage of the marketing department that is behind this bestseller. The publishing companies have a marketing department and they work all day positioning books. By watching those bestsellers, you can profit, so to speak, from all of their education and know-how.

 Try to put all the pictures of the books on one page. You can do this in Word. If this seems like too much work, you can save the inspirational covers and keep them all in a folder so you can upload them to your fiverr Request.

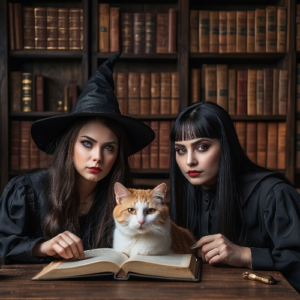
 Magical Realism is a newer subgenre too. Magical realism are low fantasy stories as they are rooted in our own world with only one or two fantastical elements -- usually at least one form of magic. They take place in an often-recognizable place and the contemporary world.
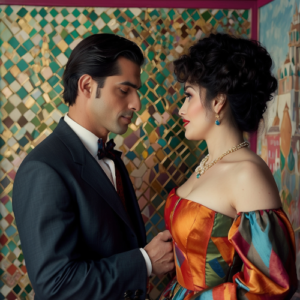
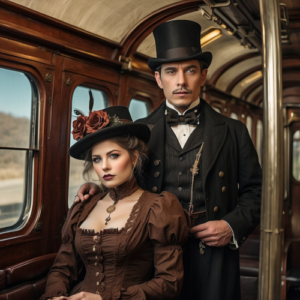
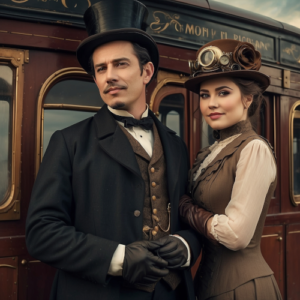 A new subgenre for those who like the steampunk aesthetic and/or urban fantasy, Hope Punk Fantasy contains these elements but without all the hopelessness or grim outlook. The story is more hope and/or happiness based.
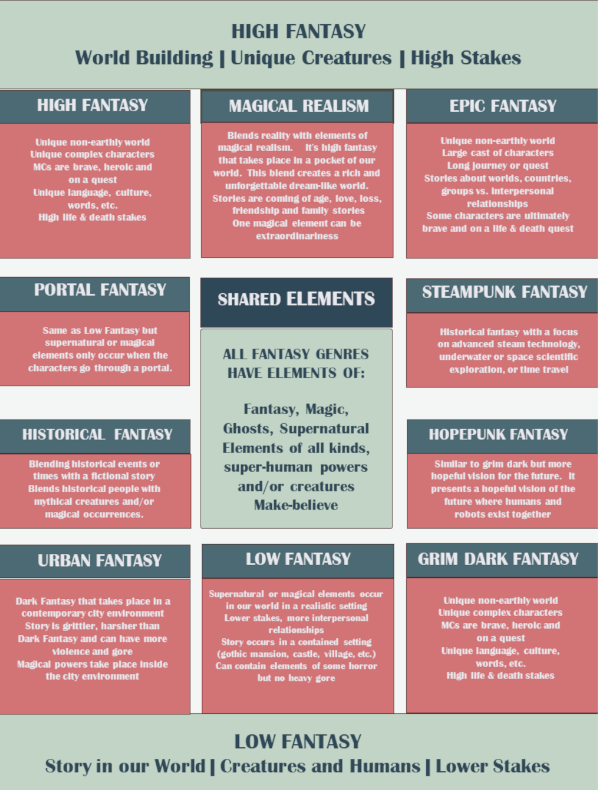
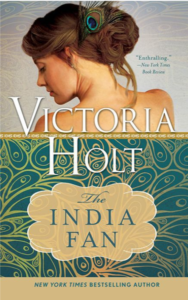
 I purchased this book based on reading another of Victoria Holt’s books. I wasn’t instantly in love with this book but the author’s writing style is so beautiful, that alone kept me going. However, I slowly fell in love with the characters — but not because they were great people, most of them were flawed in one way or another. I fell in love with the story itself and how it all unfolded to the main character, Drusilla.
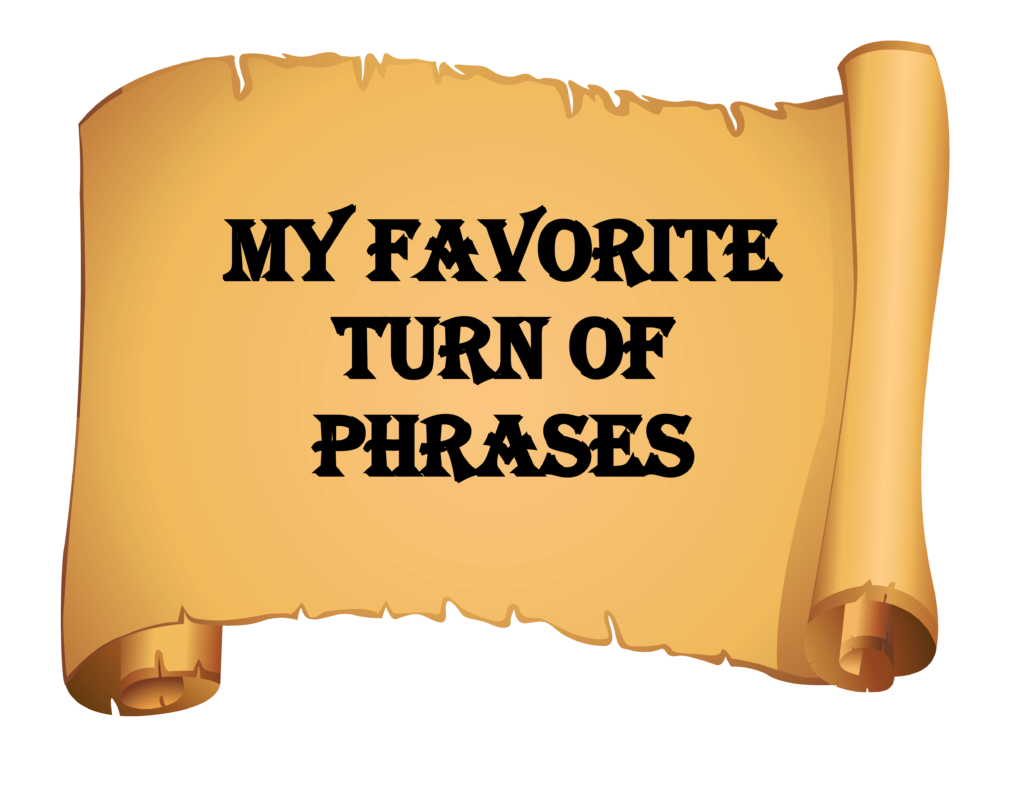 MY FAVORITE TURN OF PHRASES:
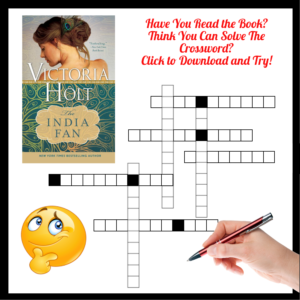
 In our last installment, we covered the top three book genres:
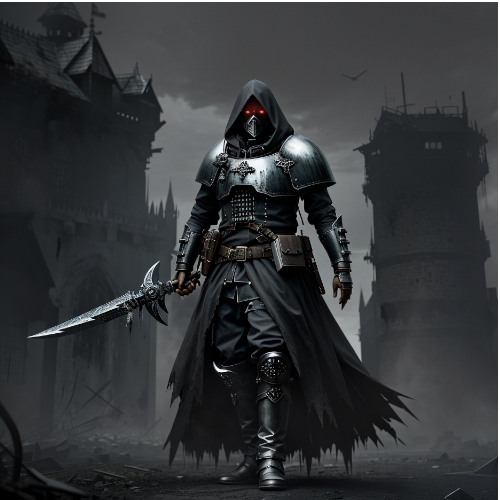
 Before Amazon.com became a behemoth online bookseller, there may have been 20 genres in all of Bookdom. It was all based ono the space available, book cases available and how large he bookstore or library was. All fantasy books were in one section of the store. From there, you needed to come through the author names alphabetically or ask a store clerk if they remembered seeing the book. KDP Publishing and the Website whiz kids at Amazon put an end to that over the last decade or two.Now there are multiple genres of Fantasy and each one can be differentiated by a slight difference. Let's take a look at them starting with the three largest categories: High Fantasy, Epic Fantasy and Low Fantasy.
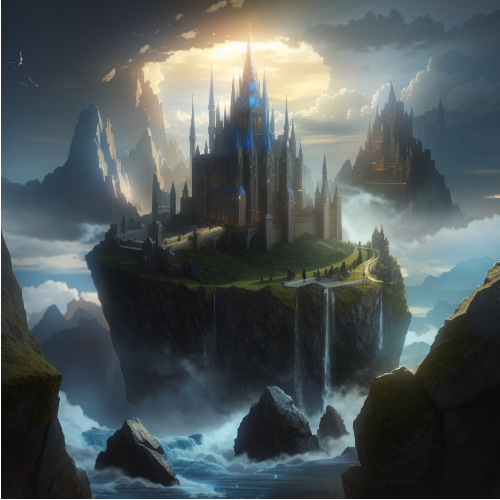 This genre is made up of stories that open up a whole new world, with its own geography, culture and even people -- there could be creatures of any and all kinds. These stories are alive with lots of magic, mythology, legends and folklore. High fantasy usually deals with large-scale problems and conflicts. There are life and death stakes and the main characters are heroes, heroines and most are destined for greatness. Their journey is about fulfilling their destiny and/or saving their world from disaster. High fantasy can be more personal than Epic fantasy. High fantasy can be about personal drama, relationships while Epic Fantasy is usually bigger and more about saving the Kingdoms or a whole group of people.
 Epic fantasy is very similar to High Fantasy in that it introduces the reader to a whole world conjured up by the author, with a unique geography, weather, history and creatures. Epic fantasy also has lots of magic and other worldly powers, all of which have rules and boundaries that are followed. Epic fantasy can have folklore, but there is more of an emphasis on myths and legends that are weaved in and out of the story.
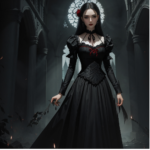
 When I first heard of this genre and found out that many vampire books fit into this category, I wasn't happy. It sounds awful -- 'low fantasy'. What kind of a name is that? However, the low fantasy refers to the level of magic and world-building that takes place in a low fantasy book.
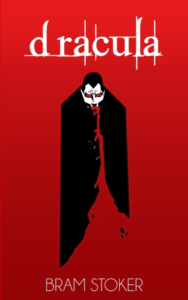 DESCRIPTION FROM AMAZON.com:
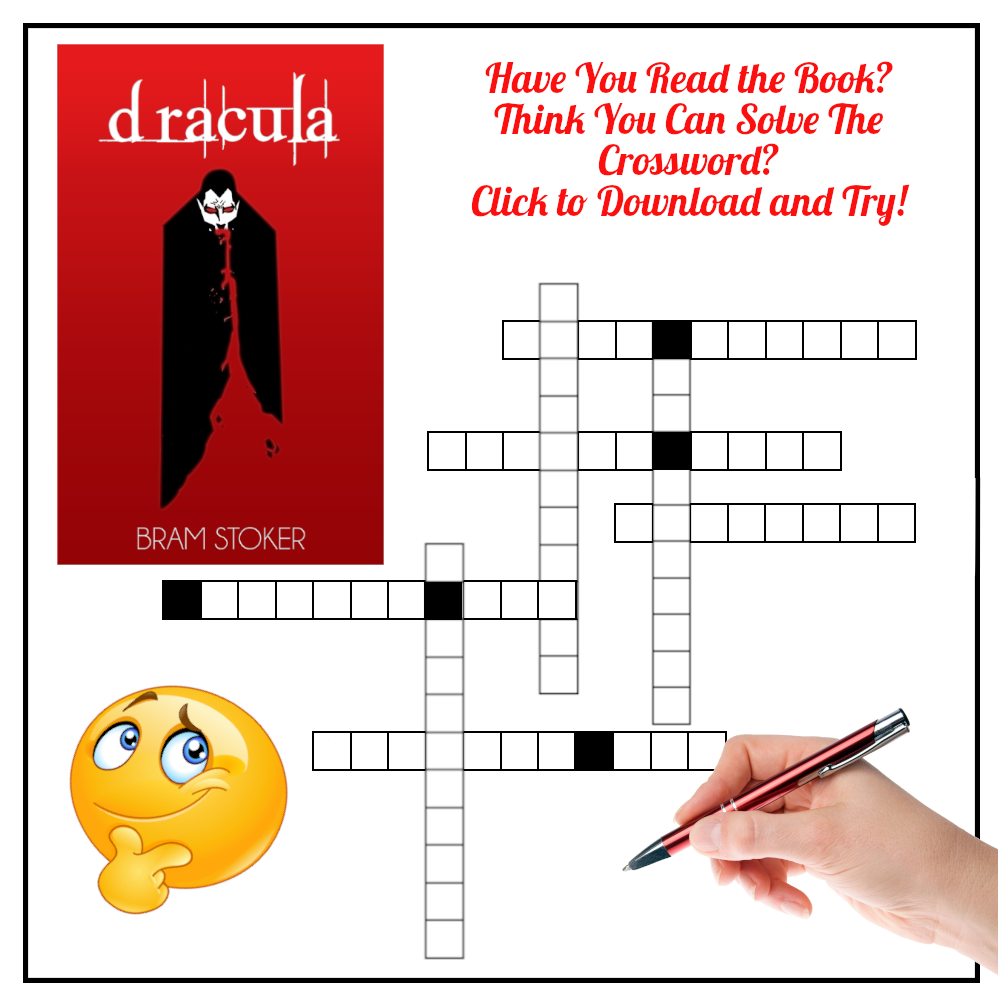
 I usually start with my review as a reader but today I have to start with my review as an author. I have read this book at least twice, maybe even more, and find the story wonderful — but only because I’ve seen movies that stuck very closely to the storyline.
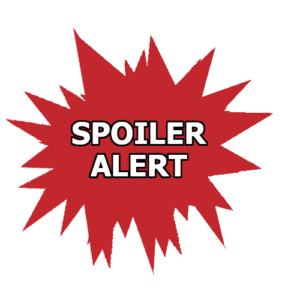 So for anyone who wants to see the action laid out quickly, read below. There are spoilers, so don’t read this part if you don’t want to spoil the book plot for yourself. I personally don’t care about spoilers as sometimes I enjoy books or movies better when I know ahead of time what to watch for!