 This blog post will be a peek behind the author workflow in Layer 5 of my Novel Writing in Layers Series. I am writing Book 6, Majestic Landings, in my police procedural series, Jack Nolan Detective Series.
Let me set the table, so to speak, about where I am in the book right now. I just finished Layer 4 which is the Down and Dirty First Draft, which I believe is the hardest layer to write.
BEGINNING LAYER 5
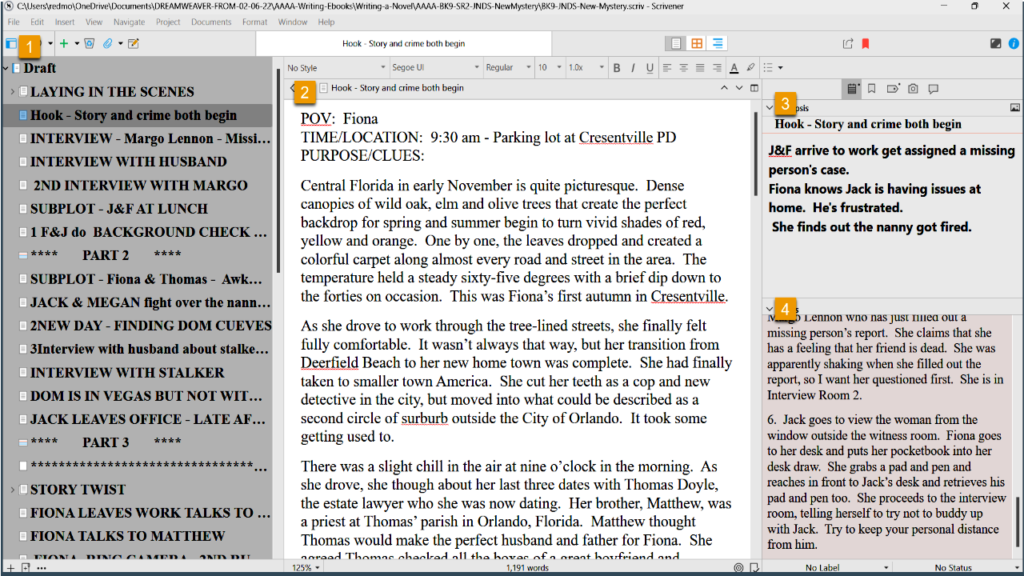
 Above is a snapshot of the book as it now exists in Scrivener, which is the program I write Layers 1 to 6 in. I have gone ahead and filled in a few of the scenes so that I can explain to you what I do in Layer 5.
ON THE LEFT SIDE IS THE BINDER: The top folder is called draft, which is a default in Scrivener. Each sub-document is one scene in the novel. I also add in a few blank documents between Parts 1, 2, 3 and 4, so I can see how the story action is balancing inside the plot structure.
IN THE CENTER PANEL: This is where I write the scenes.
ON THE RIGHT SIDE IS THE INSPECTOR WINDOW: This section allows you to add a scene synopsis on another tab, but above, I have captured what it looks like on the Metadata Section.
WHAT HAPPENS IN LAYER 5?
This is my first layer of proofreading. I only focus on the following things in this layer of writing.
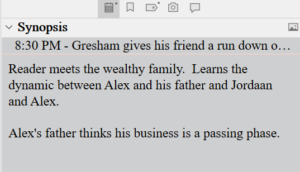
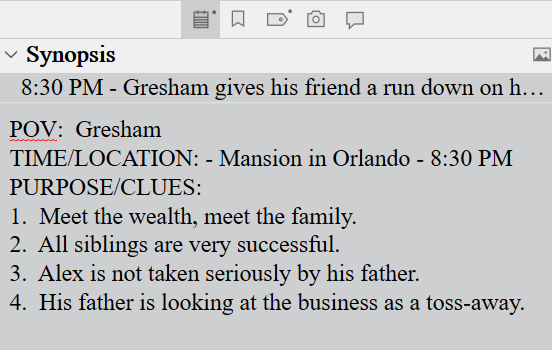
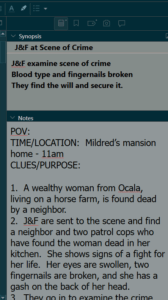 1. Making sure the scenes line up and flow smoothing and fill in the Synopsis box if I forgot to do it in Layer 4. I have a snapshot of the Synopsis box to the right or below. This allows me to look at my work in the Outline Mode where I can see the novel from a bird's eye view.
Since it's in the photograph here, I will also mention that I copy my scene outlines and paste them into the Notes section in case I want to review them.
2. I enter all of the character descriptions and location descriptions in this layer too.
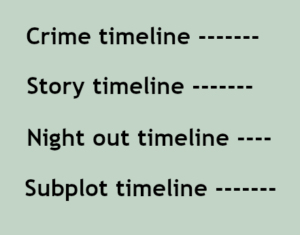
3. I also check on the crime and investigation timeline as well as the novel timeline.
3A: The crime timeline I track with the metadata, which I will mention again below. I also use the Scrivener Highlighter to set off anything that references the crime timeline. This way, towards the end of this layer, if I decided to tighten up the timeline or find out I need a little extra time, it is very easy to quickly scroll through the novel and find any references to the timeline easily.
 3B: All novels have a timeline too. A crime novel is usually a day to several weeks; whereas Gone with the Wind cover years and years. In each scene, I start with a little template referencing the point of view, the time/location and the clues/purpose.
As stated above, I read through the scenes, making sure that the last scene flows into the next scene. For example: If my detectives 'get into the car to return to the station,' I make sure I'm not referencing where they were before they got into the car, and stating again that they are entering the car.
I also watch my novel timeline to make sure the timing in the day is lining up with what's possible for human beings. In my humble opinion, authors have a lot of leeway to stretch the day, if needed, but if we go overboard, at some point, it pulls the reader's mind out of the book when they realize there's too much activity for one day as humans. By keeping an eye on the novel timeline, this prevents me from stretching a little too much.
THE METADATA - HOW AND WHY TO ADD CUSTOM META DATA.
 Some authors probably don't use the metadata section and that's fine. But I like to look at the novel in the Outline Mode and this is where the custom metadata comes into play.
Every novel is different, so I am focusing on different things in each one. In this novel, there are multiple suspects, all of whom have shaky alibis, so the crime timeline and some other things are very important. So in this novel, I created metadata sections as follows:
- Major Event - What happens in the scene
- Technical information - Names, addresses, where body was found, first witness, etc.
- Clues dropped - Chronological list of clues that drop
- Time Line of the Crime - Time of death, time body was found, etc.
- Relationships - Romantic Subplot and Character Arcs
WHAT'S NEXT IN LAYER 5?
Once I proofread all the way through, add in the descriptions, and my meta data, then I want to look at certain things to check on myself. I can set up the Outline Mode so I can see the Synopsis, the Clues, and the Crime Timeline side by side. I will post a picture below.

I can then look closely to make sure I don't mention a lab report that hasn't been delivered. Or one of the suspects is mentioned before anyone points them out, things like this.
I can see the chronology of the clues that have dropped to make sure that they are chronologically correct. I'm sure you get the drift.
My color scheme in Scrivener may make some of these things hard to see, so I have posted the Custom Metadata diagram below so you can see where things go and what the icons look like.
 After looking at the various meta data in this bird's eye view setup, I'm ready to enter Layer 6, which is another round of proofreading; and again, I only focus on a few things.
I have done a short video about this in case you want to see me go over it inside Scrivener. There is a bit more information here for beginners, but it's good to watch it live too.
Be sure to check back to see another Live Peek Behind Layer 6! Be aware that I am not proclaiming myself as an expert novelist or the knower of all things. However, I used to search all the time for authors' workflow, but nothing ever showed up. I believe I could have advanced a lot faster if I had tips from more season's authors and that's my purpose here.
By seeing how one author does things, you may only take away one tip that will help you in the system you already use. I hope this blog post helps!
Free eBook Download
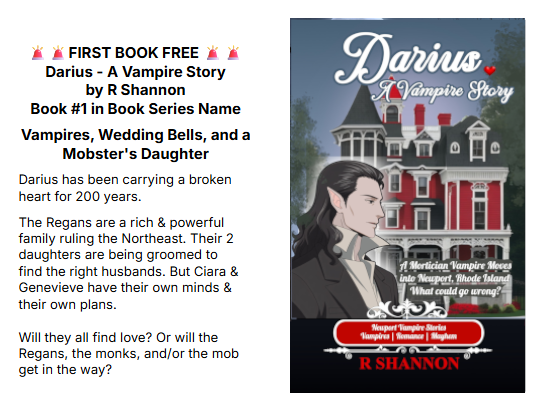
Ready for a Vampire Series
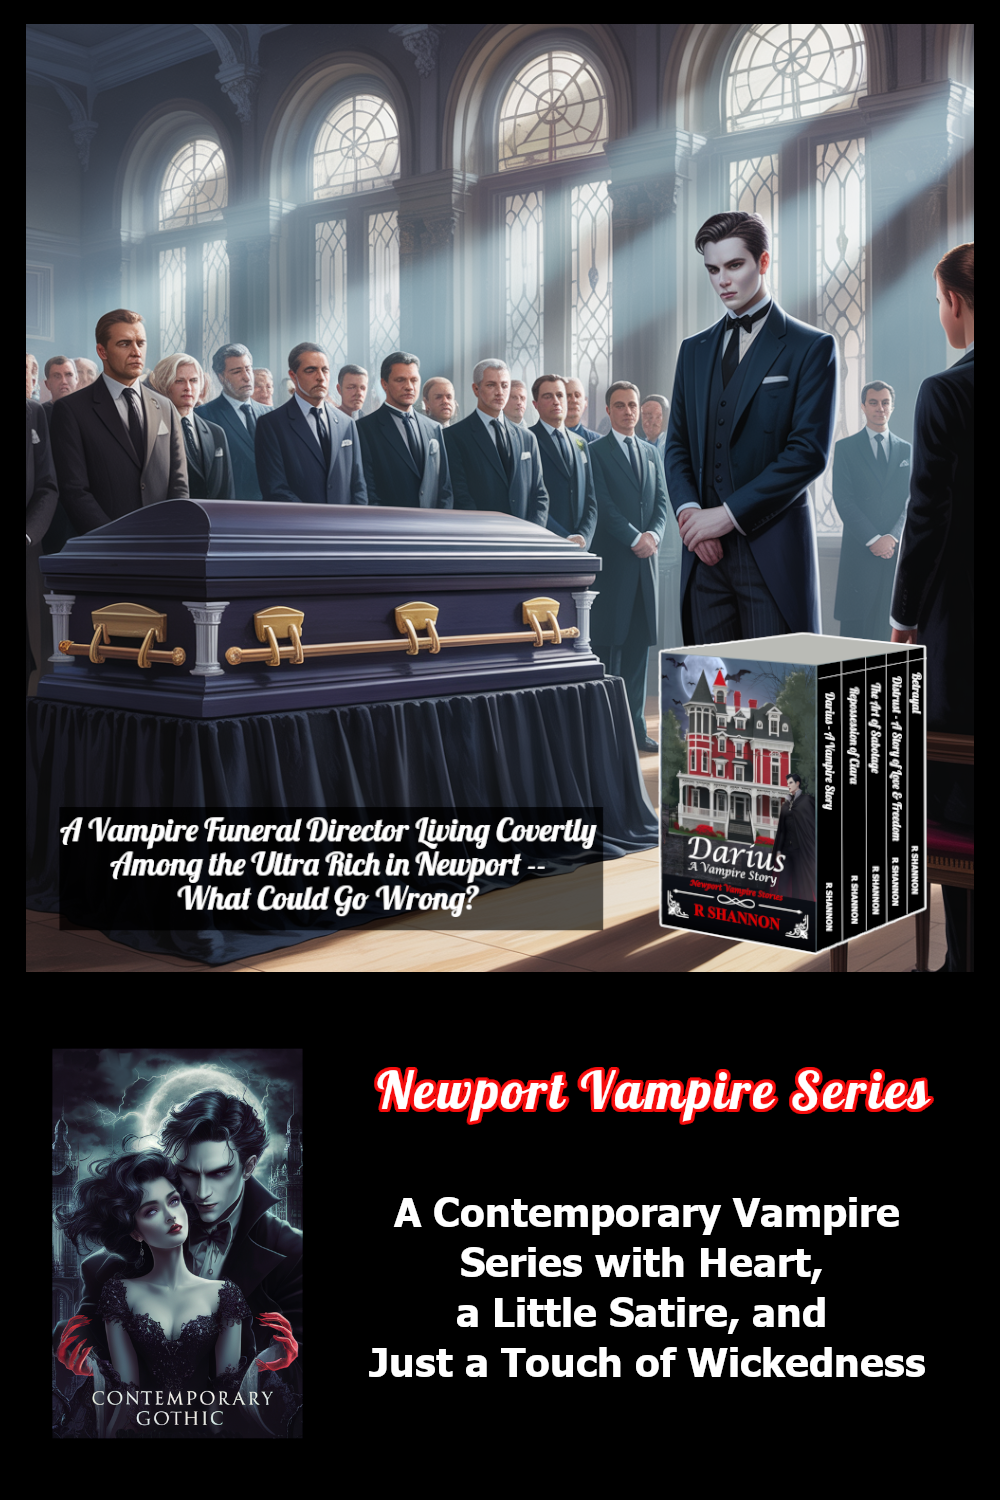
Click the graphic to see the entire series
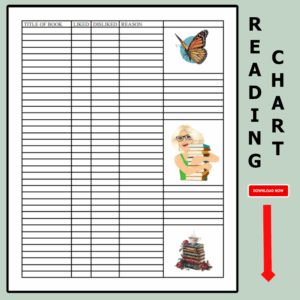
Downloadable Reading Chart
Mallardi Private Investigations Series
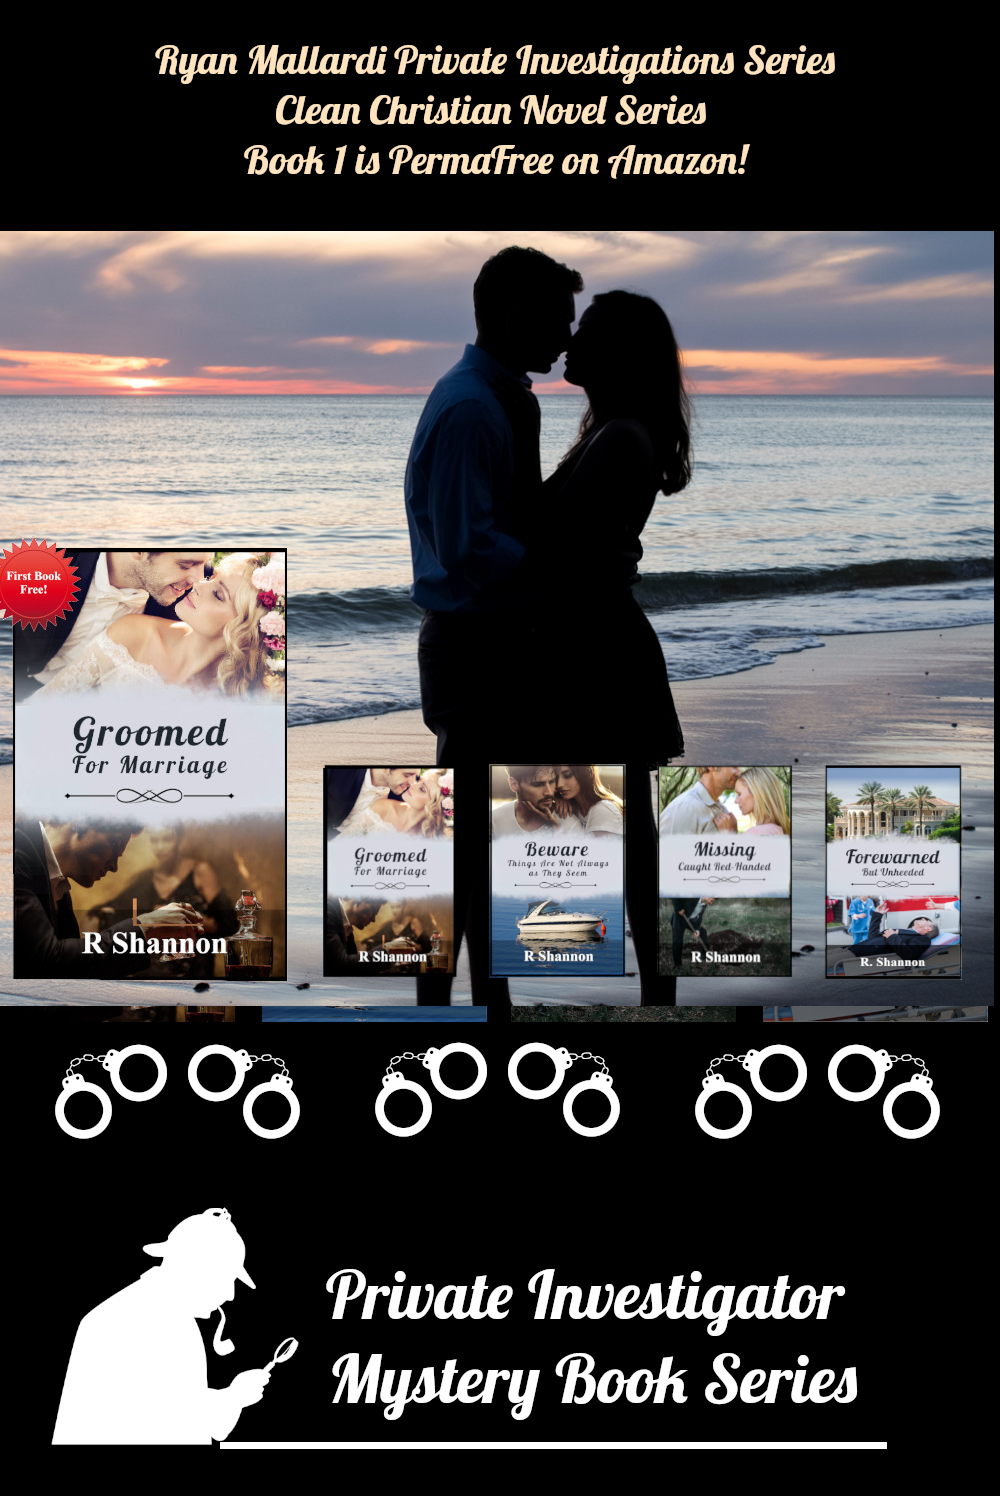 Click the graphic to see the entire series.
 There are many blog posts and videos on the internet about how to write a novel. Much of the advice is general in nature and only broad-stroke tips. This video seeks to go one step further and open my last book, which is still being proofread in Layer 8, and show a work-flow demonstration.
 I am in the process of finishing my 14th novel. I started out like many of you as a self-taught author who took in unorganized, uncurricularized information and had to make sense of it all. I devised this 8 Layer system to try to write a novel as efficiently as was possible. I offer it to you for whatever weight you wish to give it.
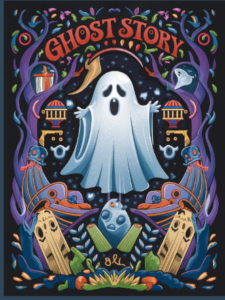 1. Who is the Ghost? Why has the Ghost arisen? Why is the Person not Resting in Peace? What is the Ghost's purpose for appearing? This is the backstory that will be dropped like breadcrumbs throughout the storyline. (Ghost-Story.png)
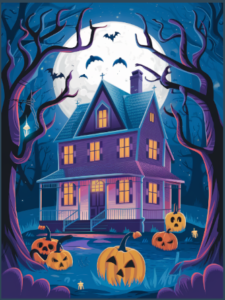 1. What is it about the house that's creepy?
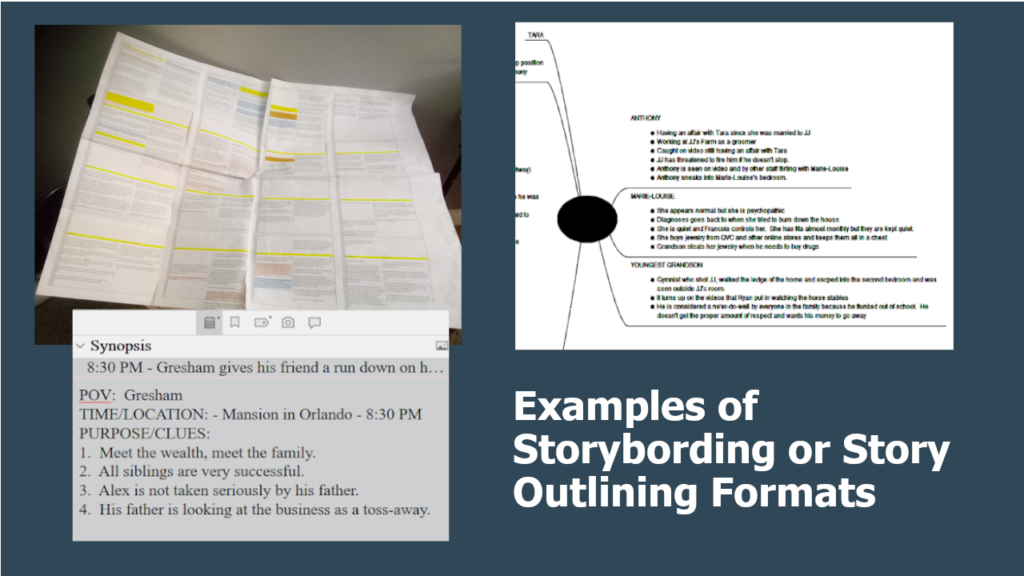
 It may help to think of yourself as more of a Town Crier.
 1. Using the read aloud feature in Microsoft Word, I read the book aloud as I read along with it. This gives you an idea of how the book will sound in the reader's mind.
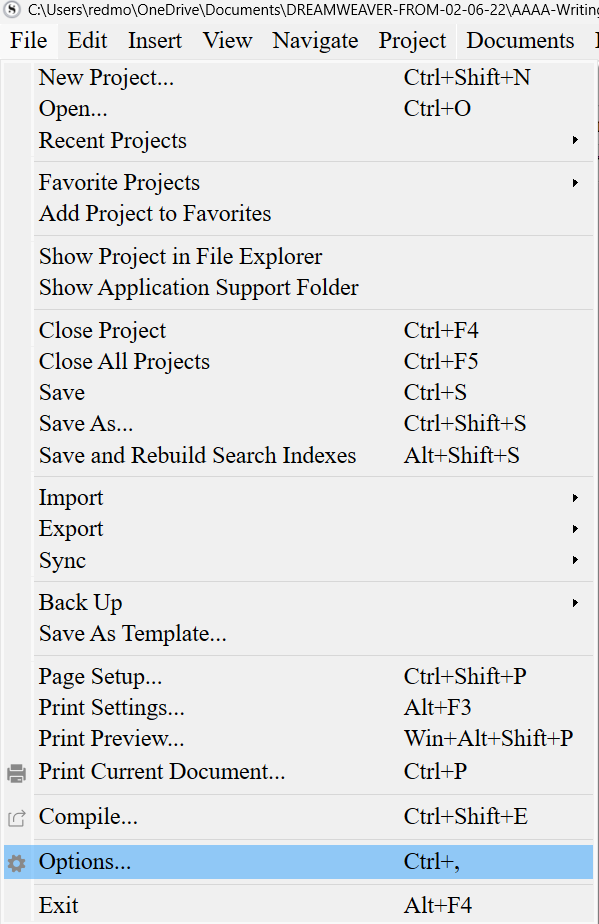
 Although I follow a detailed outline of the story before I even start writing, each novel presents its own issues and/or problems. In this novel, I had several timelines I had to keep straight.
 The second thing I do in Layer 5 is to fill out the Synopsis section. This section is in the upper right-hand side of the Scrivener platform.
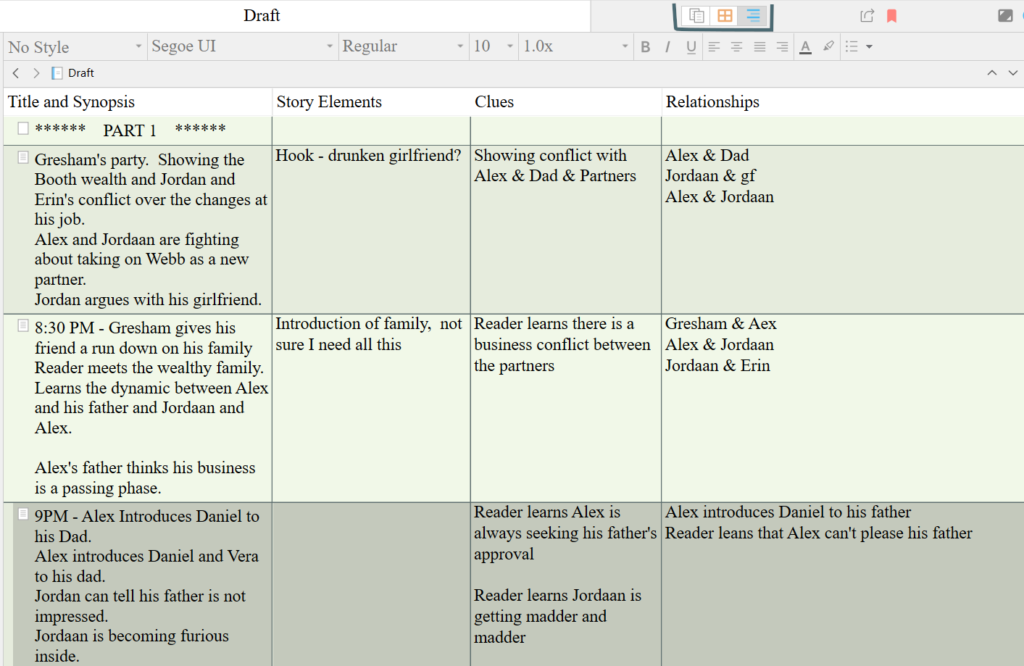
 Now, because I had to kind of abandon the full subplot in Layer 4, I will be finishing the subplot while I'm doing the descriptions and the synopsis box. Once I'm done with this layer, then I'll be back to discuss what happens in Layer 6!
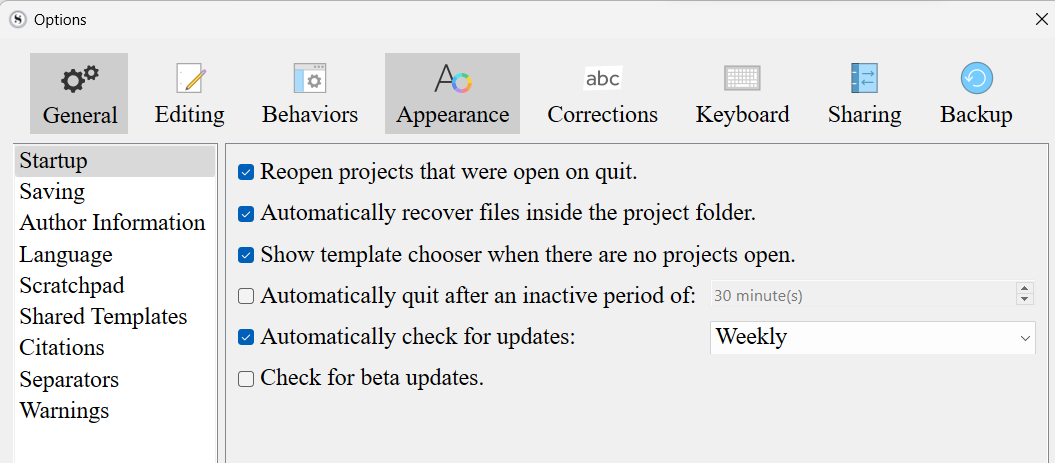
 Turn these Scrivener features off, especially if you plan to move your finished novel draft into Microsoft Word for final formatting. Because I self-publish and I need to upload in ePub and PDF manuscript, I use Word for a final proofread and formatting. I find Word is the best choice for me. The smart quotes do not translate well between Scrivener and Word. If you turn off the smart quotes, Scrivener will replace them with straight quotes and these translate better.
 I'm writing my fourth novel in the Jack Nolan Detective Series. The book is still unnamed. This is Level 4 in my Eight Levels of Writing a Novel series. This first draft is down and dirty. It is the hardest lift of the entire project. At least for me, the first draft is the hardest. The characters all seem like stick figures. I find them unlikeable -- even if I liked them in the last book! Any humor doesn't seem to work. Everything just seems awkward. I have to literally force myself to keep typing. So this tip is to just keep writing. Don't check on any spellings or grammar. Don't even look back. Just keep going until you have the crime down, the main plotline down and the subplots at least in place. That will complete the first down-and-dirty draft. Every other layer will be easy compared to this one.
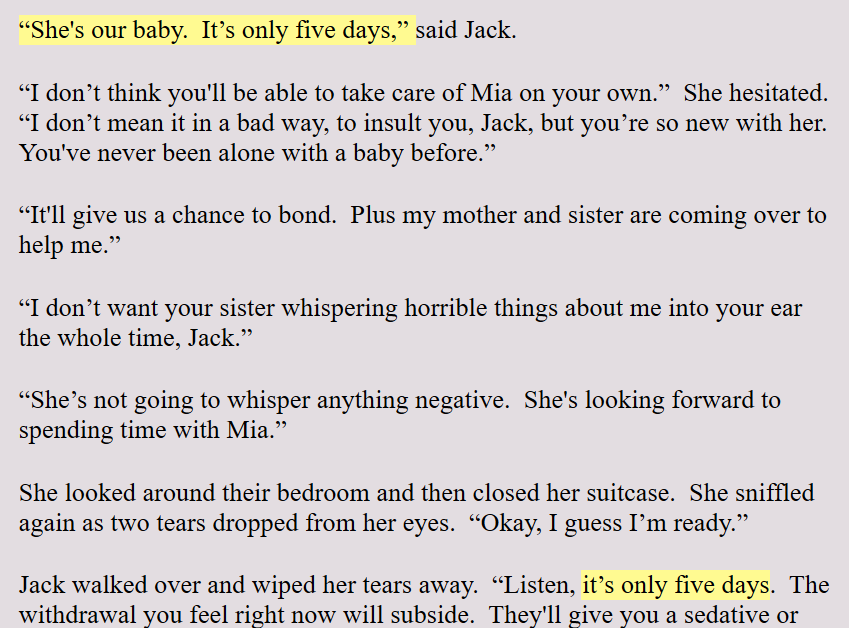
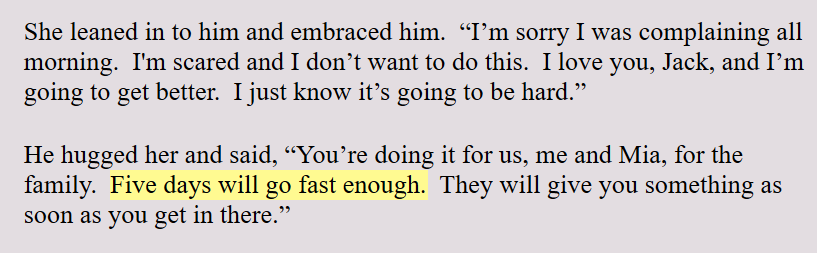 Scrivener allows you to highlight text in any color you want. I use this highlighter in the Level 4 Draft to make a mental note to myself to check on things. For example: If I say that someone is coming home from a hospital in four days, I highlight this. This makes sure that this lines up with the plotline, or the crime line, or the subplot lines.
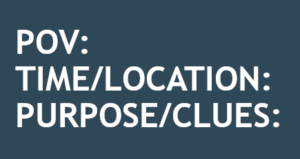 Like I mentioned earlier, I'm in the first draft of my novel and each scene begins with the same Scene Template as seen to the left.
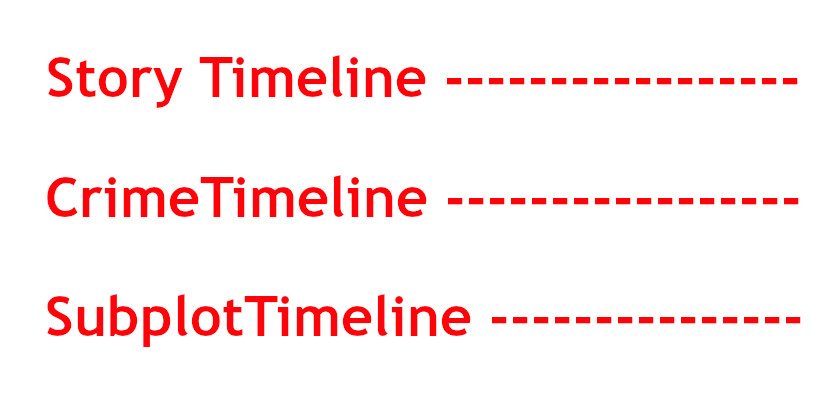
 When writing the first draft, I use the Scrivener Synopsis section in the Inspector Pane to list the clues I have dropped in that scene. Once I've finished the first draft, I can open the project in Outline View and this will give me a bird's eye view and chronology of the clues that have been dropped.
 Most new writers want to get to the writing already. But in this layer of writing, all plot holes or inconsistencies will show up. Any clues that won't work when adding more suspects and motivations will show up in this layer.
 n order to prevent head-hopping, which is very common among new writers, you need to be constantly reminded that each scene is in one perspective. Some writers write in first person and that's easy.
 I don't know whether I am an author who is obsessed with time, or whether I use time as an element to put pressure to solve on my characters, but I have always tracked time. I find this helps me balance the story and make the story more realistic.
 Location is important for two reasons. One reason is casts the scene in cement. You have chosen a stage for the scene to take place. I don't write any scene or location descriptions in this layer of writing. But I can write the action of the scene in context of a location.


 Write forward only. Don't look back.
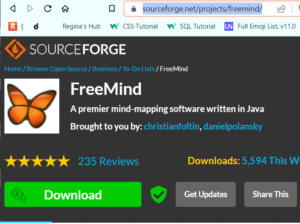 This is the second step in writing a new fiction novel. In the first step, I start out with writing four potential storylines in FreeMind, which is a mind mapping software.
  Most new writers want to start writing scenes and dialogue. They want to just get on with it. But the dark side of working this way is that when you find out your clues won't work when you need to add a new suspect, you will have written two chapters already. My process will save you from writing for the trashcan.


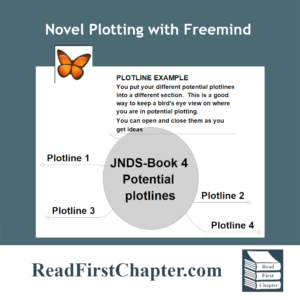 In the first installment of the Peek Behind the Novel Series, I wrote about working four different plotlines before choosing one. By working on four of them, it helps me 'improve' on some storylines and when I have four to choose from, I am able to go into the project knowing that I have chosen the best one. It's a technique that I use to build my author confidence.
 In the first layer of writing, I focus only on the crime or mystery. I make a list of the chronology of the crime. How it happens, who it happens to, how the detectives are assigned to the case. I focus only on the crime. I don't think of subplots, or dialogue or even the outcome. Only on the crime itself, almost like a Forensic Files show.