 I am in the process of writing the fourth book in the Jack Nolan Detective Series. I had to do some research about cell phone and how the cops trace cellphones, but this is some other research about disposable phones. These are referred to by criminals and cops as burner phones.
They are purchased in a box at Walmart or Walgreens, places like this. Normal people use them to protect their identifies. For example, if you are having a garage sale and you don't want to use your regular phone number, you can purchase a throw away phone for $15 to $45 dollars and it will protect your real phone number from getting out there.
 Husbands and wives who cheat also use burner phones that they hide from their spouses. They don't have to worry about getting caught texting to their lovers.
 Drug traffickers also use burner phones. They use them so they can't be traced by the cops. BUT, as you will read below, they are not foolproof. As a matter of fact, they are kind of easy to trace. If you watched the show, Better Call Saul, his system of selling the phones would work for the drug lords. It worked because Sol bought the phones in bulk in his name. He sold them to individuals for cash. So nothing would ever trace the phones to the people who bought them.
Knowing this is helpful to know what will work in a plotline and what won't work. Below is also more info about how the police can track most phones that are purchased by the person using them at a big box store.
Can Police Detectives find people who use burner phones?
Yes, the cops can find the identities of the people who were contacted using the burner phone if they have the right tools and resources. Burner phones are designed to be disposable and difficult to track, but they are not foolproof.
Here are some ways that the cops can find the identities of the people who were contacted using a burner phone:
- Tracing the other party: The cops can get the burner phone number by seeing it on someone else's phone, like a girlfriend or boss, etc. Once they have the burner phone number, they can get the following:
- Cellular data: The burner phone will likely have a SIM card that can be traced back to the person who purchased it. The cops can also get a warrant to compel the cellular carrier to provide them with records of the calls and texts that were made and received on the phone.
- GPS data: If the burner phone has GPS capabilities, the cops can use that data to track the phone's movements. This can help them to identify the people who were in contact with the phone at certain times and locations.
- Social media: If the person who used the burner phone has any social media accounts, the cops can try to track them down through those accounts. They can also look for photos or videos that were taken with the phone and see if they can identify the people in the photos or videos.
- Physical evidence: If the cops find the burner phone, they may be able to find physical evidence that can help them to identify the people who used it. For example, they may be able to find fingerprints or DNA on the phone.
Here are some strategies that criminals use to avoid being tracked by the cops if they use a burner phone:
- They only use burner phone for short periods of time: The less time they use the burner phone, the less data the cops will have to track them. So plotlines may take this into account.
- They, of course, dispose of the phone once the crime has been committed.
- Most non-criminals who use burners phones use it to protect their identity for a specific reason, i.e., maybe selling a car online, having a garage sale, etc. Their use of burner phones are legal and the cops would have no way of knowing they used the phones.
- However, if criminals use the disposable phones for criminal reasons, that's when the cops will be more likely to track them down.
- Be careful about what you say and do on the burner phone, even if you are just selling things online. The cops can use anything you say or do on the phone as evidence against you.
- It is also important to remember that burner phones are not foolproof. If the cops are determined to track you down, they will eventually be able to do so.

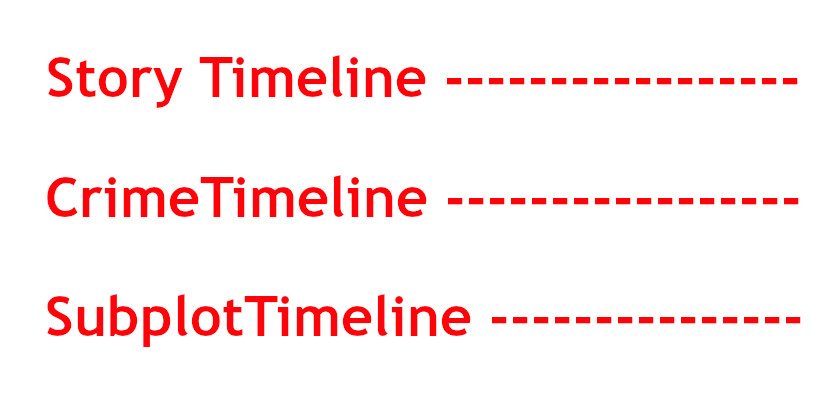
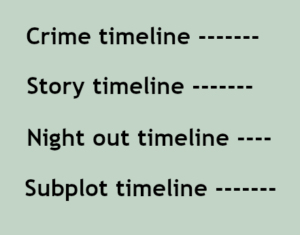 Although I follow a detailed outline of the story before I even start writing, each novel presents its own issues and/or problems. In this novel, I had several timelines I had to keep straight.

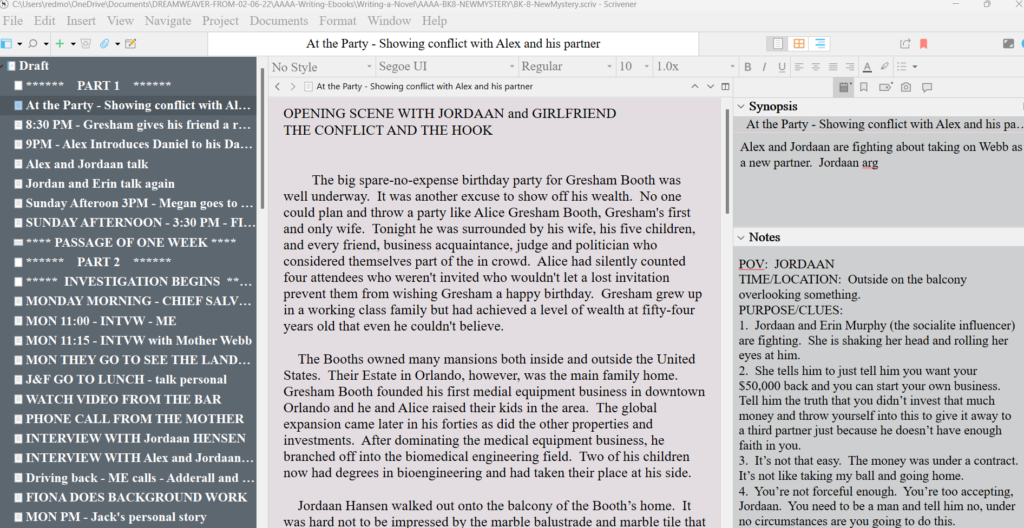
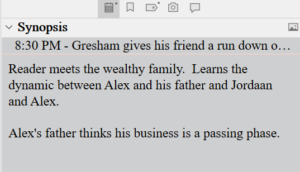 The second thing I do in Layer 5 is to fill out the Synopsis section. This section is in the upper right-hand side of the Scrivener platform.
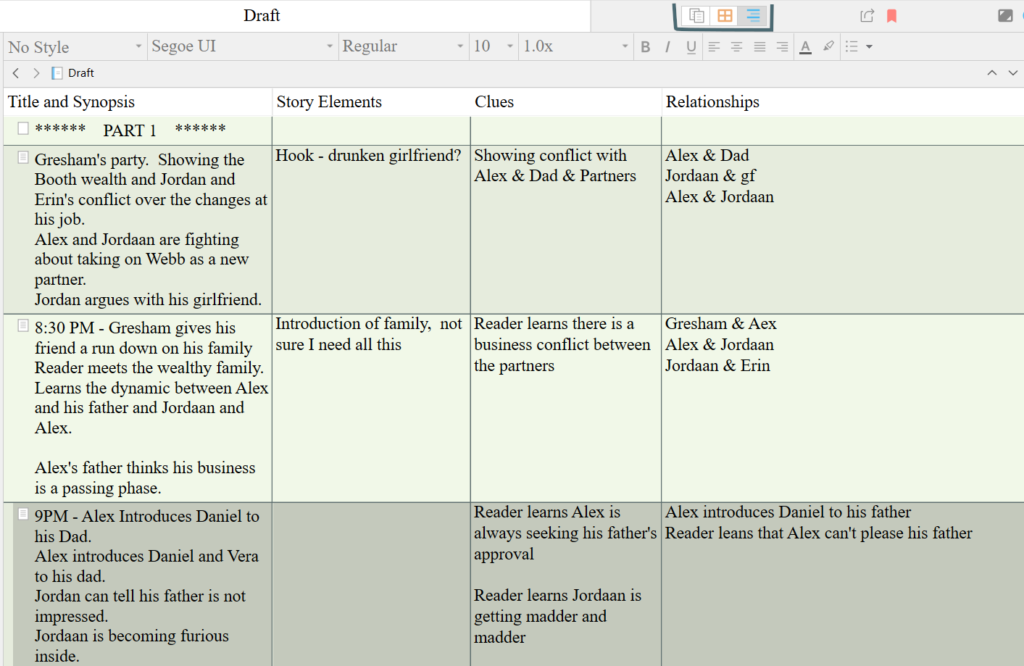
 Now, because I had to kind of abandon the full subplot in Layer 4, I will be finishing the subplot while I'm doing the descriptions and the synopsis box. Once I'm done with this layer, then I'll be back to discuss what happens in Layer 6!
 Turn these Scrivener features off, especially if you plan to move your finished novel draft into Microsoft Word for final formatting. Because I self-publish and I need to upload in ePub and PDF manuscript, I use Word for a final proofread and formatting. I find Word is the best choice for me. The smart quotes do not translate well between Scrivener and Word. If you turn off the smart quotes, Scrivener will replace them with straight quotes and these translate better.
 I'm writing my fourth novel in the Jack Nolan Detective Series. The book is still unnamed. This is Level 4 in my Eight Levels of Writing a Novel series. This first draft is down and dirty. It is the hardest lift of the entire project. At least for me, the first draft is the hardest. The characters all seem like stick figures. I find them unlikeable -- even if I liked them in the last book! Any humor doesn't seem to work. Everything just seems awkward. I have to literally force myself to keep typing. So this tip is to just keep writing. Don't check on any spellings or grammar. Don't even look back. Just keep going until you have the crime down, the main plotline down and the subplots at least in place. That will complete the first down-and-dirty draft. Every other layer will be easy compared to this one.
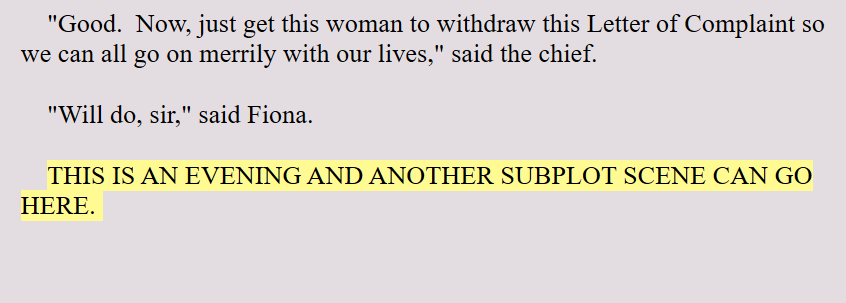
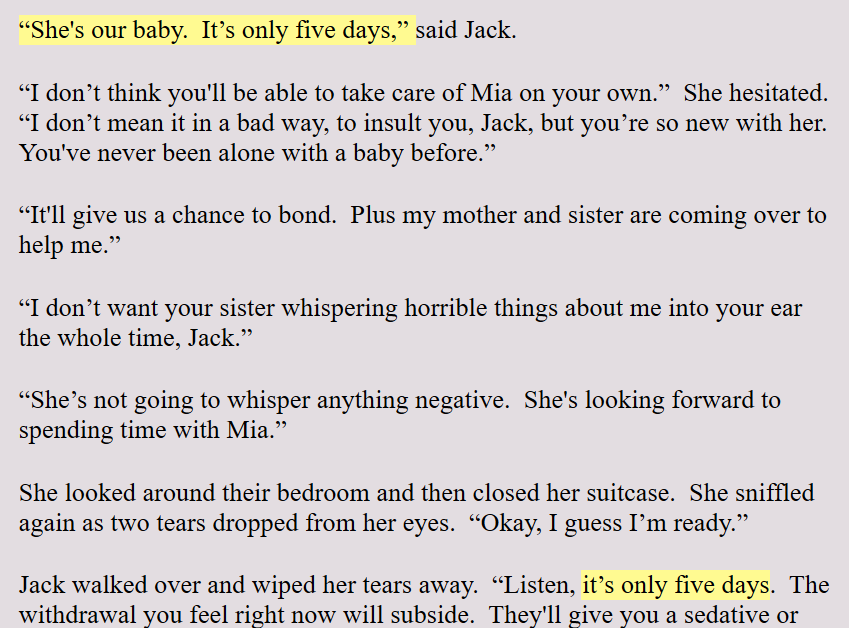
 Scrivener allows you to highlight text in any color you want. I use this highlighter in the Level 4 Draft to make a mental note to myself to check on things. For example: If I say that someone is coming home from a hospital in four days, I highlight this. This makes sure that this lines up with the plotline, or the crime line, or the subplot lines.
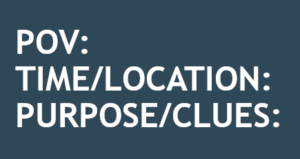 Like I mentioned earlier, I'm in the first draft of my novel and each scene begins with the same Scene Template as seen to the left.
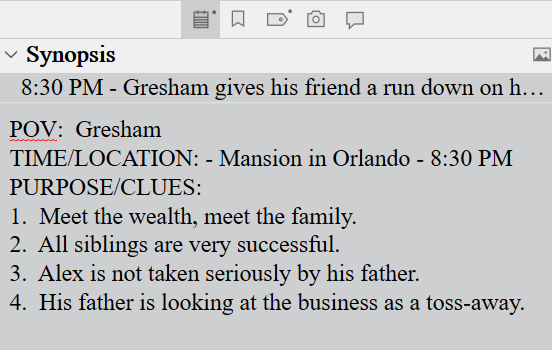 When writing the first draft, I use the Scrivener Synopsis section in the Inspector Pane to list the clues I have dropped in that scene. Once I've finished the first draft, I can open the project in Outline View and this will give me a bird's eye view and chronology of the clues that have been dropped.
 I am knee-deep in Level 4 of writing the next book in the Jack Nolan Detective Series. I thought this would be a good time for me to take a break and reflect on what happens when I'm 'in the weeds' writing a novel.
 When you first sit down to write a novel, everyone is filled with enthusiasm and creative energy. It's exciting. It's new. But as the manuscript begins to grow, before it feels finished -- or even ready to be polished, it feels cumbersome, heavy, and overwhelming. At least for me it does.
 It's possible to get paralyzed by a fear of failure at any point during the writing of a novel. It's not a one-and-done operation. No one sits down, starts writing, finishes writing and ta-da, there's a book. Writing a novel doesn't work that way. It's a long process. It's a multi-layer process.
 Writers block is another common problem among authors. This often sets in after that initial period of excitement about the novel wears off. At some point the writing of the novel shifts into a project requiring some heavy lifting. There's always a phase or two where the author has to tough it out. We have to keep at it.
 Will my readers like the book? Will the book be good enough to get a literary agent? What happens if my book gets bad reviews? There are any number of fears of rejection that can cause us to stop writing. Decide ahead of time you won't allow these fears to stop you. Like I said earlier, think of your writing as a mission God has given you. This is your life's work, along with your other worldly responsibilities. Your writing could be an opportunity to pass on things you have come to learn in your life. That's a purpose. Or maybe writing is a way for you to share the gift of storytelling that you know you were born with. That's a God-given purpose. Whatever the reason, it's important to not allow fear of rejection to get in the way.
 Distractions are one of the biggest obstacles to completing a novel. One reason is because life does serve up constant small and big emergencies that have to take first priorities in our lives. So an emergency distraction can throw a whole well-planned writing schedule up into the air in a heartbeat.
 Most novels require at least some research. The internet can be a blessing with research but it can also be a curse. It's a blessing because the days of having to travel to a public library are over. It can be a curse because the research can suck you in and you can use up all your valuable writing time doing too much research.
 Another trap to finishing a novel is to get caught up in a never-ending edit of the book. This usually hooks in with perfectionism problem in some way.
 Once you complete a novel, there is a little sadness that sets in. This book is no longer your baby. It's no longer your little pet project. Once you hand it off to an editor, it becomes a shared work, so to speak.
 In my last blog post, I went over how to find the right genre for your ebook. I also suggested you choose one or two book cover 'templates' from the ebooks you see during this journey. That's our starting point for this blog post. Now that you know where you want to go, it's time to learn about the technicalities: the sizes, resolutions, etc. It's all here on one page.
 Often the ultimate colors of your cover will come from the pictures you choose. But there are techniques to wash a scene in a very subtle color in order to cast a certain mood into an image. You may want to take a look at a website or two where you can find some great colors. Here are two:
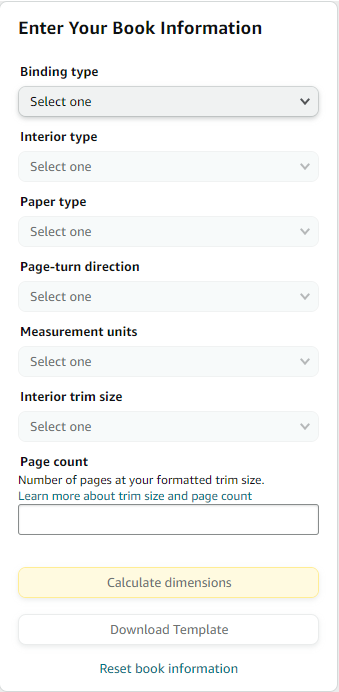
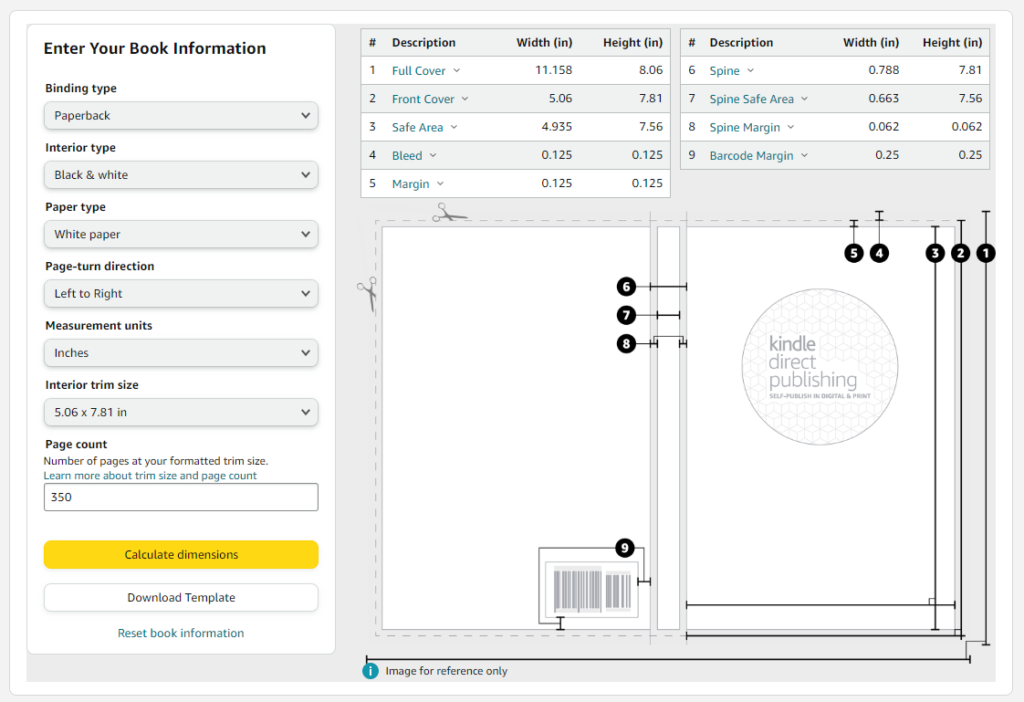
 When you create the eBook front cover, you can design the back cover at the same time. I suggest this because when your manuscript goes out to the editor, there will be about a month of 'free time' and if you want to get a jump on getting your back cover done, this is a good time but it is before you will know the exact page count.
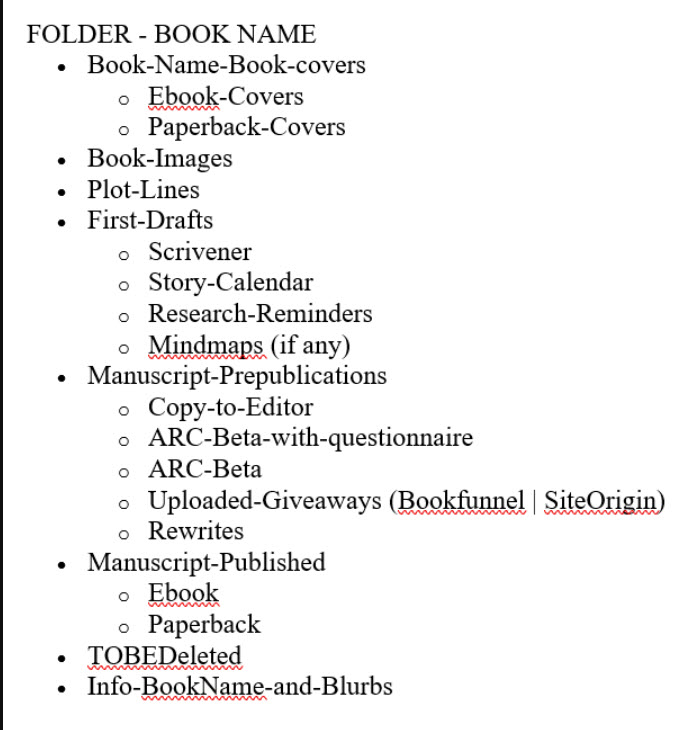
 When writing your book, especially if you are writing in a management system like Scrivener, it's easy enough to keep track of your manuscript.
 When I wrote my first novel, I worried about grammar, spelling, sentence structure in the first draft. I didn't even know what a draft was. I sat down and started writing 'a manuscript'.
 First there's the mystery outline of a novel. It's important to know where the mystery begins, the names of all suspects, everyone's motivation for murder or kidnapping, theft, etc. But once you have your crime and mystery outline, what then?
 The subplots should not detract from the main plot, but should instead enhance it. They should add depth and complexity to the story, and they should help to drive the main plot forward. In a mystery, it's easy to mirror a main character's personality trait in a witness and create some inner dialogue. This ties it in nicely.
 If you're writing a first-person novel, try using a different POV for your subplots. This can help to add variety to your story and to give readers a different perspective on the events. This is not a technique that I would suggest to beginner novelists, but for authors who are more seasoned, yes, this is a way to shake things up a bit.
 Subplots can be used to ramp up the tension in your story. It's a great way to add a little more pressure onto your main character or characters! Not only do they have to catch the bad guy, but their landlord is threatening them, or their wife is threatening to leave them, etc. If the main mystery plot is getting a little slow as you drip in clues, you can spice up the subplot that will add some excitement and suspense.
 Subplots need to be interesting, yes, but it's easy to go overboard with them too. So the arc needs to be short but concise. They should be short and sweet, so to speak. They should be short enough to keep the reader's interest, but not so short that they feel underdeveloped.
 I'm assuming all writers have doubts as they are writing the first draft. I know I do. Something happens between the feeling of knowing I have a good plotline and writing out the first draft.
 So the antidote to self-doubt is to keep writing. Trust your plotline. Know too that you can always add clues, rearrange some scenes, add a bit more intrigue into your subplots. Eight layers of writing leaves a lot of room for beefing up a story, deepening a story and polishing a story.
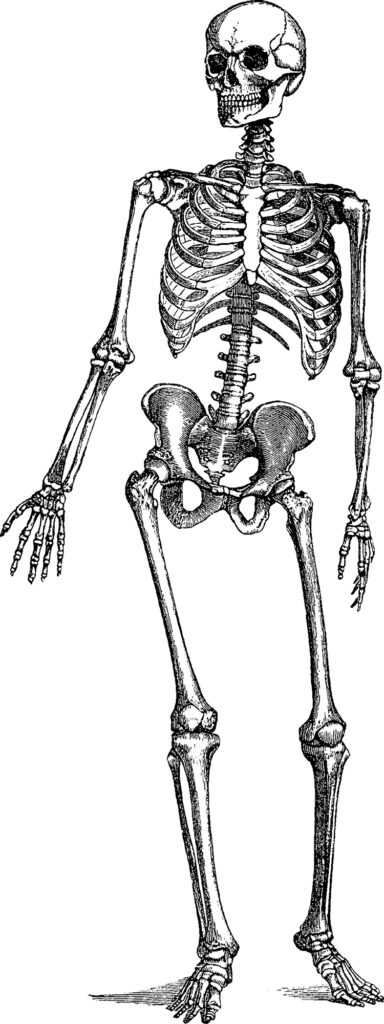 For anyone who is new here, I use a Four Act Structure as opposed to the more-popular three-act structure. I find that middle section in the three-act structure too confusing. Over the writing of 12 novels, I gravitated to a four-part structure as it is more symmetrical and makes more sense to me. I also believe, for whatever it's worth to anyone, that this three-act structure is responsible for the 'lagging' that often occurs in the middle of a story.
 The inciting incident. In a murder, crime or police procedural story, this will be the crime itself and how the detectives show up in it. When the detectives are pushed into going on a quest to solve it, that's the inciting incident. This begins the journey of the story.
 Part Two is where I introduce all the suspects and their possible motivations -- as the detectives are quite often guessing at this early stage of an investigation. The motivation of each of the suspects will be uncovered in some way later in Part two or even in Part 3.
 The end of Part Two usually marks the midpoint of the book. I like to end this section with a .big reveal of some kind. Or maybe a clue that turns the investigation into another direction. There could even be a new murder, or the surfacing of an unusual suspect, or someone gets caught in a big lie that changes the direction of the investigation.
 Now the investigation gets a little stressful. The detectives may not agree on who the guilty party is, or maybe they know who it is but can't find the legal evidence to prove it. Maybe they are operating only on gut feeling and speculation at this point. They are rushing against the clock or against other forces working against them to solve it, catch the guilty party or find compelling and irrefutable evidence.
 Part four is broken down into two parts. In the first half of Section 4, the crime or mystery is solved. There will be whatever drama you want to add about the solving of this crime. Whether your detectives are battling physically with someone, bullets are being fired back and forth, or entrapping the guilty party, or just uncovering that last piece of evidence that will legally prove guilt, this is where this is revealed.
 The second half of Part 4 is the 'wrap up'. This is where you will show the new normal, everyone's life 'in resolution'. This is where you will also explain the full growth of your characters. Many author's don't do this, but I don't like to read books where things end where the reader is left to decide what it all means. I may have my own opinions, but I like to know what the author meant by the story. So I make sure I explain, again very quickly, how things are ending in a narrator voice.