BOOK MARKETING STARTS BY SETTING MARKETING GOALS:
 Each writer or author will have slightly different goals. My blog post will speak directly to website bloggers and/or to fiction authors. However, if you publish low-content books or children’s books — or even coloring books, all of these techniques will be relevant to you because they are about basic marketing. Just change up whatever technique is mentioned and make it more fitting to whatever type of marketing you need to do.
ESTABLISH REALISTIC MARKETING GOALS:
Marketing is not something that you do. It’s something that you build. Everyone has a first day and sits behind a computer not knowing what to do first. So let’s start there.
![]()
BUILD A READERSHIP:

If you are self-publishing any kind of books or launching a blog from scratch, you will need to build a readership. Building a readership is also something you build over time. Everyone starts with no readers but their parents or spouses. However, once you establish a building process, the readers will accumulate slowly but surely.
One of the only things left that professional publishers can offer authors is an automatic reader list. They have gathered millions of names, addresses and emails over fifty years or more. So that is a valuable commodity and the one and only reason you should think about being with a professional publishing company.
However, some younger people who are social media savvy have been able to build millions of followers as an “influencer” so don’t count yourself out as someone who may have good luck with self-marketing.
If you are authoring fiction and selling books, your first order of business is to start collecting emails into a reader list. A reader list is referred to as a “newsletter list” in the industry, but when you are building a readership, I prefer “reader list”. Going forward, just know they are the same thing.
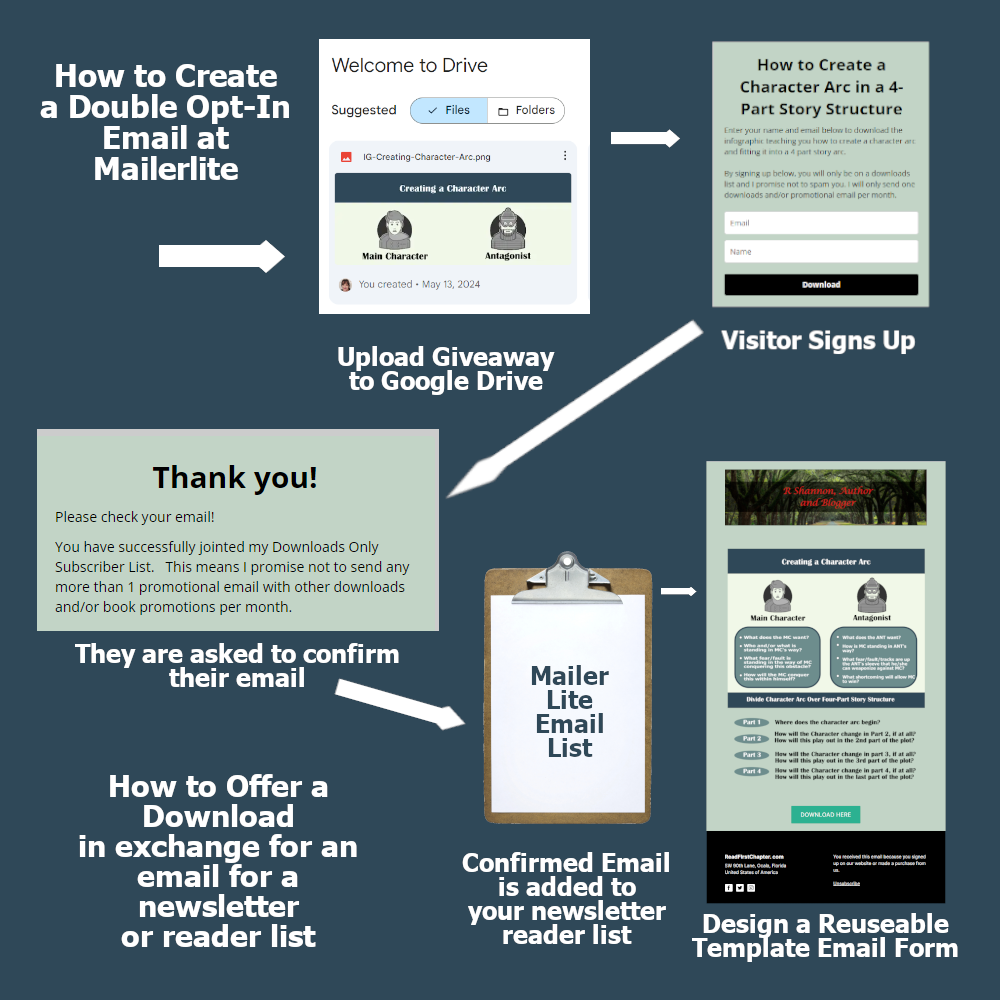
 START COLLECTING EMAILS: Collecting emails to send to people about your book or books. I would recommend MailerLite as they are the least expensive but professional platform for a beginner. Everyone starts with a free account. They allow you to collect a couple of hundred emails before they want to get paid. And then they charge you per hundred or so. So your expenses keep steady with your marketing results.
JOIN ![]() GOODREADS: Establish a presence on GoodReads.com where the most avid and voracious readers hang out. Sign up for an account with them and you will get a chance to upload your book cover. It can be a little confusing at
GOODREADS: Establish a presence on GoodReads.com where the most avid and voracious readers hang out. Sign up for an account with them and you will get a chance to upload your book cover. It can be a little confusing at
Goodreads so I’ll post a video about joining and navigating around there.
The biggest tip I can give you is that Goodreads is a website about readers. When you log in, it recognizes you only as a reader until you go to your author dashboard. It took me a long, long time to figure this out. I was always looking for my book and I was disoriented within five minutes.
ESTABLISH LOCAL COMMUNITY CONTACT: Every library would be interested in who their local authors are. You can set up a talk and sell some books when you do a book launch.
![]() I personally am too shy (and too old) to go this route, but if you happen to be a bit younger or extroverted, this can create a HUGE BUZZ. Local people become fans, they tell people they know you, they buy paperbacks and hardcovers — and many want you to sign them! So don’t underestimate the life of the buzz you can create by talking about your book in front of a few people at the local library.
I personally am too shy (and too old) to go this route, but if you happen to be a bit younger or extroverted, this can create a HUGE BUZZ. Local people become fans, they tell people they know you, they buy paperbacks and hardcovers — and many want you to sign them! So don’t underestimate the life of the buzz you can create by talking about your book in front of a few people at the local library.
KINDLE SELECT: Seriously consider entering your book into Kindle Select on Amazon so you can give away many books each quarter. This is the quickest way to get attention and reviews. The more readers you have, the better the odds of getting a review.
Many new authors get too hung up on how long it took them to write the book and they don’t like the idea of not getting paid for it. However, Amazon is the biggest search engine for books. That means that your competition is Steven King, Nora Roberts, Lee Childs, Agatha Christie, etc.
It’s important to understand that allowing people to read your book may create a fan, a repeat reader. That’s your realistic goal. Unless you have hundreds or thousands you can put into marketing each month, you will be building a readership one reader at a time.
 LOW-BID AMAZON AD STRATEGY: And the last step for absolute beginners is to learn strategies for low-bid strategies (going for the low-hanging fruit) using Amazon Ads. This is where you bit .12 cents a click. You won’t rocket to the top of the best seller list, but this is a great strategy to begin to crawl your way out of oblivion. I’ll have a dedicated blog post about how to set up a low-bit strategy.
![]()
BUILD A SOCIAL MEDIA PRESENCE:
![]() I personally don’t like social media — the whole thing. However, I also don’t really like marketing either! But in today’s world, if you want to self publish, you need to market your books or blog and there are lots of ways to market even if you are shy or introverted, like I am.
I personally don’t like social media — the whole thing. However, I also don’t really like marketing either! But in today’s world, if you want to self publish, you need to market your books or blog and there are lots of ways to market even if you are shy or introverted, like I am.
First establish Social Media Accounts in your professional Name. This could be your author name, pen name, website name, blogging handle, or some other name that is dedicated to your business. Don’t blend any personal social media with your professional social media presence.
So the first thing to do is to establish accounts at all of the following social media platforms:
FACEBOOK – Facebook is the biggest arena for Boomers, who are retired and have the most money and the most time to read. So you need to establish a presence on Facebook even if you are younger and don’t use it yourself. As stated above, create a Business Page in your author name, blog name, website name or pen name. This will be dedicated to subjects around your writing. If you don’t know how to do this, just search on YouTube for “How to start a Facebook Page”.
TWITTER-NOW-KNOWN-AS X: This website is growing quickly. It has the largest political group and finance group, both left and right, on the internet. This group too also tends to be economically comfortable and will buy what they want. If you don’t write about politics, it’s okay. You will be “posting to google analytics”. More on that below.
Posting to Google Analytics means that Google spider bots crawl the internet without stop. They are constantly cataloguing and making decisions about who is an authority on what subject all the time. So even if you don’t get a lot of views or reposts, the google bots are still absorbing what you are doing.
I don’t get that many reposts, but the most traffic that comes to my website is from Google. So it’s still working. It’s important to know this so you don’t feel like you’re being ignored or wasting your time.
LINKEDIN – If you write on business or off any type of service, anything business people would need or like, then you want to establish a presence on LinkedIn as well. Most people don’t look for their next book or interesting blogs on LinkedIn, but again, you are posting to the algorithms. In the next installment, I’ll be going over how to find complementary products and/or interests to post about, especially if you only have one book.
GAB – This website is a bit controversial because they had a big fight years ago with the ADL, but it is still a place that has a huge Christian presence. I’ve never seen anything anti-Jewish or antisemitic posted so I’m not sure what the big todo was about, but in any event, I thought I would mention this. It could have been just a big ego fight between two guys. But if you write Christian fiction, like I do, or write things that fellow Christians, patriots, or other spiritual people may be interested in, you will want to establish a presence on Gab. Just don’t let this be your own social media because it really specializes in Christian and Patriotic users and they are not the only readers out there.
INSTAGRAM: You also need to post to Instagram. This social media website has a much younger demographic that uses it, but they are also glued to their screens all the time. Instagram is very popular and has lots of graphic posts as well as videos.
PINTEREST – Establish a business page with Pinterest. Pinterest has millions of users and is probably the biggest search engine next to Google and Amazon. So this is a must. Again, don’t mix business with personal. Establish a page as an author, blogger, or writer.
There are ways to create many different pictorial posts representing one book, so be sure to join Pinterest right away.
TIKTOK: If you’re thirty-five and older, I would recommend holding off on TikTok, mainly because it is a platform for videos. Candid videos. There was a trend called “Booktok” that was pretty popular for awhile, but it got so competitive, I think it has blown over — unless you can post videos everyday.
Tiktok is also battling for survival with the US Courts. No one knows their fate at the time of this writing. However, like I said earlier, their platform is for video only. People under 35 have grown up videoing themselves all day long, so posting on Tiktok is easy for them. But for those of us over 35, making a video could be a half day or full day affair. So with that warning, I’ll leave it up to you to decide whether Tiktok is for you.
ESTABLISH A PLAN OF ACTION:
 First: It’s only a plan of action if you do something about it all. So be sure to open your social media accounts in the next days if you haven’t established them already.
Second: Establish a mailing list on one of the many platforms out there. I would recommend MailerLite as the first email collection platform. There are others out there but the last time I did research — which was about six months previous to this blog post — they were the best deal for the monthly money. I was paying almost $135 a month to Mailchimp (I had about 3500 emails) and I got the same program for $35 a month at MailerLite.
Most programs start free, but don’t underestimate how soon you will build up a following.
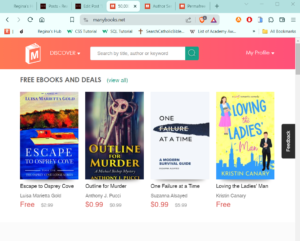
LIKE WHAT YOU SEE? WANT TO SIGN UP FOR MY NEWSLETTER?
I send out a weekly newsletter with eBook freebies, deals & steals, along with bits & pieces of other interesting things for book and reading lovers. Sign up below!

 I use a four-part plot structure, so I break my character arc into four sections. This allows me to keep up with the character development and also don’t resolve the inner conflict too early.

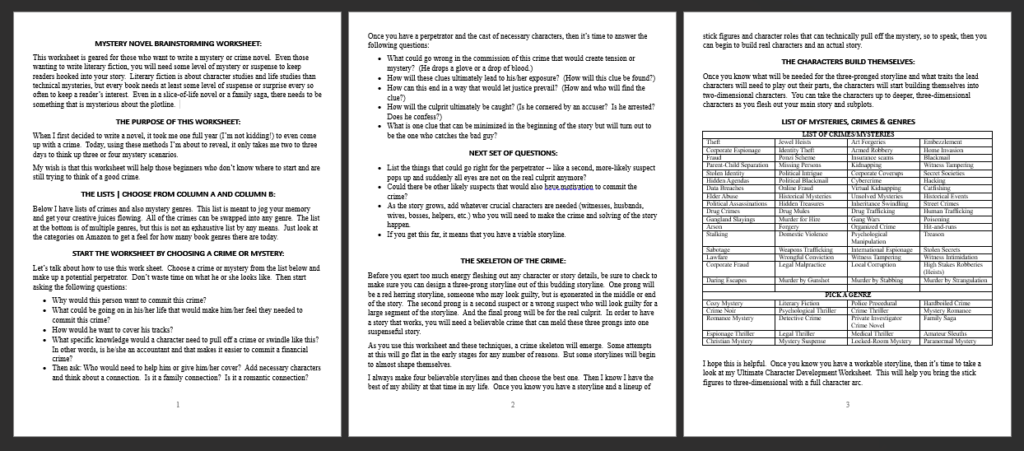
 If you are stumped for a main story, or if you are stumped for what happens now, or even if you have written yourself into a bit of a corner, this instructional will help, along with your own creativity and thinking, to bring about new possibilities.

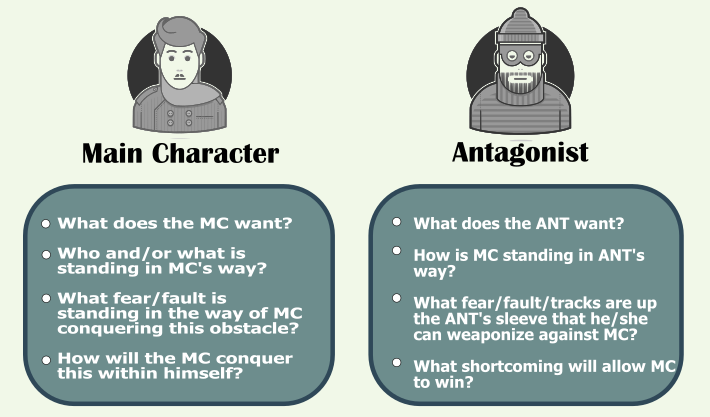
 Once you have a perpetrator and the cast of necessary characters, then it’s time to answer the following questions:
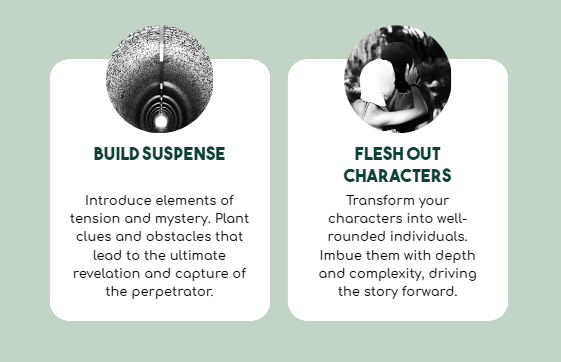
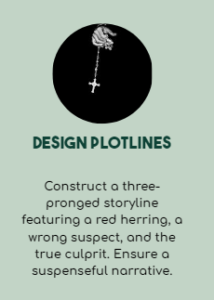
 Before you exert too much energy fleshing out any character or story details, be sure to check to make sure you can design a three-prong storyline out of this budding storyline. One prong will be a red herring storyline, someone who may look guilty, but is exonerated in the middle or end of the story. The second prong is a second suspect or a wrong suspect who will look guilty for a large segment of the storyline. And the final prong will be for the real culprit. In order to have a story that works, you will need a believable crime that can meld these three prongs into one suspenseful story.
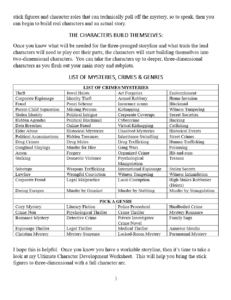 As you use this worksheet and these techniques, a crime skeleton will emerge. Some attempts at this will go flat in the early stages for any number of reasons. But some storylines will begin to almost shape themselves.
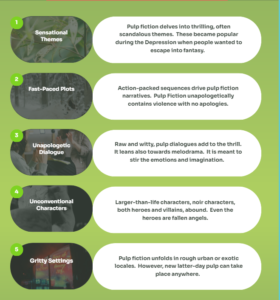
 Pulp Fiction become popular during the depression of the 1920s and 1930s. Publishers at the time used a very cheap “pulp” paper in order to produce these short stories and magazines that cost about a quarter. Yes, twenty-five cents!
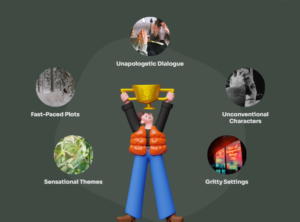
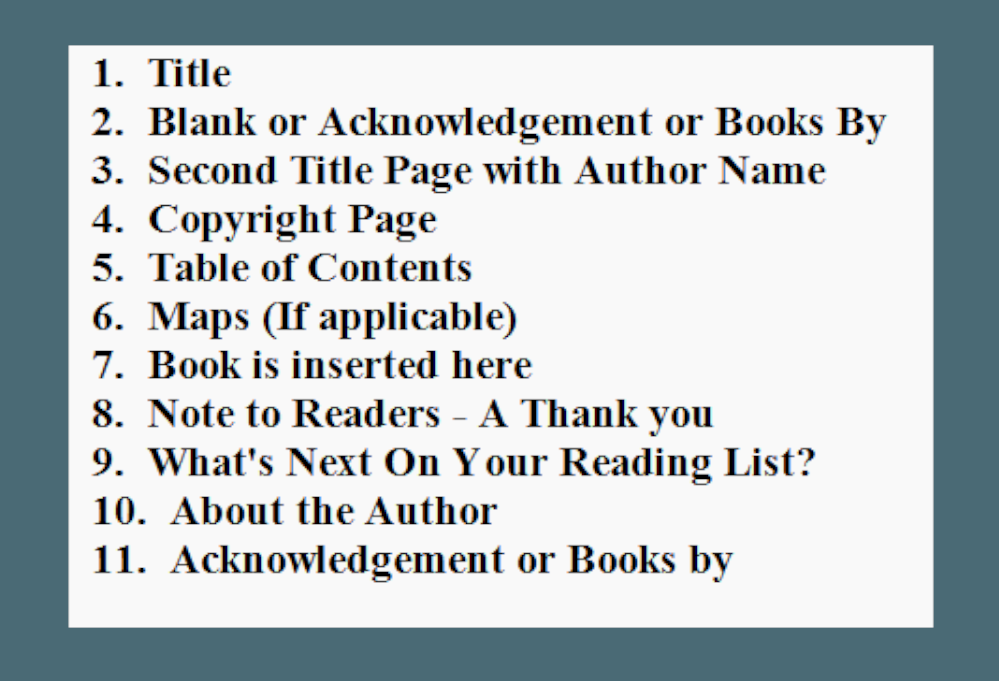 This book is for beginners who are publishing their first or second novel and they are still a little skittish about what else goes into a book. I’ll lay it out so you can easily follow the list and be confident that you’re not forgetting anything. These page suggestions are taken from the publishing industry. These are the pages that appear in a book published by a publishing house.
 When I self-published my first novel, I finished it and uploaded it and waited. That’s when I learned how important marketing the book is. I also learned through the next several books how important it is to take advantage of each tiny phase of a book launch for marketing. That’s what this blog post is about.

 Writing a novel is a huge undertaking. There are many things that go into the writing of a fiction story. The best tip I can pass on is this: Break everything down into little bite-sized pieces. By doing this, you can reduce a huge project down to do-able portions that can be done whether you have 2 hours a week to write or two full days! It only requires a little planning and organization.
 It’s important to keep reading as your own journey as a writer continues. Each author has a different style and uses different storytelling techniques. The stories don’t even have to be great. You can learn from the good, the bad and the bland. Just analyzing what made a book bland is a great lesson in itself. Did the story need more action? Did the story get stuck somewhere?
 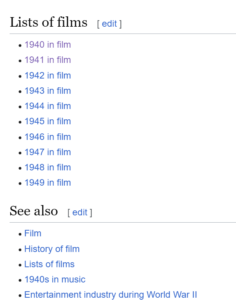 or other books you read. Reading other authors is crucial no matter where you are on the writing spectrum. However, when you’re new, you can learn a lot from watching mystery or crime noir movies. I like movies from the 1940s, 1950s, and 1960s. The movies in these decades didn’t have CGI and the directors had to use the stage to tell the story. They used wider shots and props to assist the storytelling. By watching these older movies, you can learn a lot regarding writing.
  It’s a good idea to read the synopsis before you view the movie. Knowing at least a basic outline of the story will allow you to absorb more as an author. If you go into the movie blindly, you will be “experiencing the movie” as a viewer only. By knowing ahead of time what story will be unfolding, it will allow you to watch specifically for certain scenes to unfold. You can watch what tools are used to move the story along.
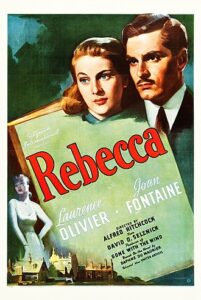 If you are looking for a suggestion, I would suggest Rebecca for the first movie. This movie was directed by Alfred Hitchcock and it has a lot of gothic atmosphere. There is also a psychological plotline in this story so it is a goldmine for learning storytelling tools.